Home automation is all of the rage right now. From being able to remotely control your home’s temperature to turning on the lights to opening your garage door to even remote video monitoring, the connected home adds security and convenience to any home environment. About 5 years ago, I installed the SchlageLINK connected front-door lock. It was great being able to give members of my family their own entry code, track the entries, and more, but that capability came with a monthly cost, something I wasn’t too keen about. Fast forward to today and we have the Schlage Sense which is easier to use and program, has fairly tight integration with Apple’s HomeKit and doesn’t have a monthly cost. And one of the coolest things is just telling Siri to lock or unlock the door.
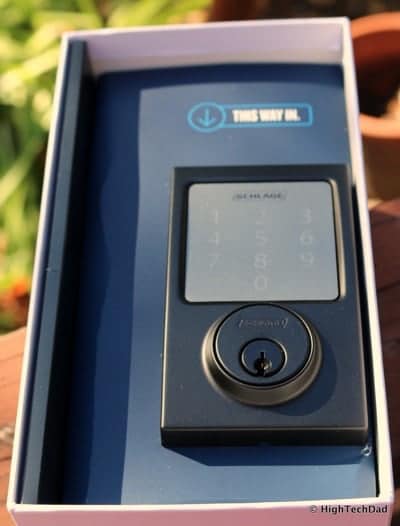
GIVEAWAY ALERT! Before I dive into the installation, usage and other details of the Schlage Sense, I am giving away one (1) Schlage Sense AND a matching door handle to a lucky reader. Scroll to the end of the article for entry instructions (or click here to jump to it). Do note, there is a short time to enter so be sure you do it. Update: the giveaway is completed but please read on for the review of the Schlage Sense.
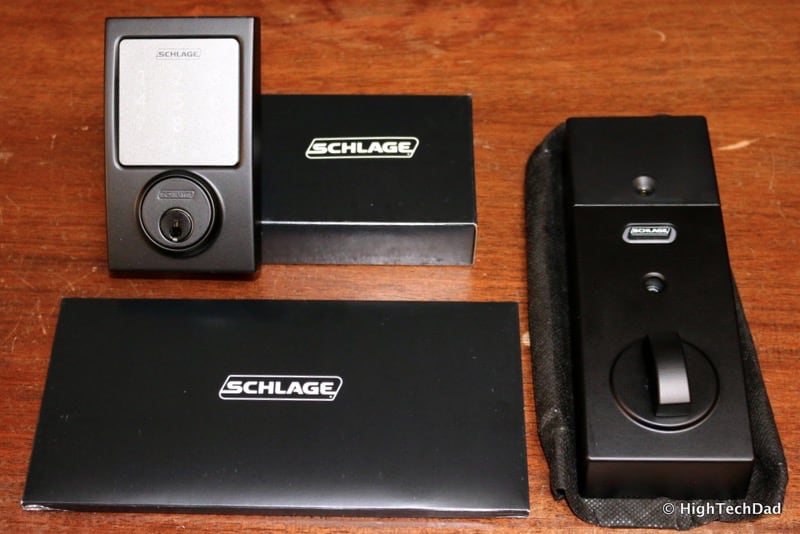
So let’s get into the product details and the fun I had with installation. It probably makes sense to talk about installation first because you can’t use the product without installing it.
Installing the Schlage Sense
Let me start out by saying, it really helps if you have a new door that has been properly hung, cut and drilled out to industry standards. Hopefully you have the frame aligned properly so that the dead bolt hits the strike plate area without scraping or hitting in any way. The Schlage Sense is an automated deadbolt which means that once you plug in your code or use your iPhone or even Apple Watch to unlock the door, the motorized dead bolt will open. It’s more important to be sure that the dead bolt alignment is clean when closing the bolt actually. If you have to push in the door or push down on the door to do your old deadbolt, you may need to adjust the way the door hangs or the position of the strike plate.
Luckily, there is a very good installation video provided by Schlage that you should definitely watch prior to doing anything. Once you watch the video, read through the manual as well. The Schlage Sense comes with two manuals: the install one and the user guide (but, I would recommend simply using the iOS app for all of the programming and set up instead of manually programming).
After you watch and read all about the install process, take some time to evaluate your current door. Do the measurements. Oh, and be sure you start your install early in the day because you do have to remove your old lock and there may be a period of time when you DON’T have a lock on your door!
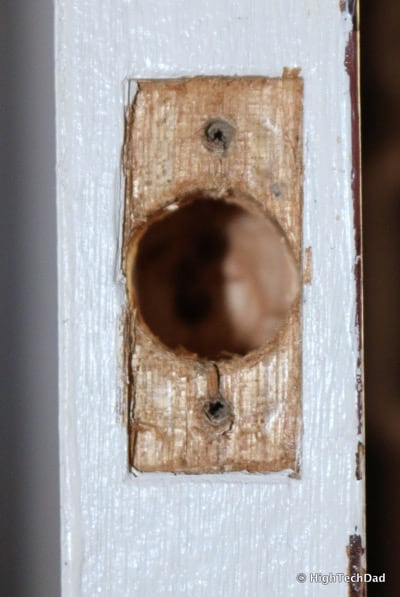
In my particular case, since I had installed another Schlage product a few years ago, I did have an idea of what I needed to do. There were a couple of things I was concerned about since my door is very old and whomever hung and cut it, did NOT do it to specifications. The manual said that you need a minimum of 5” between where the dead bolt hole is and where the handle hole is.
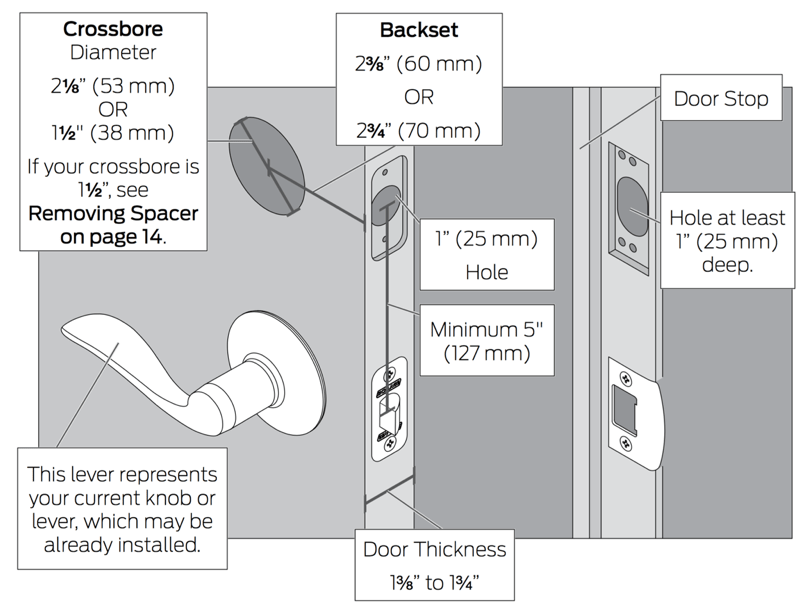
Concern #1: Mine is 4” inches. I had run into the issue before with the SchlageLINK and because of the large size of the inside controller, I had to find a very small latch handle to be able to fit.
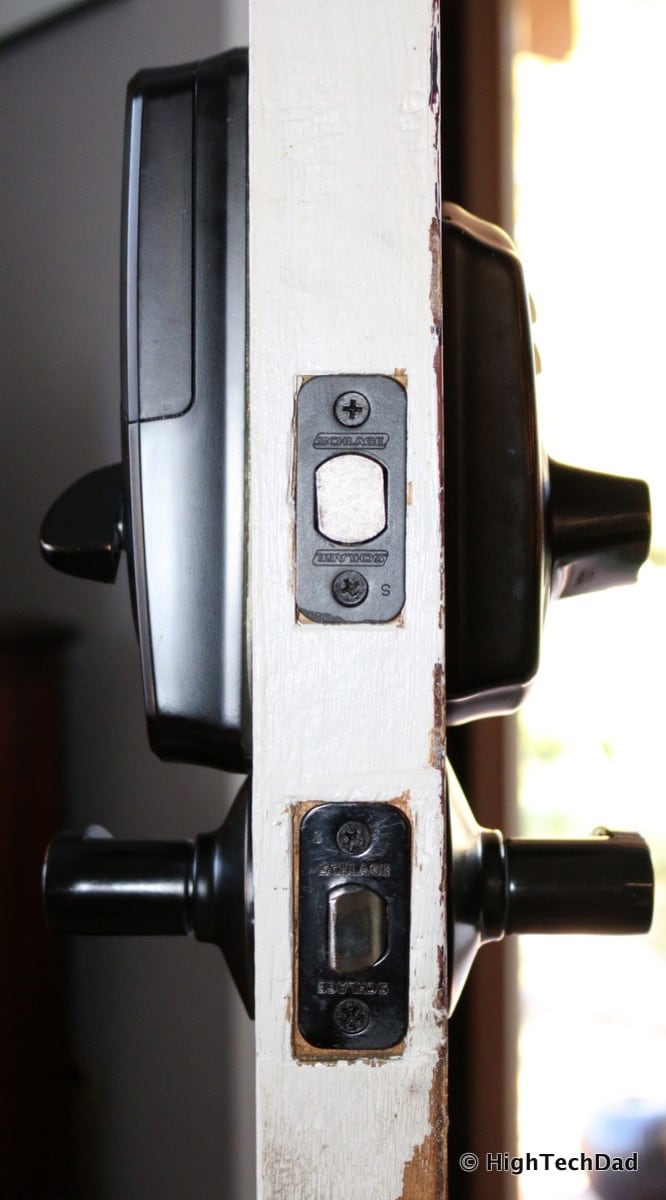
Luckily, it seems that the 5” requirement is not firm. With just 4”, I was able to mount both the Schlage Sense and the new door latch with about a millimeter of room on the inside…YAY!
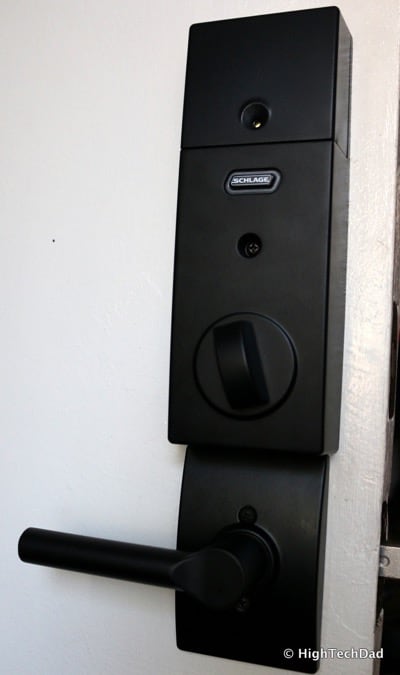
Concern #2: The next area of concern was with my deadbolt. With the SchlageLINK setup, I did have to push the door in slightly to engage the deadbolt. I believe this was being caused by weather-stripping that I had placed around the door which pushed it out slightly. So I was concerned that I would have to slightly move the strike plate in order for the deadbolt to engage without having to push the door in.
From some research I found that you could discover exactly where the bolt was hitting the strike plate by putting either some lipstick or caulk on the bolt and then closing it and seeing where it was hitting on the strike plate. I ended up actually using some white tooth paste instead of caulk because it was easier to clean up. The existing bolt (not the new one that came with the Schlage Sense) was hitting the plate about one millimeter off or so. I tried filing the inside of the strike plate a bit to make the hole a bit bigger but that didn’t really help that much. I was starting to panic a bit, thinking that I would somehow have to re-do the strike plate. But then I looked at the new dead bolt that comes with the Schlage Sense and I was saved!
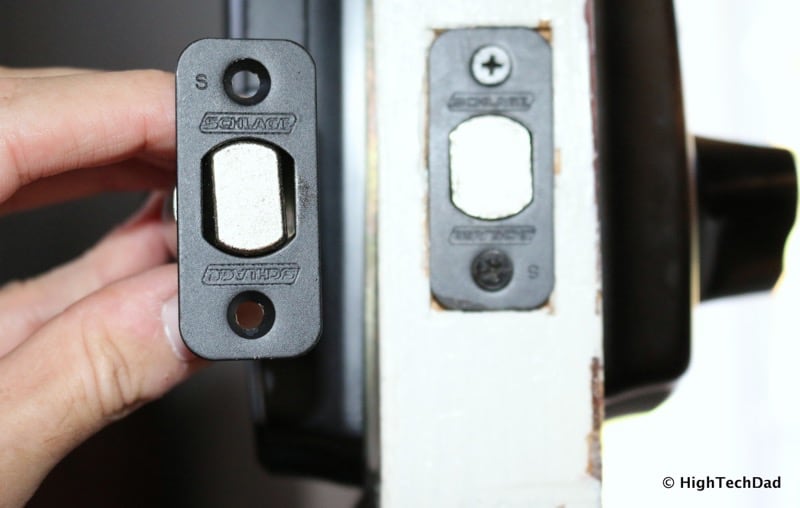
In the redesign, it looks like the dead bolt was a bit thinner and tapered at the end. When I installed the bolt and tested opening and closing using a screwdriver, it worked!
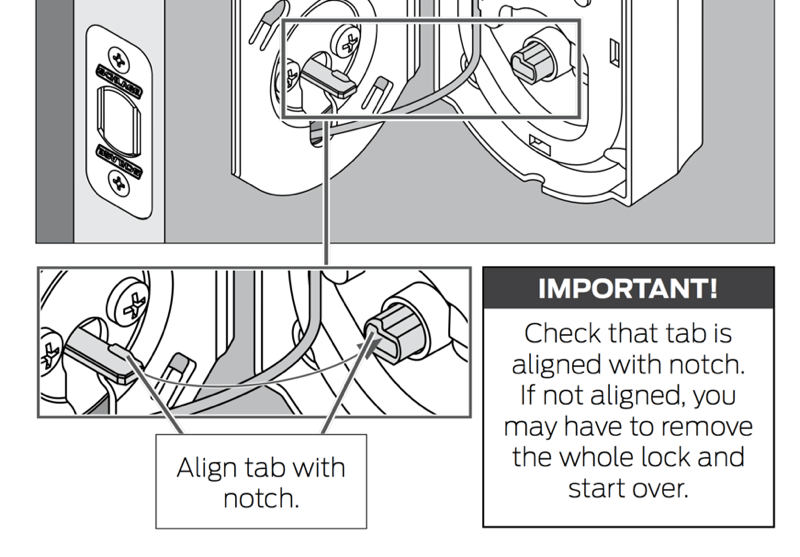
I was then able to install the Schlage Sense without hitch…well almost. Concern #3: In the instructions, you need to “align tab with notch.” Unfortunately, for me, the tab was completely upside down and there didn’t seem to be any way to install it. I hopped on the phone with Schlage support and they told me how to correct which is quite easy. If the tab doesn’t align, you can use the inner thumb dial and turn it (there will be resistance) but you will hear the servo motor move. Once you realign it, you should be good to go. But the support rep did say that as you put in the batteries, hold down the Schlage button on the inside to factory reset it.
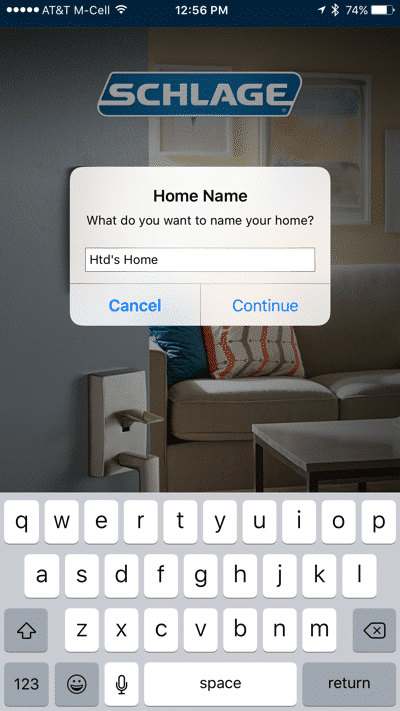
Once I was able to overcome those 3 concerns, everything else worked fine. From there, I moved to setting up the Schlage Sense using the Schlage iOS app. The app immediately identified my Schlage Sense lock via Bluetooth. I had to name my lock:
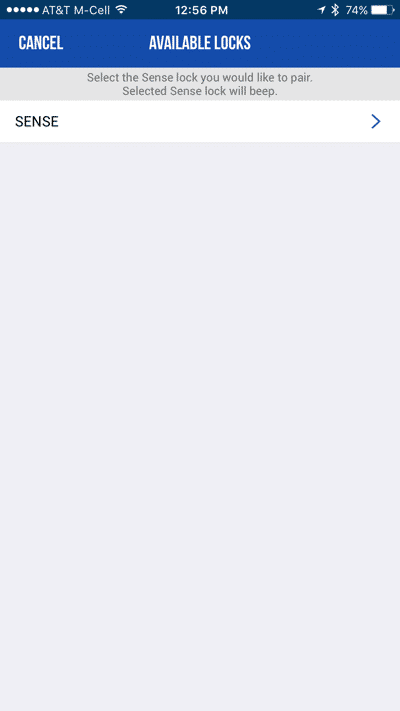
The lock was identified:
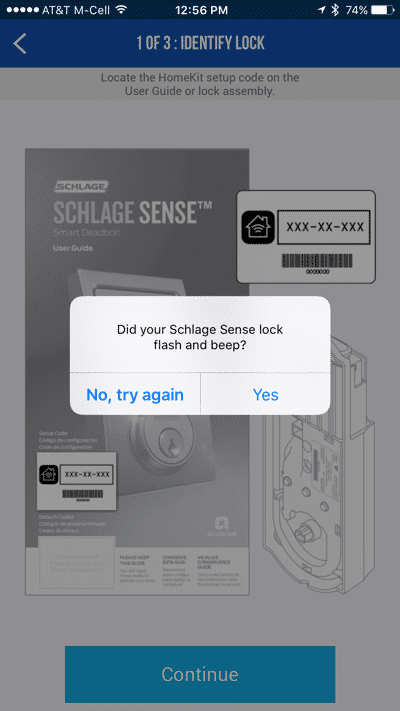
Upon successful pairing, I heard a beep from the lock and the lights flashed and I confirmed within the app.
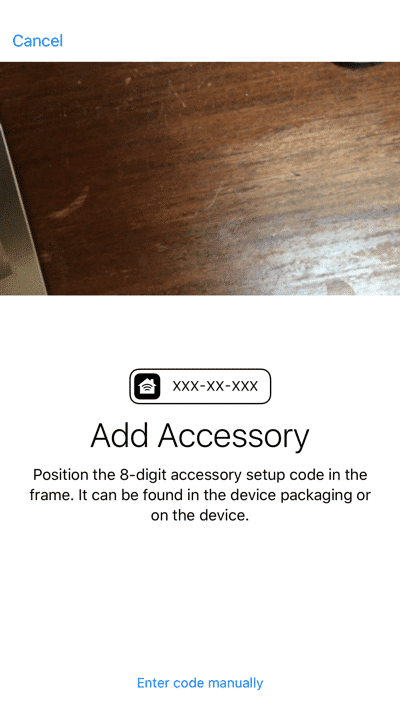
Then I was prompted by Apple’s HomeKit to add an accessory. The nice thing about this process was that I used the iPhone’s camera to scan the HomeKit Accessory number (you can also add it manually). You can also name the lock for Siri to recognize later.
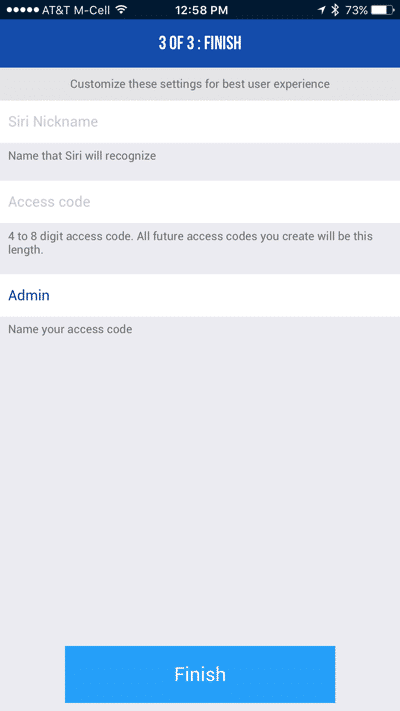
From there, once it was connected, I added in my Admin account to the iOS app.
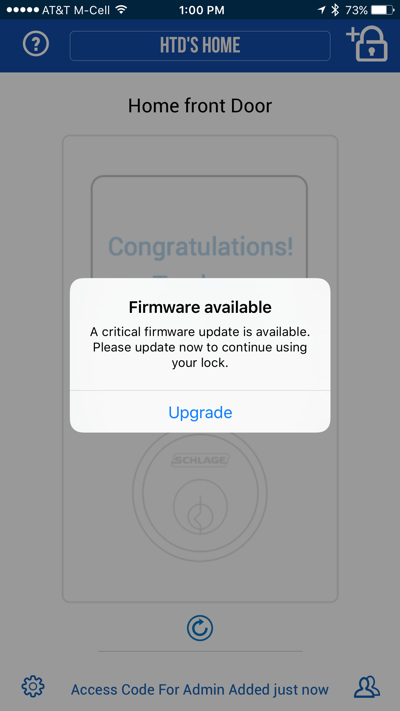
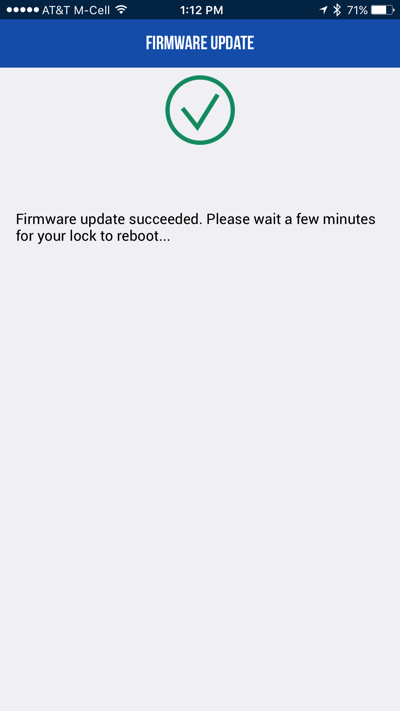
I was then prompted to update the lock’s firmware. You need to keep your iPhone within Bluetooth range to do this. It took about 10 minutes to do and the lock “rebooted” in the process.
Then I could add in up to 29 (30 total) other PINs for other members of the family. This way, you can access a log of the people who lock or unlock the Schlage Sense.
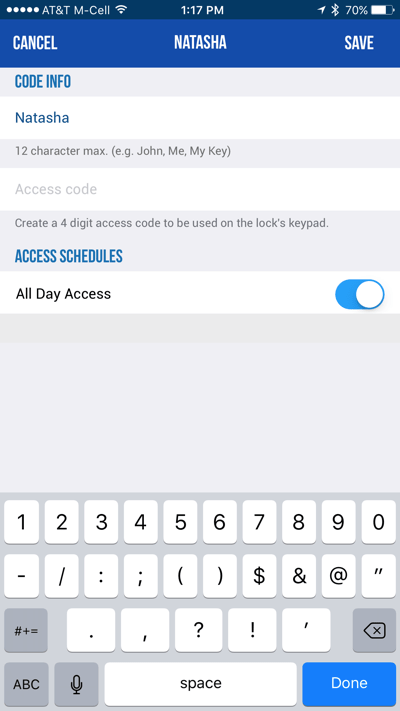
Once I had all of the codes for my family entered, the lock was all set.
Using the Schlage Sense
After configuring the iOS app, and do note, in order to manage the settings within the app and send them to the lock, you must be within Bluetooth range and directly connected to the lock, you can fully control the lock in a variety of ways. If you are lucky enough to have a later generation AppleTV that is within Bluetooth range of the lock, you can actually remotely connect to the lock from anywhere. Unfortunately, I was unable to test this functionality so all of my testing was within Bluetooth range only.
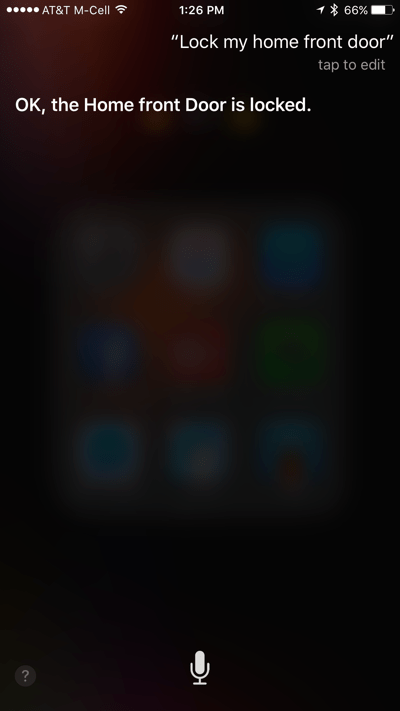
Here are the ways you can unlock or lock the deadbolt:
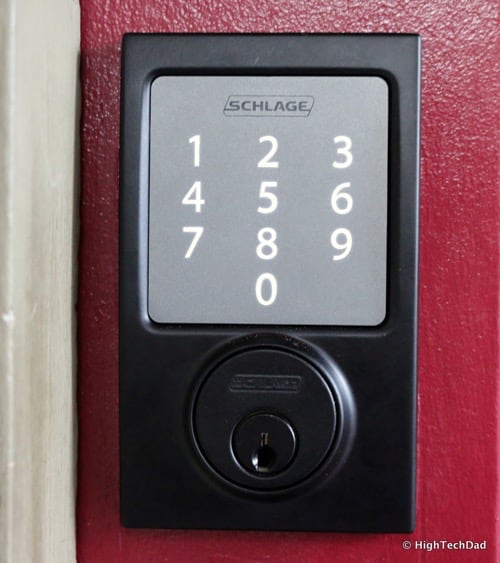
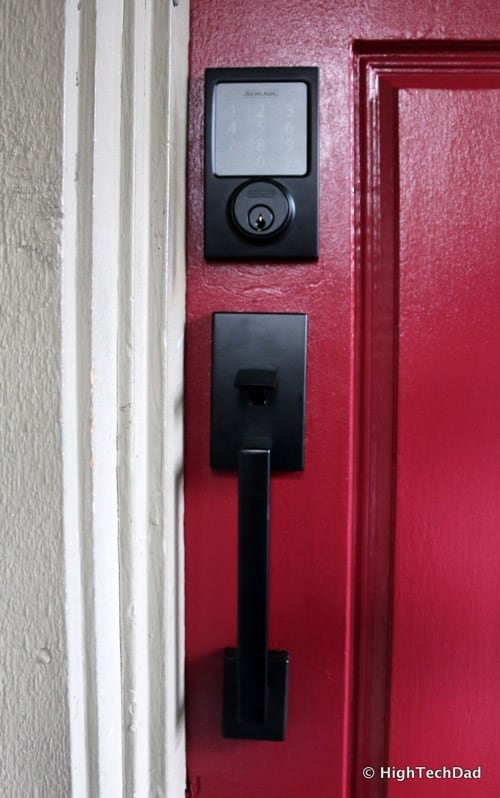
- Using a PIN – you can punch in the PIN on the flat screen. The numbers will light up when you touch them. You can pre-light the number by pressing the Schlage logo on the front.
- Using the iOS app – if you have the app configured and connected to the lock, you and simple press the lock or unlock button within the app.
- Using Siri – if your lock is connected to the iOS app, you can tell Siri to lock or unlock the dead bolt using a simple voice command.
- Using the Thumb Dial – from the inside, you can manually lock or unlock the deadbolt (note, even this action is logged within the lock).
- Using another HomeKit app – you can use other 3rd party apps like iDevices to control the lock as well.
- Schlage logo – to lock the deadbolt from the outside, just press the Schlage logo (or you can enter in a PIN)
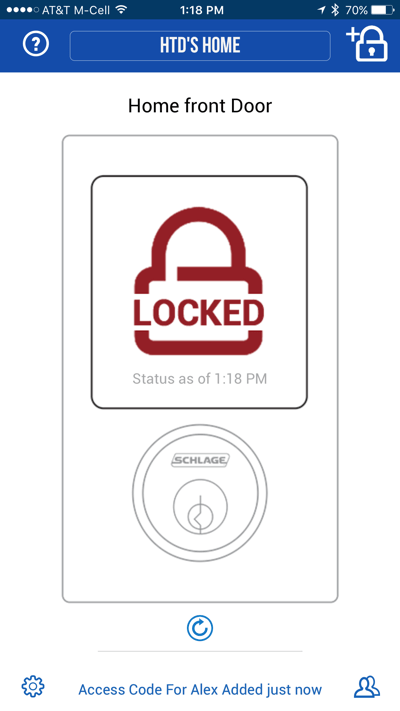
If you ever want to access the lock/unlock logs of the Schlage Sense, within the app, just look at the bottom of the screen in the middle and tap on that area. In order to access the logs, you need to be connected via Bluetooth or have an AppleTV connection.
Using the app, you will get notifications of needing to change the batteries. It is important to do this since if the batteries die, the only way to open the door is with a key. The Schlage Sense only comes with one key. Also, Schlage recommends you do NOT use rechargeable batteries because when the charge is running out, the power drops quite quickly compared to traditional batteries which seem to give you more of a warning.
The touch screen gives you either a green check box light when the dead bolt is successfully secured or a code is entered correctly. If the dead bolt is blocked or doesn’t lock properly, or if a code is incorrectly entered, a red X is displayed.
The Limited-Time HighTechDad Giveaway!
Well, if you made it this far, hopefully you are convinced that you want this! Do note, the MSRP on this lock which is available at The Home Depot, Amazon and Build.com among other places, is $229.00 (Amazon currently has it listed at $229.00 as it is a new product). Update: this giveaway is over.
For the giveaway, there are some rules that Schlage has provided me that you must do in order to enter. (Note, I also have my own Rules you should review.)
- The prize will be: one (1) Schlage Sense Smart Deadbolt in winner’s choice of finish, plus choice of door handle set to match – a $300 value.
- U.S. entrants only, please.
- The Schlage Sense Smart Deadbolt requires an iOS device for use (iPhone®, iPad®, iPod® touch, etc.); and that having an Apple TV® is the only way to use the product’s remote capabilities.
- As part of this promotion, Schlage will be collecting testimonial from your winner about the product/installation process, via written questionnaire.
- Please note the following Terms and Conditions: By entering this giveaway, you agree to complete a written questionnaire with feedback surrounding Schlage products and installation. Once the prize has been shipped to the lucky winner and they’ve had time to install and use the hardware, a Schlage representative will get in touch for feedback. Opinions provided will be used in future communications from Schlage.
REQUIRED Steps to Enter:
- Visit http://bit.ly/SchlageSense and select their favorite Schlage SenseSmart Deadbolt
- Leave a comment on THIS giveaway post with a link to that product(s) explaining how that product(s) will improve the look and functionality of their home. (BE SURE TO LEAVE YOUR EMAIL ADDRESS IN THE COMMENT so I can enter it for the Random.org selection of winner. It can be in the format of “name” AT “domain”. Note: if you have a Disqus account, I am able to get your email via their admin site, so you do not have to leave your email in a comment. But it helps! ;) )
- As an additional means of entry, you can tweet a link back to THIS giveaway (including the @HighTechDad Twitter handle) using hashtag #SchlageSense. (To make it easy, you can simply click this link which will open a pre-populated tweet).
That’s it! The Giveaway period is from the date this article is published until midnight Pacific Time on 11/22/15. (NOTE: Giveaway is over!)
Giveaway WINNER: Contrats to Latanya T (@sweetums82 on Twitter)! For those wishing to validate their entries, you can visit this Random.org page.
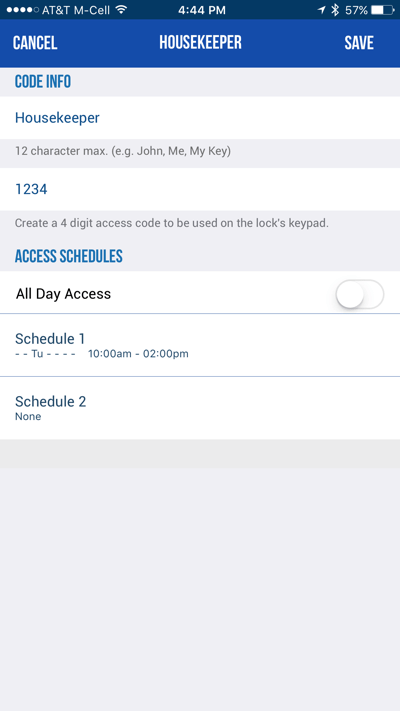
I must say, it is nice not having to worry about carrying around a key with me. And it’s even been knowing that I can set up temporary or schedule-based pass codes for guests or housekeepers. Let’s say you only want the house keeper to be able to come in on Tuesdays between 10 am and 2 pm, you can just set that up. Regardless, the Schlage Sense makes a whole lot of sense to me for people looking to bring the next level of home automation and security as well as integration with Apple’s HomeKit.
Disclosure Text : I have a material connection because I received a gift or sample of a product for consideration in preparing to write this content. I was/am not expected to return this item or gift after my review period. All opinions within this article are my own. Also, some of the links in the post above are “affiliate links.” This means if you click on the link and purchase the item, I will receive a small affiliate commission. More information can be found in my About page.
HTD says: Schlage Sense is easy to install and even easier to use. With integration to Apple’s HomeKit and, using Siri to unlock doors, what’s there not to like!


2 comments
Rachael
I am so glad you posted about your experience!! We also ran into concern #3, and were completely at a loss. And of course it was late at night and customer service was closed. We followed your advice, and got the rest of the lock installed. Thank you so much!!
Now I’m stuck in an ‘cloud data sync’ error that won’t resolve. So frustrating. But at least that’s a relatively minor problem. Not like being stuck without a door lock!
hightechdad
Glad that it worked. Yeah, their support is really great when they are available.
One thing to keep in mind, be sure you install the latest firmware for the lock. Sometimes this can be tricky. And, it will take some time. One recommendation that their support gave me was when you do have a Bluetooth connection with the lock, be sure you turn off WiFi on your phone as it sometimes can interfere with the firmware upgrade process. And I found that I often had to restart my phone and remove the batteries from the lock to restart it. Eventually, I got the firmware to work and it’s been great. I’m assuming you are connecting to an Apple TV for the cloud sync? Be sure you have that set up on Apple TV.
Let me know if you have other questions.