I’m going to let you in on a secret. You probably aren’t watching your TV in the best way possible. You may have the latest and greatest 4K/UHD/HDR big screen TV with all of the bells and whistles with a crazy refresh rate and a bazillion colors (yes, that’s a technical term). But odds are, your viewing is not truly optimized for the best experience possible. If you haven’t done this already, you should get some bias lighting to truly make the dark deep and the colors pop. And, if you do get some bias lighting, don’t just get the cheapest, multi-colored LEDs that you see on Amazon. They probably aren’t optimized for the best viewing. What is bias lighting? Read on, and I’ll explain, as well as talk about the MediaLight 6500K that I installed on my HDTV. (*Disclosure below.)
I have to say, high-definition TVs look amazing now. They do have many features and excellent color depth and density. And prices have really dropped which means you can get a great huge HDTV at a reasonable price. But if you have the top-of-the-line TV or just a bargain one, installing bias lighting can take your viewing experience to the next level. I’m really surprised that I went this long without setting it up myself.
What is Bias Lighting?
Bias Lighting is the easiest and least expensive way to improve your TV’s contrast and color, all while also reducing potential eye strain. At an extremely high level, it’s backlighting for your TV or monitor (yes, you can set up bias lights for your computer monitor). But there is a lot more to it than just that.
You probably have one of three ways of watching TV (if you don’t have bias lighting). You watch things completely in a dark room, you have some lights on, or you have all of the lights on. Each of these viewing scenarios has some drawbacks.
If you watch in an entirely dark room, your TV will appear very bright (unless you bring down the brightness manually or even automatically). Having a bright light source like your TV in a dark room can give you headaches or cause eyestrain.
Conversely, if you leave on all of the lights in the room, colors on the screen can appear dull or washed out. And, don’t forget about reflections on the screen. If your light or lamp is behind you, most likely, you are seeing more of the lamp’s reflection than the TV screen itself.
Of course, you can dim the lights which, without bias lighting, is probably the best of both worlds, or perhaps the worst. You may have washed-out color and no true darks or blacks on the screen but also have light reflections. And when I say “best of both worlds,” I mean WITHOUT bias lighting.
The nice thing about bias lighting is that you aren’t directly looking at it. This type of lighting is behind the screen and usually bounces off of a wall or something before hitting your eyes. It’s not directly viewed.
When you install bias lights, you improve the contrast of what is appearing on the screen without having actually to change any settings on the screen. And for bias lighting to really do its magic, it needs to be the only light on in the room when you are watching the TV. (Side note: I think I need to build a media room with theater seating, a huge TV, a popcorn machine, a multi-speaker surround sound system, and, of course, bias lights. Wouldn’t that be nice!)
Are you beginning to see the light?
Not All Bias Lighting is the Same
So, why not just put a lightbulb behind your TV and just be done with it. Well, technically, you could do that as it would more or less achieve what you are trying to do. But there is some science and engineering behind choosing the proper lighting. I will go into that shortly.
Of course, you could also go out and get some cheap LEDs from Amazon of which there are many choices. You can even get “bias lighting” with different colors so you could have green, blue, red, or other colors as the backlight. But unless you are trying to set up a disco in your home theater, having colored LEDs actually does the opposite of what you want to achieve.
If, for example, you were to choose an orange or red color as your bias lighting, that would make everything on the screen look more blue and cool. Conversely, if you chose blue as your backlighting, things on the screen would appear redder. And if you did that, the director of the movie or show would probably roll over in their grave if they were dead.
So, you really should avoid using any type of COLORED bias lighting or backlighting.
Therefore, you need to stick to the white range. But not just any white is good. Warm or cool whites produce different effects when viewing the screen. According to various sources and standards organizations, bias lighting should be in the range of 6500 degrees Kelvin (that is the color temperature).
The image below shows the color temperature range with 1000 being warm and red to 12,000 being cool and blue. A candle flame, for example, is about 1,900K. 6500K falls pretty squarely in the pure white area, and that is what the bias lights should be.
If you are doing a deep dive into bias lighting, here is another number to look for – a Color Rendering Index (CRI) of at least 90. Basically, this number tells you how close the output light source is to a true natural light. Sometimes you will see it listed as “Color Accuracy.”
One other number to look for is D65, otherwise known as Illuminant D65. D65 is roughly the average midday light in Western Europe/Northern Europe which is comprised of both direct sunlight and diffused light on a clear day – source: Wikipedia).
So, keep those three numbers in mind as you shop for the best bias lighting solution: 6500K, a CRI of 90+, and D65.
Some other things to consider when choosing good bias lighting – it really should have dimming capabilities and should support either plugging into a TV’s USB port (has to have enough power though), or it should have a wall plug to power it. Other nice things to have is a remote control.
An Easy Choice – MediaLight Bias Lighting
Just like in an action movie, I’m going to cut to the chase here and save you some time in choosing the best bias lighting solution. When I first heard about bias lighting, I read about it in this PopSci article (which is great, by the way). But so as not to be “biased” (haha, sorry), I decided to reach out to the Twittersphere to see if anyone had any strong opinions or ideas about bias lights. (I had gone through some of the listings in Amazon but had become a bit overwhelmed by the choices.)
As a result of my exchange with Jason (who is super helpful and responsive, by the way), I had a MediaLight 6500k sent out to me for this review. There are different types of bias lights available at BiasLighting.com – you just need to select the type you want based on what you are trying to set up. The underlying standards and technology are the same, and they have solutions for computer monitors, TVs on a stand, and wall-mounted TVs. Just check out this page to make the right selection.
Depending on your requirements, you may select something different and they have solutions for just about any home theater. Jason ended up recommending and sending me the MediaLight Quad. What makes this one perfect for larger TVs (mines “only” 55 inches), is the fact that you can customize how and where you want the LED strips to go.
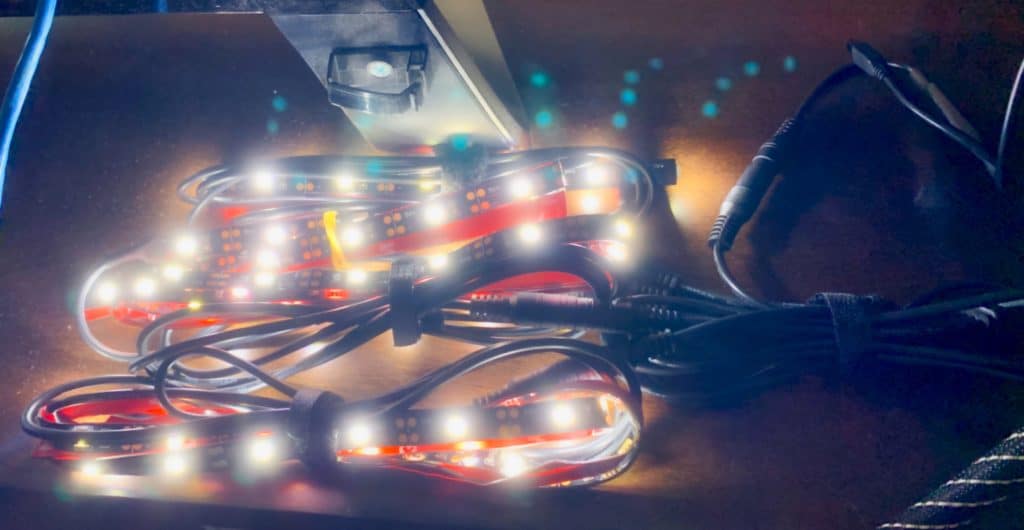
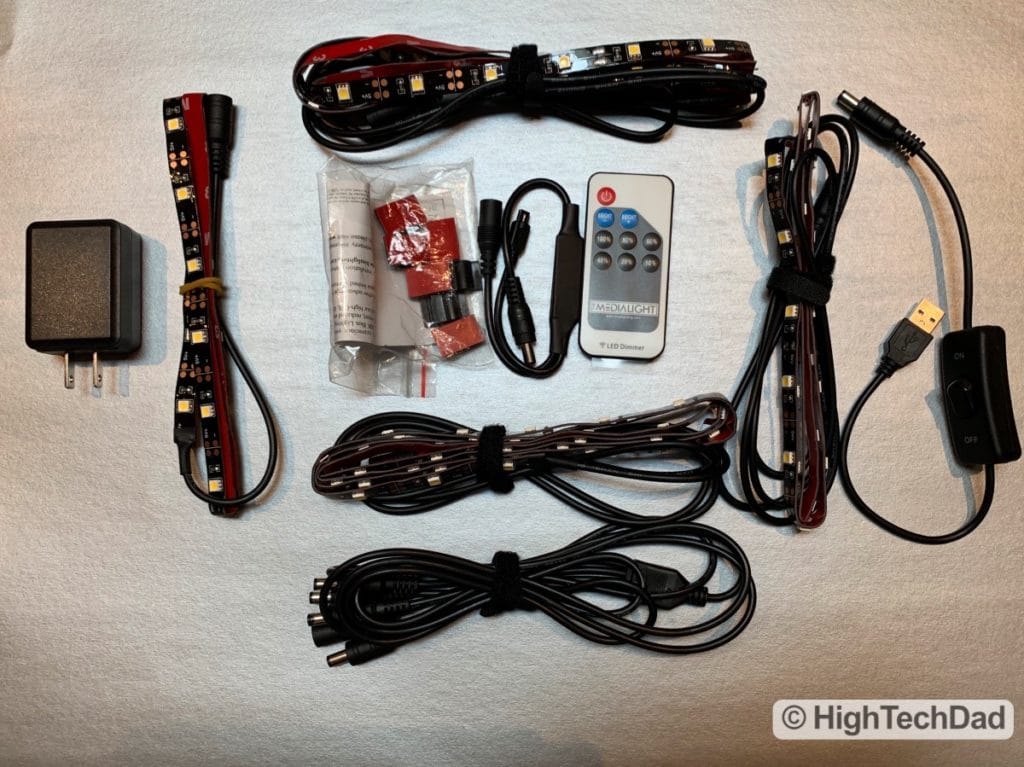
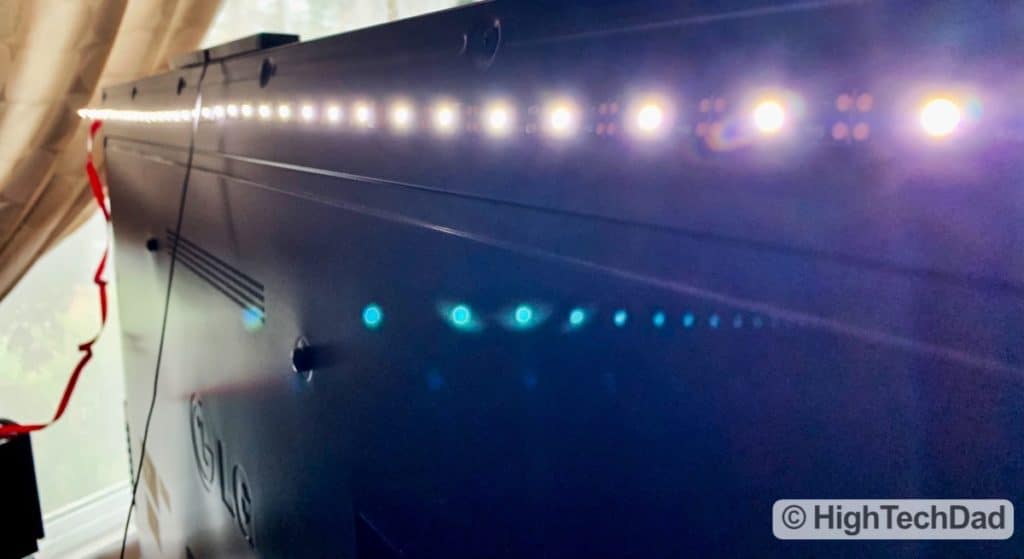
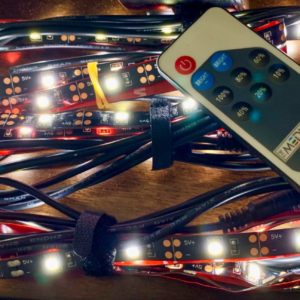
The Quad version comes with 4 connected LED strips. What do I mean by connected? Well, each of the strips is attached to the top, bottom, left, and right side of the back of the TV (as opposed to just one powered strip). The four LED strips split from the main power input.
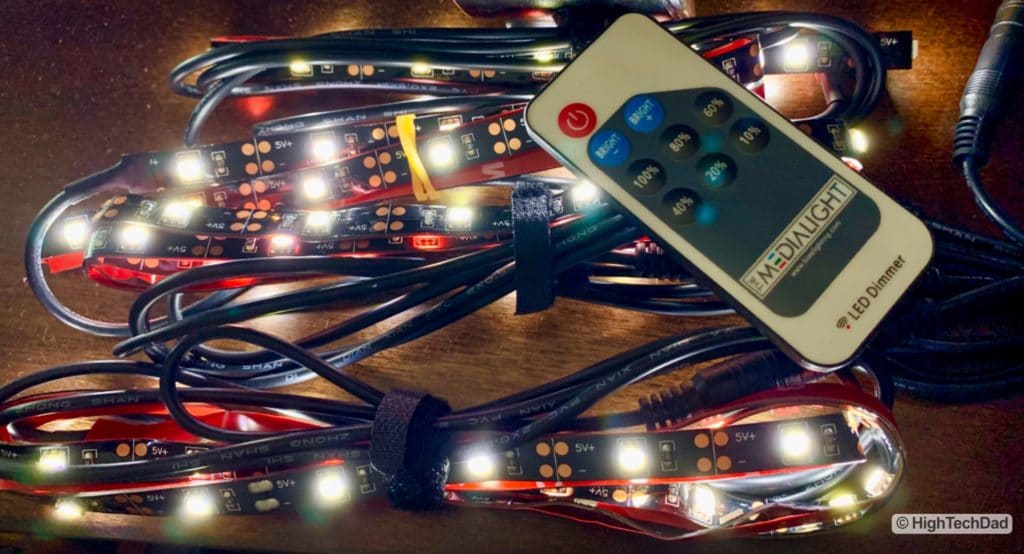
Also included with the bias lighting kit is an infrared remote which can turn the lights on or off as well as set the dim level.
The installation process is fairly straight forward. I do, however, recommend plugging all of the lights in first and testing them before mounting them on your TV.
Also, some of the power cords attached to the LEDs are longer than others. This is because of where they are placed on the TV in relation to the power.
Speaking of power, most modern TVs have a higher-powered USB port. The MediaLight can draw power from that USB port assuming it is a USB 3.0 port. Otherwise, you can use the included AC adapter. But, the nice thing about using the TV’s USB port is that more often than not, the port only receives power when the TV is on, meaning that the bias lights will turn and be on only when the TV is on. Lastly, these lights remember the previous dim setting. But you can optionally turn the lights on or off to your liking.
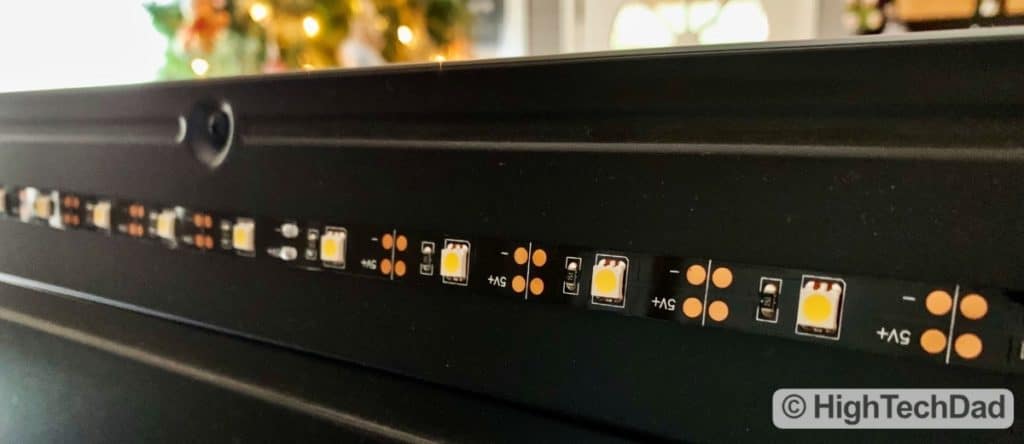
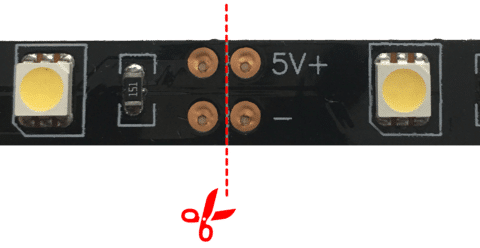
Each of the LED light strips come with 3M adhesive backing to stick to the back of your TV. And, the LED strips can be trimmed to size using a pair of scissors. Just be sure you cut the strips in the proper place (see below).
If you do get the MediaLight bias lighting kit, I highly recommend reviewing their Installation tips page and watching the videos there. It’s important to measure at least twice and cut once. AND be sure you don’t cut the end of the strip that has the USB power cord!
Included with the MediaLight Quad kit is an infrared receiver for the remote. You need to be sure to install this so that it is peeking out from the side of your TV if possible. Or, if you have a good wall to bound the IR signal off, ensure that the access to the IR receiver is not blocked or obstructed.
The whole process takes probably about 30 minutes or so. It could be less or more. I wanted to take my time ensuring it was done correctly the first time.
The Final “Biased” (Lighting) Result
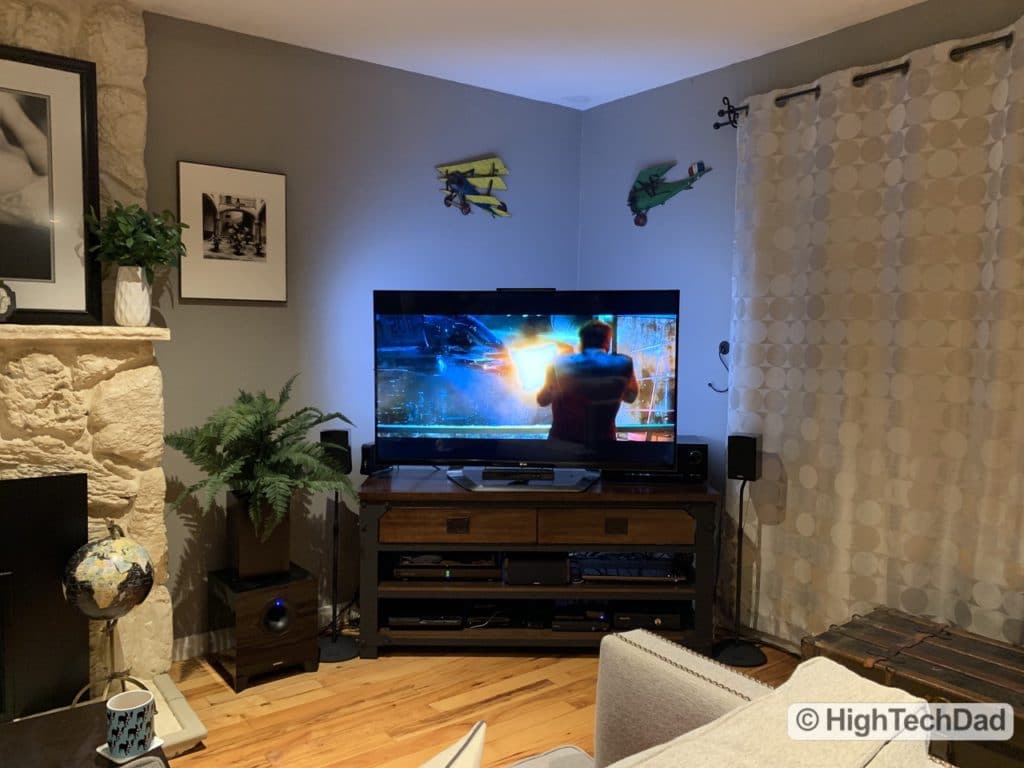
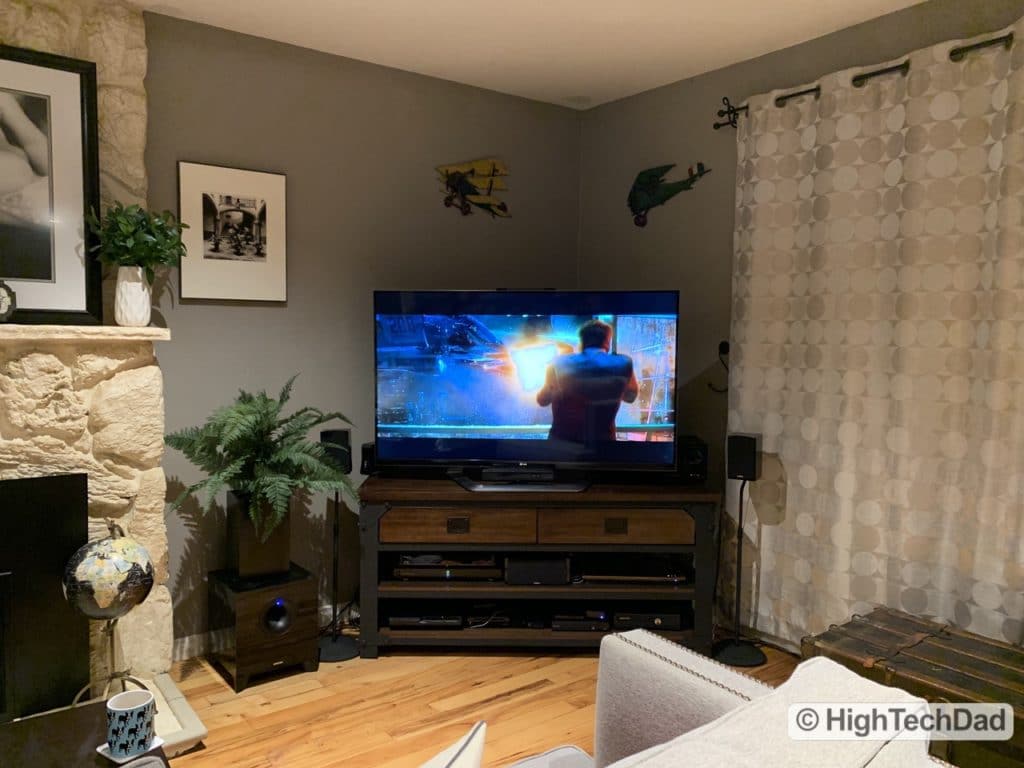
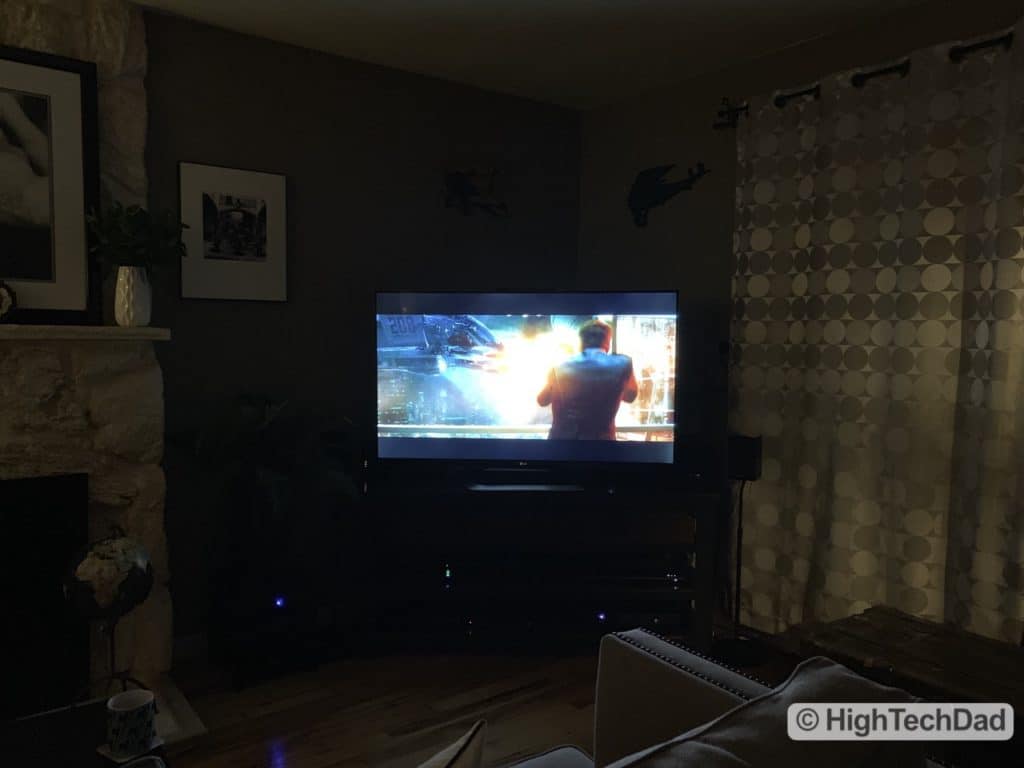
So how well does the MediaLight work? Honestly, it’s hard for me to understand how I survived without using bias lighting before. The entire viewing experience is much more cinematic and easier on the eyes. I personally feel like I have a very high-end media room (remember I mentioned that before?).
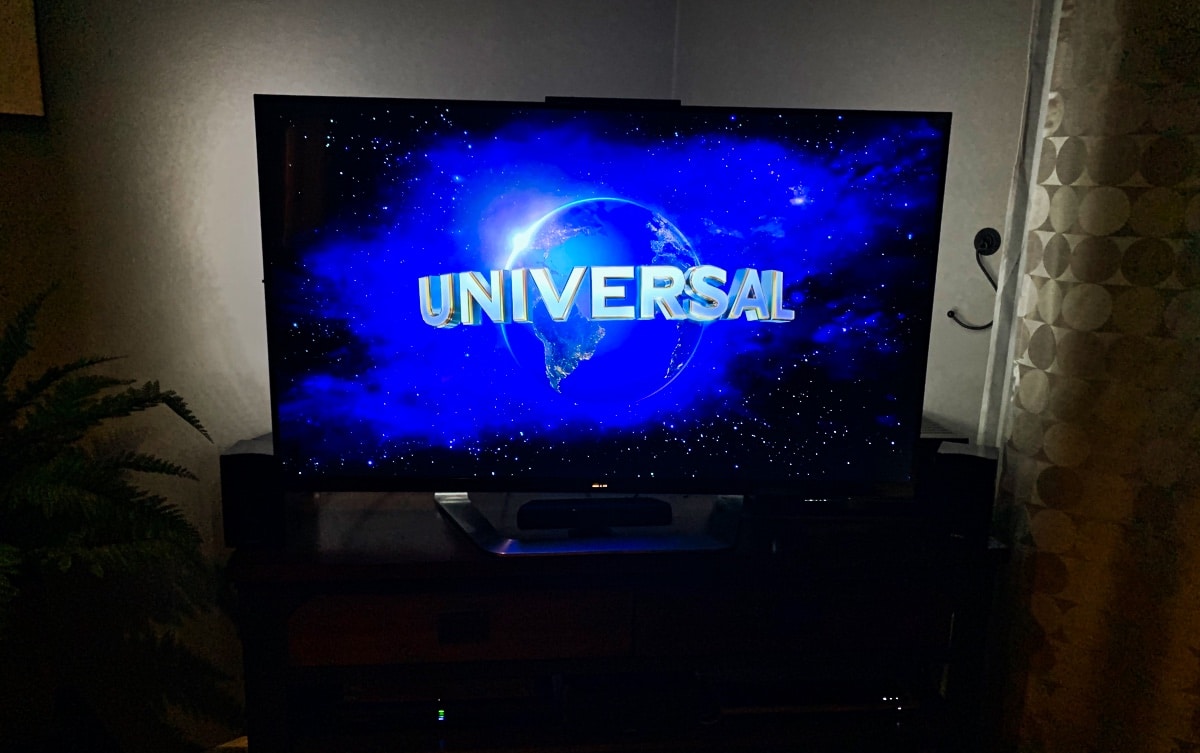
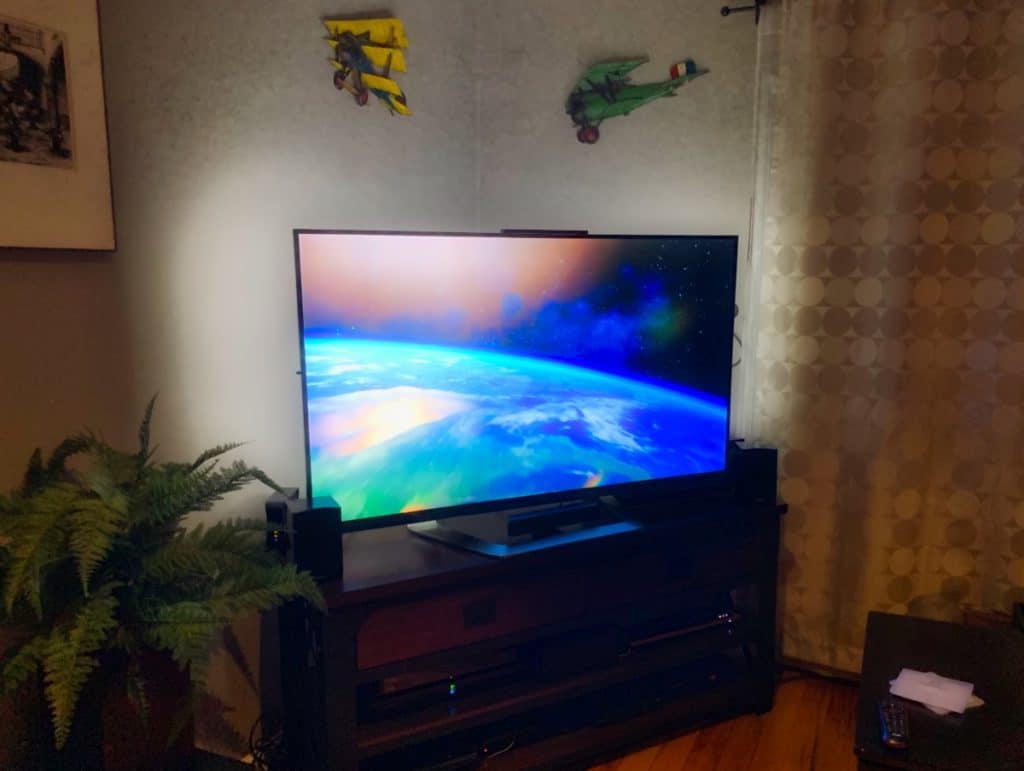
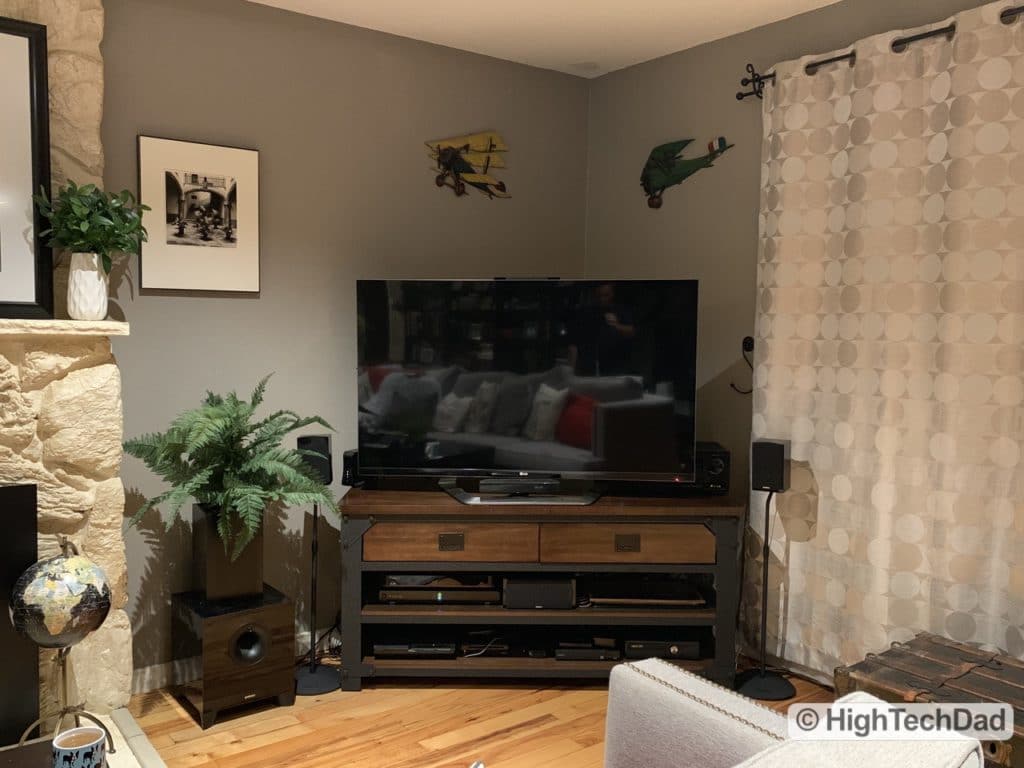
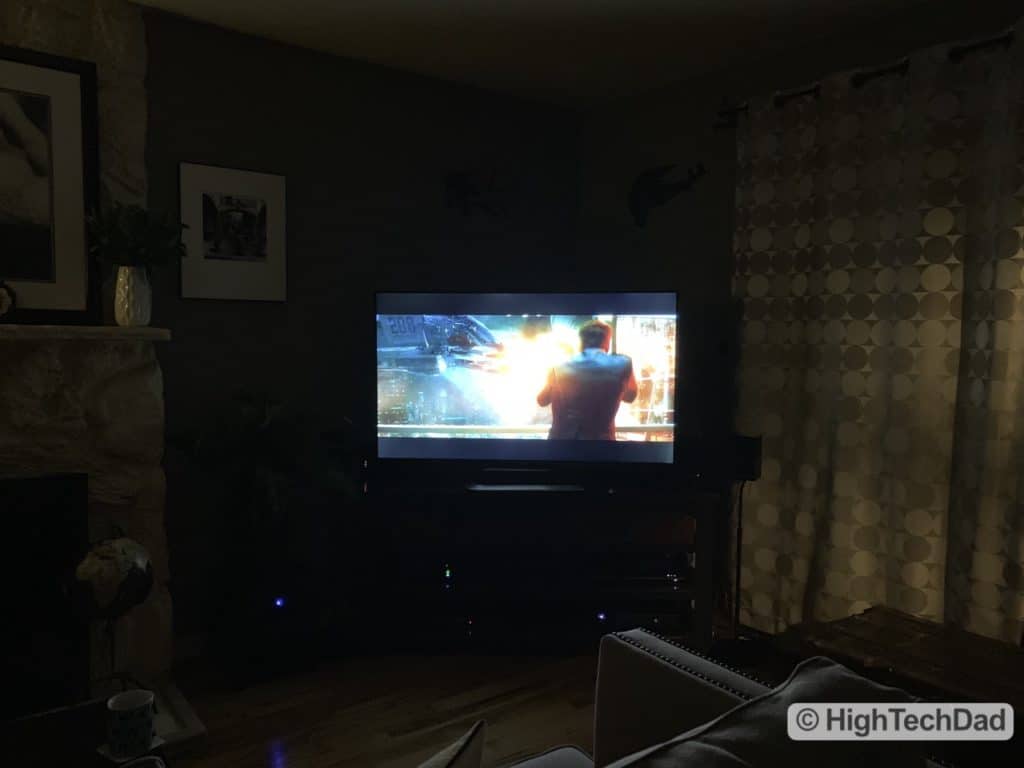
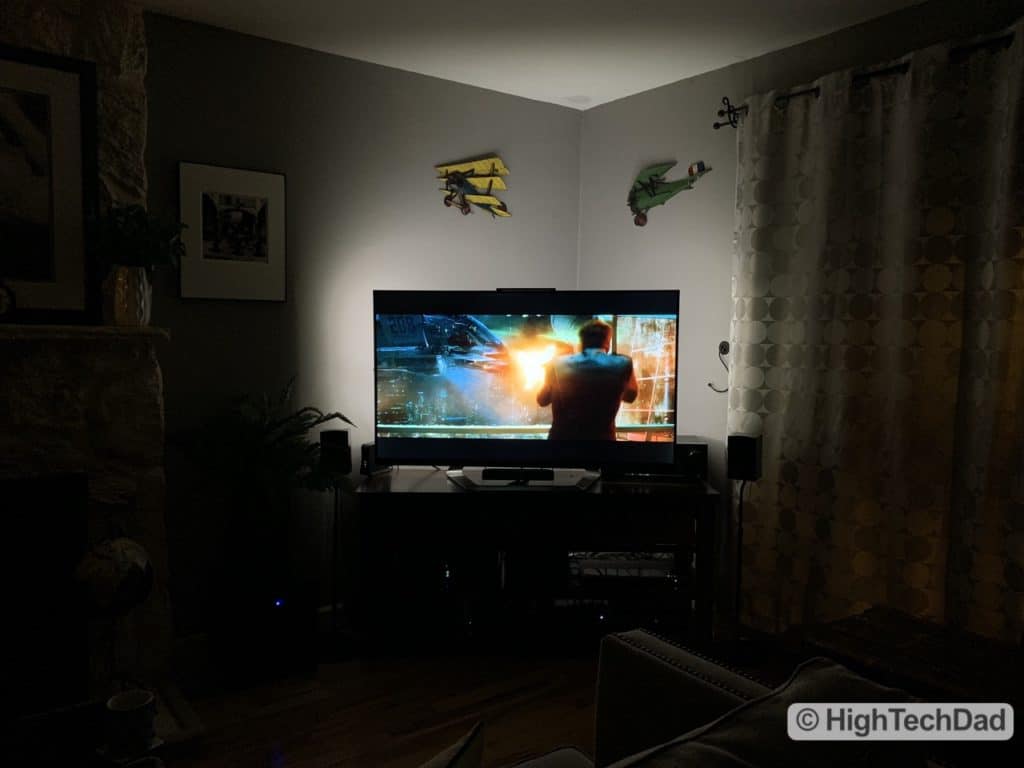
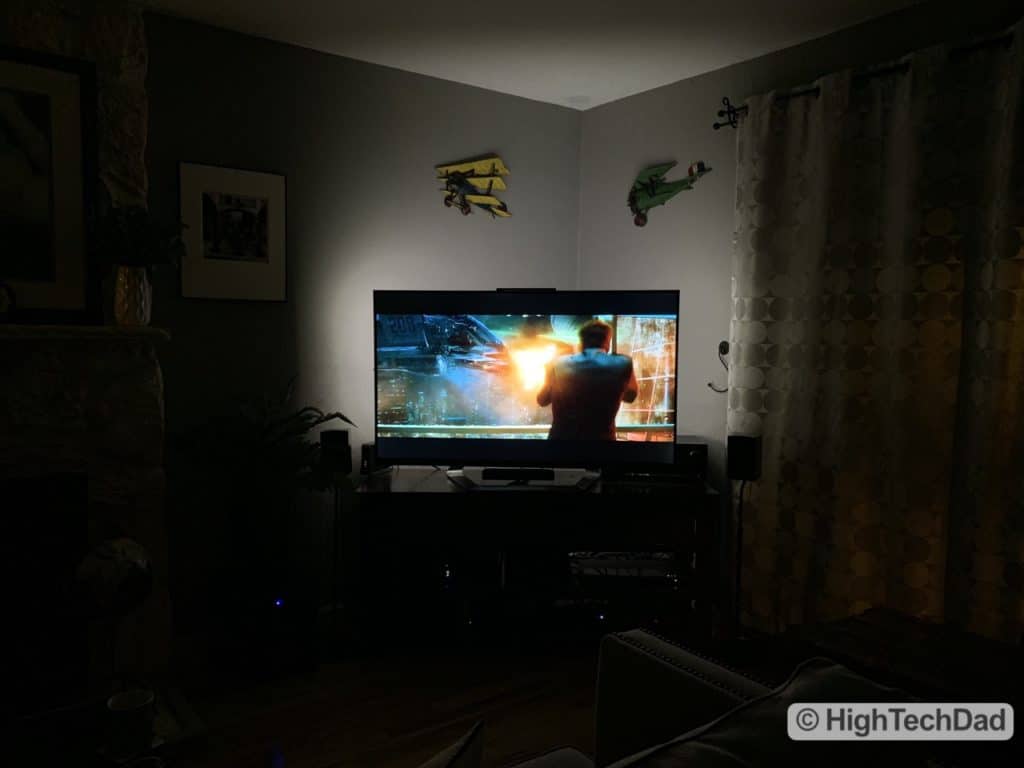
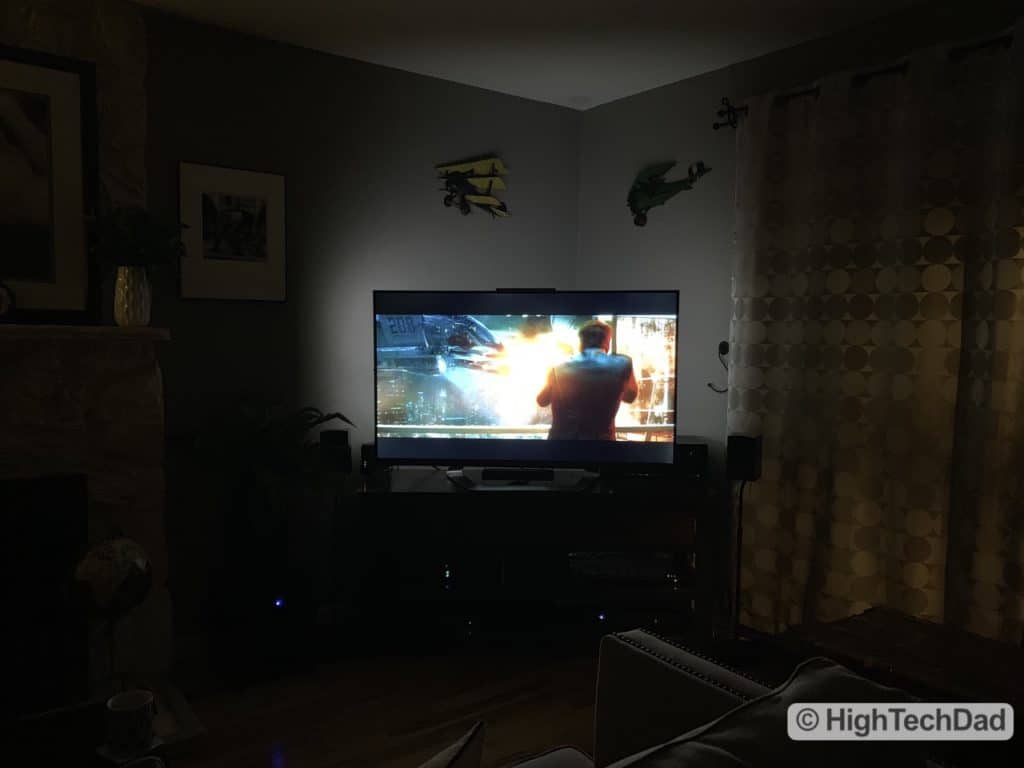
I took a series of photos of the same scene in a movie paused with different lighting settings. One is with all of the room lights one, one with some lights in the background, one without the bias lighting on, and a few with various dimming levels using the bias lighting. And I included on that had the room lights on AND the bias lights on. There were no adjustments made to any of the photos (but it probably doesn’t do it justice). And the iPhone I used is probably over-compensating on the exposure.
Since you have read this far, I’m going to guess that you have an HDTV (either a new or existing one) and you want to bring the viewing experience to the next level. Hopefully, I have convinced you that installing bias lighting is truly the easy way to do a “high-end” upgrade to that TV. And while there are many choices out there for bias lighting, I really feel that The MediaLight guys truly know what they are doing (compared to some of the other items available on Amazon, for example. In fact, all of their lights are certified by the Imaging Science Foundation.
The MediaLight Quad retails for $89.95 (and is available on Amazon for $89.95). There is a single strip version available which has 42 LED’s which goes for $49.95 on Amazon too. And there is even a version for Computer Monitors which is currently $24.95 on Amazon.
Shop on HighTechDad
The product shown below (and related products that have been reviewed on HighTechDad) is available within the HighTechDad Shop. This review has all of the details about this particular product and you can order it directly by clicking on the Buy button or clicking on the image/title to view more. Be sure to review other products available in the HighTechDad Shop.
You probably spent several hundred or even thousands of dollars on your high-end, high-definition TV. It’s truly worth spending less than $100 to make the viewing experience on that big screen TV even better! Your audience and your own eyes will thank you!
Disclosure: I have a material connection because I received a sample of a product for consideration in preparing to review the product and write this content. I was/am not expected to return this item after my review period. All opinions within this article are my own and are typically not subject to editorial review from any 3rd party. Also, some of the links in the post above may be “affiliate” or “advertising” links. These may be automatically created or placed by me manually. This means if you click on the link and purchase the item (sometimes but not necessarily the product or service being reviewed), I will receive a small affiliate or advertising commission. More information can be found on my About page.
HTD says: If you haven’t heard of bias lighting for your HDTV, I highly recommend you install some. But do your research, not all bias lights are the same. In the end, you will be surprised and pleased with your upgraded viewing experience!
HighTechDad's Ratings
-
Ease-of-Use
-
Family-Friendly
-
Price Point
-
Features
Summary
If you haven’t heard of bias lighting for your HDTV, I highly recommend you install some. But do your research, not all bias lights are the same. In the end, you will be surprised and pleased with your upgraded viewing experience! It’s important to understand first what bias lighting can do for your viewing experience. Then, if you decide that it is for you, you should really do some research to know what to look for in a good bias lighting solution. Stay away from colors. Look for a color temperature range of around 6500k and go for a high color accuracy.
Luckily, the folks who produce The MediaLight 6500K have thought all of this out for you and have come up with a variety of easy to install and control bias lighting kits that will transform your HDTV into something even better. While their solutions are slightly more expensive than others available, theirs is designed for scientific accuracy. Once you make the switch, you will be surprised you lasted this long without it.
Pros
- Easy to install
- Great flexibility of lighting control
- Amazing upgrade to viewing experience
Cons
- A bit pricier than competitors (due to better quality of light)



1 comment
Steven
Great Review!