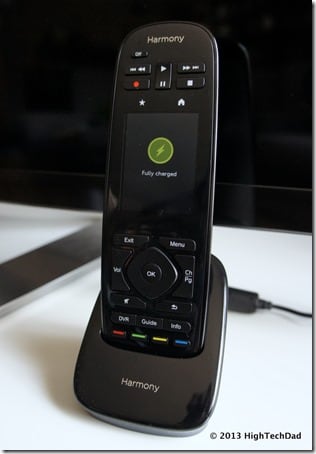
I’m not sure how much further Logitech can go with their Harmony universal remote line. With the new Logitech Harmony Ultimate out (which is a great Father’s Day gift, by the way), I’m really curious what the next generation Harmony remote would bring. I’m thinking that it will have some sort of mind reading integration or something because the new Logitech Harmony Ultimate is pretty much as full featured as it can go. The Harmony Ultimate remote is truly that…the ultimate remote. It is not only the last remote you will probably need, but also has the ultimate in configuration and control, making it head and shoulders about the competition.
I seem to have a passion for collecting remote controls…not by choice, mind you. They come with every lazy person’s device that you get: TVs, DVRs, DVD players, receivers, streaming players, gaming systems, etc. And what starts to happen is that you get a pile of remotes. That wouldn’t be that bad if you didn’t have to remember which remote controlled what device. And, as more and more TVs and HiFi receivers have multiple types of connections (HDMI, component, composite, coax, etc.), it is practically impossible to remember which input you need to select to have your TV light up with the proper A/V content that you want. And, to top that off, try explaining to someone how to get everything running properly. I used to print out cheatsheets that I would leave for my family, guests or babysitters that would explain how to do it all, but it always ended up with the same thing, a frustrated phone call.
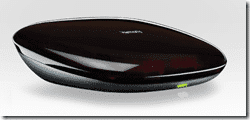
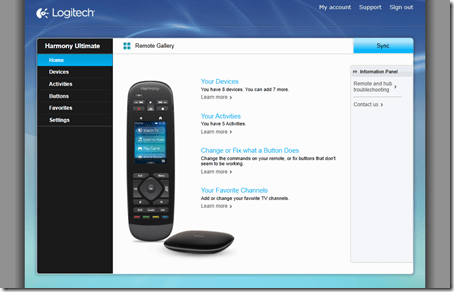
A few years ago, I reviewed the Logitech Harmony One, which at that point, I thought would be the remote to end all remotes. This month, thanks to Logitech, I got my hands on the new Harmony Ultimate. This is a universal remote control on steroids and it extends well beyond the remote that comes with it. Let me explain. With the Ultimate, you do get a remote (obviously) but you also get what they call the Harmony Hub. The Hub is what brings the “ultimate” power to your system. The Hub is an RF (Radio Frequency) Receiver. That means that it can receive commands without having line-of-sight and can go through walls. The Hub also has 2 IR (Infra Red) “blasters” that you put in your A/V cabinet. The Remote transmits an RF signal which the Hub then translates into IR commands.
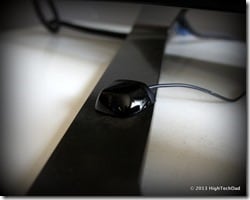
But wait, there’s more! If you act now, you also get Bluetooth built into the Hub (actually, that is a standard feature). Why is that important? Well, it means that you can control devices that use Bluetooth like the Nintendo Wii U. And, if you have any Philips Hue lights (which I don’t but they look incredibly cool), you can control those as well.
The Hub also connects to your local WiFi for synchronization and other connectivity. There is now a smartphone (iOS and Android) app that you can synchronize with the Hub and then use your smartphone as another remote control. Install it (free) on all of your smartphones and suddenly there is no more fighting over the remote (just over whose command gets processed first). Note, the smartphone app only can control your Hub if you are on the same WiFi network.
I will walk through each of these items (Remote, Hub and smartphone app) in this review. But first I want to go into the actual setup.
Setting up the Harmony Ultimate
If you are familiar with the Harmony remote line, you know how the set up process works. With the Harmony One and Ultimate (and others), you go through a series of wizards designed to make your configuration much easier. In my review of the Harmony One, you can see that process. Before you start configuring your Harmony Ultimate, you need to have a series of items ready. You will need:
- Manufacturer of your A/V items – Make and model number
- Inputs & connection types – Are you connecting your TV via HDMI or component inputs?
- Cable/Satellite/TV information – who is your provider?
Once you are armed with this information, you should be ready to go through the setup.
The setup is actually done via the Internet. You need to connect your Hub first to power and set up the IR blasters. After that, you head over to the Harmony site to set up a new account or log into an existing one. This is a bit different than some of the older models (like the Harmony One) which had Internet-connected software. This is purely done through a supported browser.
Here are the screens that I encountered during setup (note: I was able to import in some of my old settings from my Harmony One – which is shown).
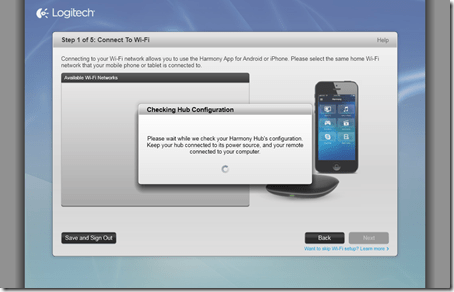
The first step is to make sure that your computer and the Harmony Hub are on the same network. This way, they can talk to each other during the set-up process. Here, my Hub is being searched for.
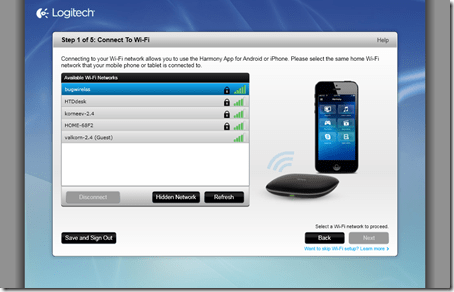
Once the Hub is found, it tells all of the WiFi networks that it is picking up. You need to choose the best one.
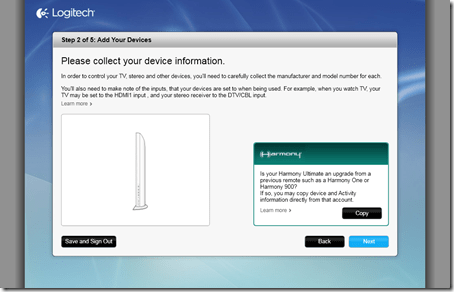
Once you have connected, the “hard” part begins. You need to compile (which you should have already) all of the devices and their information. Note the box in the lower right hand corner says that you can import in your older configurations from a Harmony One. This is the path that I chose.
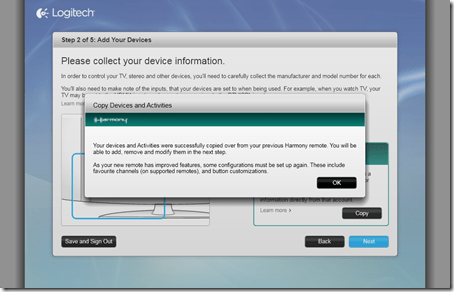
Once you authenticate on the older Harmony system, your device and configuration settings will be imported in. If you went the other path, you would got through a series of steps where the wizard would ask you what components should be one, what connections they use and how they are used for different activities.
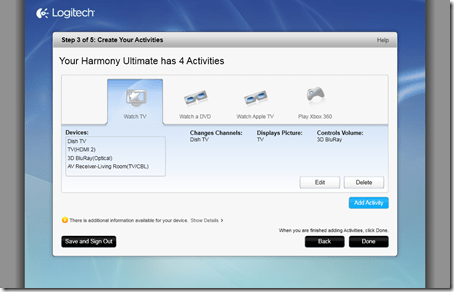
As you can see, in the next step, I have 4 activities configured and you can see the details of each activity. I actually added a couple more activities because I had some other devices to add to the mix including connecting a Nintendo Wii U (which has a unique connection type – explained a bit later).
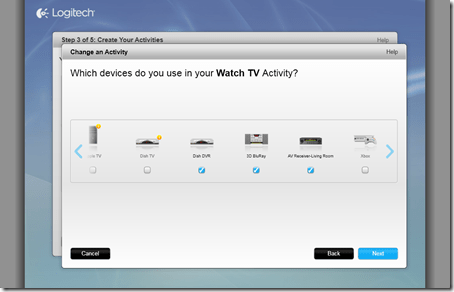
If you need to change an activity like which devices are used in that activity, it is easy to do using the wizard and selecting the appropriate configured device.
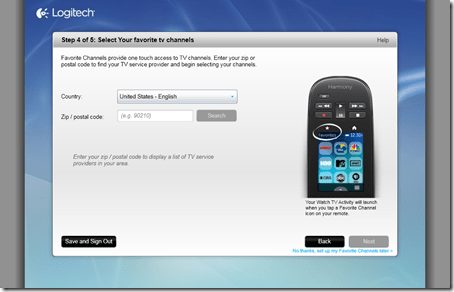
Next you enter in what you use to watch TV and where you are located. This will help determine your favorite TV channels which you can access by simply clicking on a channel logo icon.
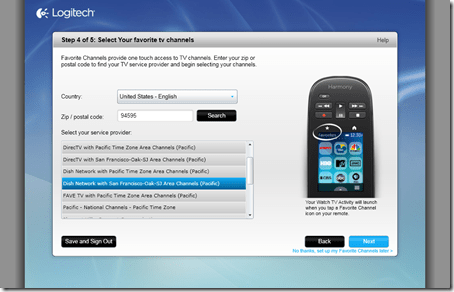
Here I selected Dish Network as my TV provider.
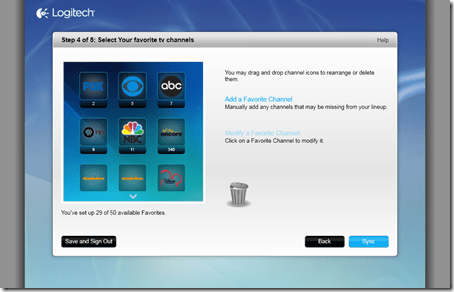
And this is where I configured the channels that I wanted to have appear as my favorites.
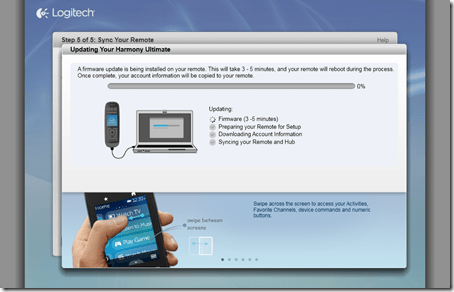
The final step of the process is connecting to your remote which you will do using the included micro-USB connector. You can use this to upgrade firmware as well as synchronize your settings.
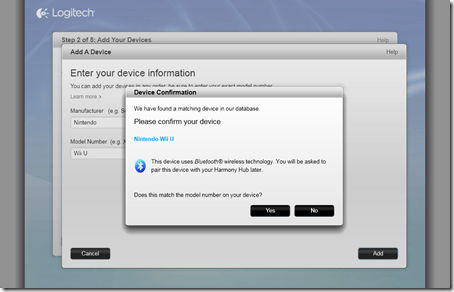
As I mentioned earlier, the Hub also has the ability to connect and control devices that use Bluetooth like the Nintendo Wii U. This is a special type of pairing but you get detailed instructions on how to do this from within the Harmony configuration screens. Once connected, I could fully control my Wii U via Bluetooth.
Once everything is configured, the fun begins. You now can (hopefully) fully control your A/V setup. And there is always the ability to fine-tune any settings that you have done via the online portal.
Using the Harmony Ultimate
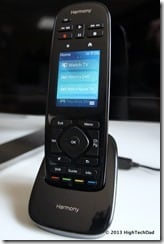
The remote itself sits upright in a charging station until it is ready to be used. In your hand, it is light-weight and comfortable. There are a series of buttons on the top and on the bottom, separated by a touch-screen display. Do note, the buttons are all backlit which makes night-time viewing easy. The remote will “turn off” when it is not in use but will light up when you move it or pick it up.
The top row of buttons are: Off, Fast forward/Skip forward, Rewind/Skip back, Play/Pause, Stop and Home.
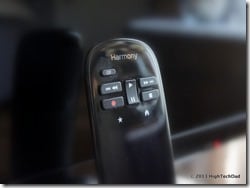
The bottom section of buttons are more numerous. There is a directional pad with an OK in the center. The surrounding buttons are: Exit, Menu, Volume Up/Down, Channel/Page Up/Down, Mute, and Back.
The bottom two rows of buttons are: DVR, Guide and Info and then there are 4 colored buttons: Red, Green, Yellow and Blue (which seems to appear on my different types of remotes these days as well as game consoles).
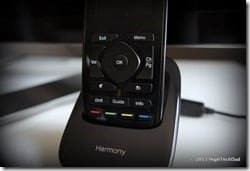
Lastly, there is the middle touch-screen section. This is where the magic truly happens. From the Home screen, you can choose the activity that you have programmed like: Watch TV, Listen to Music, Play Xbox, Watch Apple TV, etc. And you can swipe the screen to another view which shows your favorite TV channels. If you click one of those channels, you will go into the “Watch TV” activity and tune automatically to that channel.
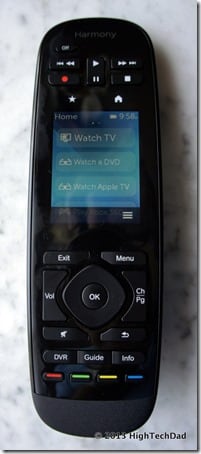
When you click on a particular activity, the remote sets itself automatically to control that activity. The hard buttons are programmed for that. For example, if you have a HiFi receiver that controls the volume, the volume buttons will control that. But if you click the channel button, those buttons control your TV or cable/satellite box. It’s pretty magical.
Also, if for some reason, your activity is not working properly, you can click on the three parallel bar button at the bottom of the touch screen to bring up an addition set of menu items:
- Help – an onscreen wizard that walks you through your current activity to ensure that everything is set properly
- Fix it myself – choose the device and then try to fix any issues yourself
- Devices – get access to all commands of any configured device
- Settings – drill down into lots of additional settings for the remote, activities, devices or other settings
- Edit – edit the Favorites screen
Any changes or updates to your system, you can synchronize back to the Hub for storage.
Using the Mobile application
Once you have configured your Ultimate remote and Hub and synchronized it all, you then have the ability to use the same commands on your iOS or Android device.
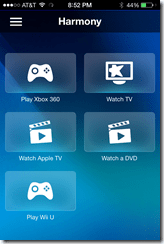
Below you can see all of the activities I have configured previously.
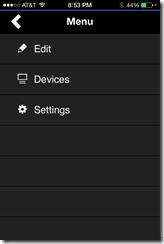
You also can edit items, access device controls and change settings.
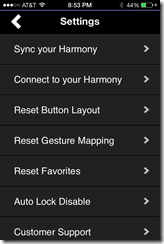
The Settings section gives you access to a tone of items.
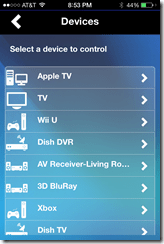
Within the Devices section, you can control every configured device.
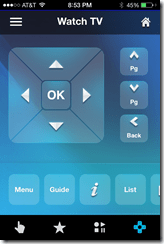
Clicking on a particular activity (like “Watch TV”) enables your smartphone with all of the controls for your activity.
You can have button commands.
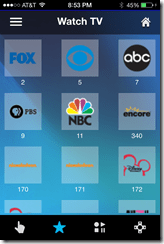
Your pre-configured Favorites are there as well.
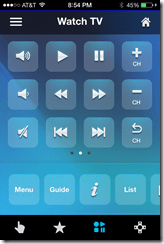
And you have other button controls for your activity.
As I mentioned, no more fighting over the physical Harmony remote. You will, however, probably be fighting over whose commands and activities go first! And, the functionality is much the same on Android.
HighTechDad Ratings
The Logitech Harmony Remote Ultimate is that, the ultimate remote and probably the last one that you will need. With a little bit of configuration time up front, you will probably never have to use another remote again. The MSRP on this remote is $349 which isn’t cheap (you can pick it up on Amazon currently for $349) but the amazing amount of functionality that is built in, AND the fact that you can use your smartphone as a remote as well, makes the price much more palpable. I wouldn’t recommend that you give your kids this remote to configure unless they are the ones with the tech-knowledge in the household. It does also take a bit of time to configure, especially if you have a lot of devices and activities to configure.
But once this is configured, with a quick crash training course, your entire family could be using the Ultimate in a matter of minutes. Over all, while it takes time to configure, that time is earned back by not having to use any other remote, ever again.
If you have a chance to check one of these out it the store, definitely do! While this makes a great Father’s Day gift, it’s a gadget that any one who has lots of remotes would appreciate. I highly recommend it.
Disclosure Text : I have a material connection because I received a gift or sample of a product for consideration in preparing to write this content. I was/am not expected to return this item or gift after my review period. All opinions within this article are my own. More information can be found in my About page as well as here.
HTD says: The Logitech Harmony Ultimate remote is that – the Ultimate of remotes!
[AMAZONPRODUCTS asin=”B00BQ5RY1G”]
