Your Smart Home isn’t necessarily confined to the inside of your home. Sure smart locks, garage doors, pool equipment, and security cameras can extend home automation to the exterior of your home. You also have the ability to make your home’s sprinkler system, whether it be for lawns or drip-based planters or flower beds, not only connected but also much smarter. In fact, given that climate change IS a reality, homeowners should really consider how garden watering is done, be able to measure how much H20 is used, and magically and dynamically change watering times and durations, based on the climate. This is exactly how the Rachio Generation 2 works. It is a smart controller that is easy to install but provides an incredible amount of advanced features to allow you to control exactly when, where, and how long to water.
For the past couple of years, I have essentially turned off my old and outdated sprinkler system. Up until this season, there has been a devastating drought in California and suddenly having a brown and dead lawn was actually viewed as being “environmentally correct.” Now, with the drought officially over, many homeowners are starting to bring their gardens and lawns back to life. Honestly, my front lawn is looking pretty bad. Much of it is dirt. I have attempted to reseed it in the past years, only to then stop watering it because of water concerns and consequently watch it die. Again.
This year I decided I would take a “smarter” approach to reviving my lawn. Yes, I have fertilized it. And yes, I will be re-seeding it soon. But I wanted to be sure that I was also armed with the latest and greatest tools of smart watering technology to hopefully make my project a bit more successful. I did some research into some of the leading smart watering controllers available currently on the market and after reviewing some of the core features and comparing against my criteria, I decided to reach out to Rachio for a review unit (which they kindly provided in exchange for this review).
Here are some of the things I was looking for in an automated watering solution:
- Have a smartphone app
- (Obviously) connect via WiFi
- Handle a minimum of 6 watering stations
- Automatically suspend watering plans if there was rain
- Automatically adjust watering schedules based on weather or calendar
- Pull in weather stations for more accurate watering scheduling
- Ability to customize each zone
- Have granular controls for sprinkler types
- Have environmental factors (soil, grade, exposure)
- Integrate with other Smart Home platforms
- Have manual access
- Have an easy install and setup
- Not be too expensive ($~250)
That’s not THAT big of a wish list, is it? Ha. Well, as I found, the Rachio handles each and every one of those items. And I will touch on each of them in this review.
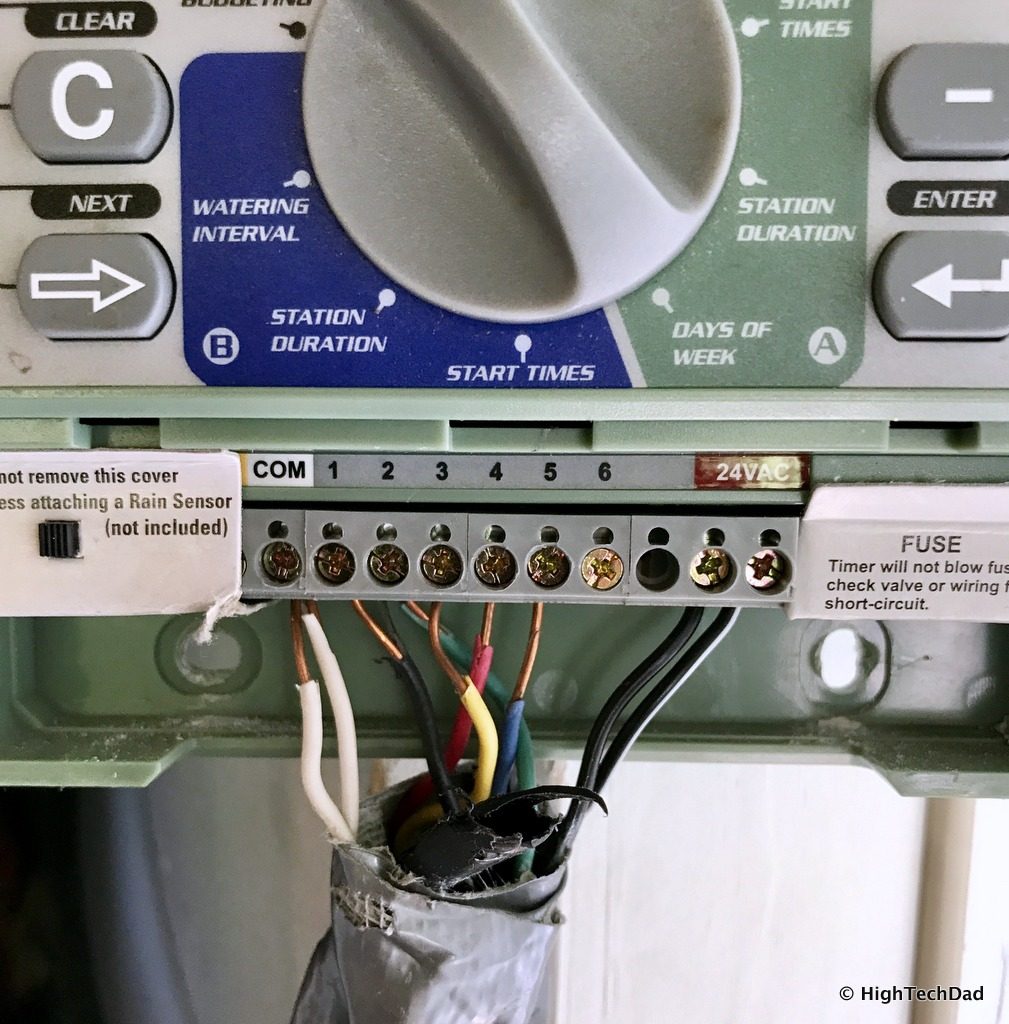
First, here’s what I was replacing. It was somewhat old school. But I sometimes do find that older tech that tries to do a lot within a simplistic interface can be pretty confusing at times. The mere fact that I had to twist a dial and then push a bunch of buttons to adjust duration or days or start times was a bit maddening, especially if you have lots of watering stations or want to fine tune your schedules throughout the year.
Another reason I took this photo was for the installation process of the Rachio. I always recommend taking a before photo, especially if there are color-coded wires you need to keep track of. Also, I wanted to be sure I knew which wires were connected to particular watering stations.
Installing the Rachio
Installing the Rachio is extremely easy. Depending on how many stations you need to wire, and if you are doing a replacement of an old controller or installing a brand new one, your timing will vary. For me, I was replacing my old controller. So, luckily, the station wires were close by, as was an electrical plug.
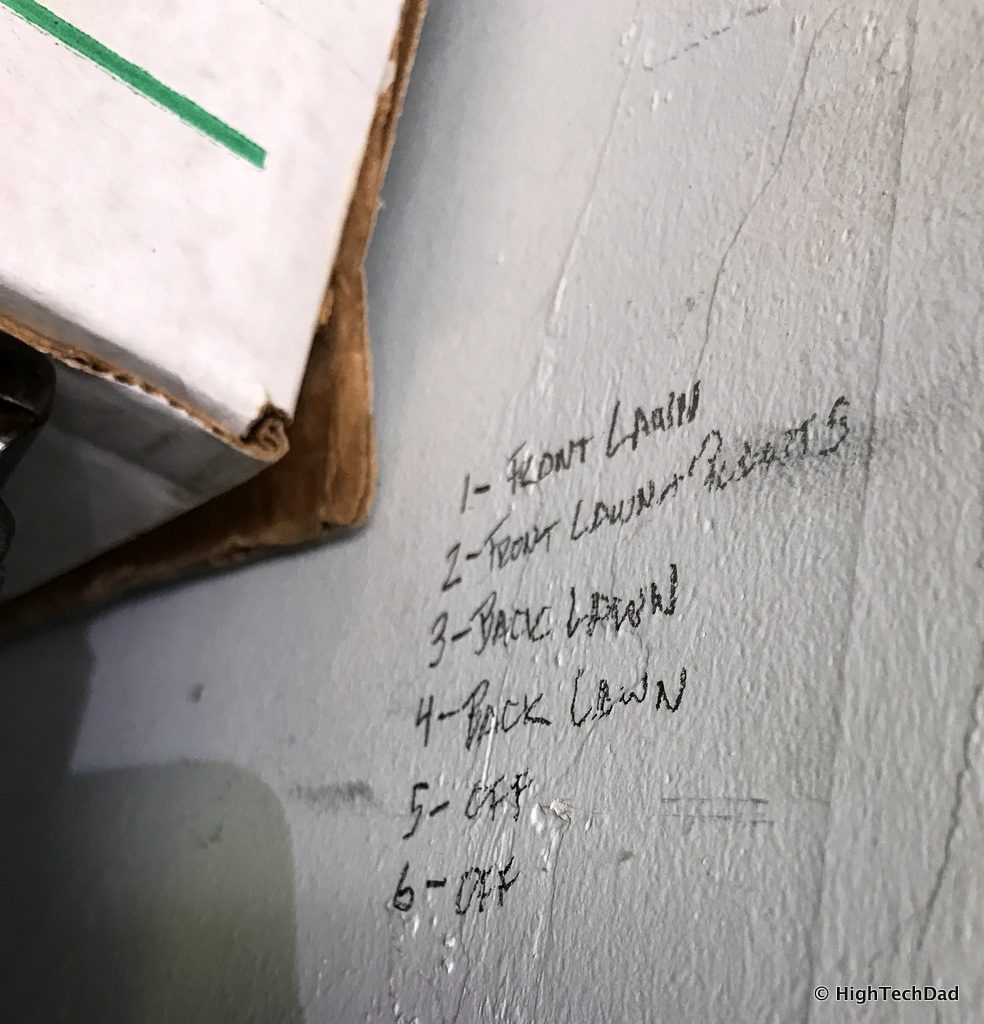
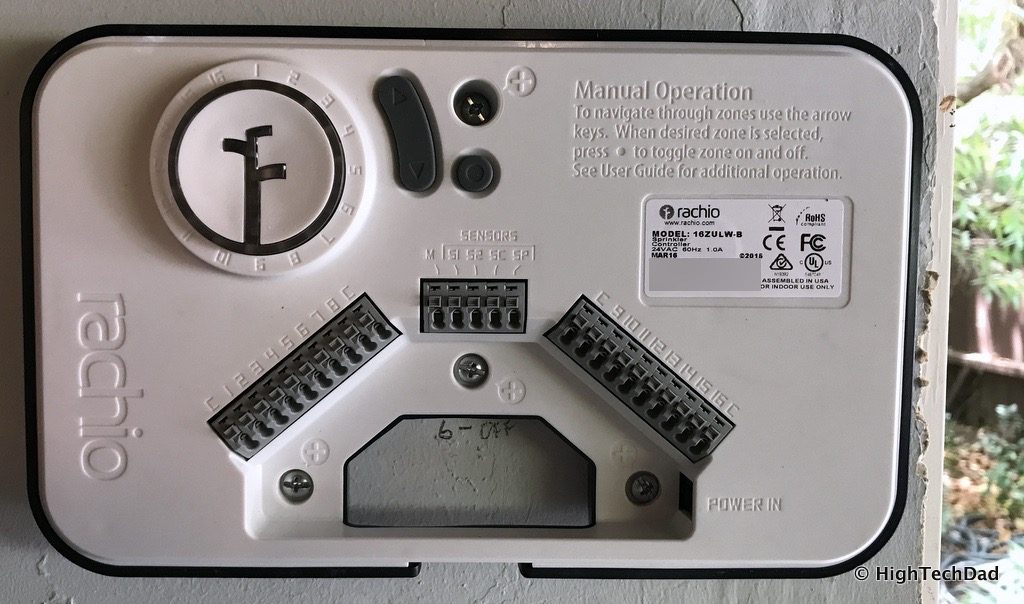
With my old controller, there was no good way to label each of the watering stations. So I took the graffiti route by writing it on the wall. As you can see, I only have 4 active stations (and my previous controller only handled 6 total).
The Rachio I received for review has the capability to handle up to 16 stations (there is a less-expensive version that handles 8 stations). Regardless, I have room to grow should I want to install a drip watering system or add other stations later. Nice to have “room to grow” (literally).
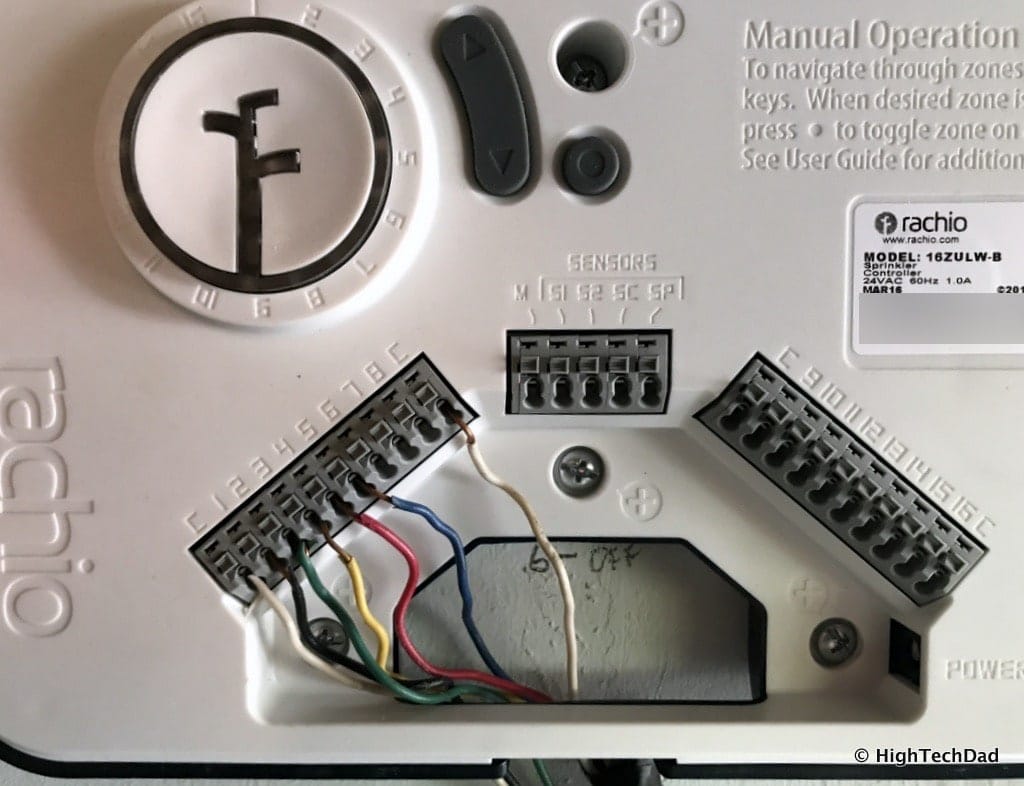
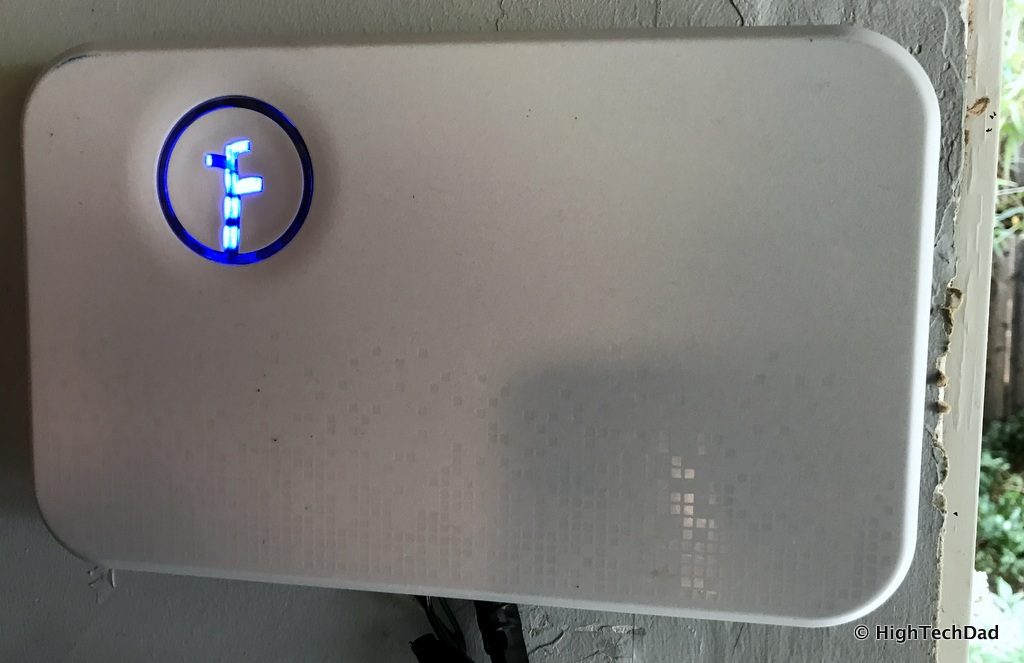
The Rachio has two main parts, the back that attaches to the wall via 4 hefty screws, and a cover. The back part houses all of the circuitry and the wiring.
To do Manual watering, you do have to remove the cover to access the buttons. There are brief instructions stamped onto the panel. But really, you shouldn’t have to do that. The smartphone app is where all of the real magic happens.
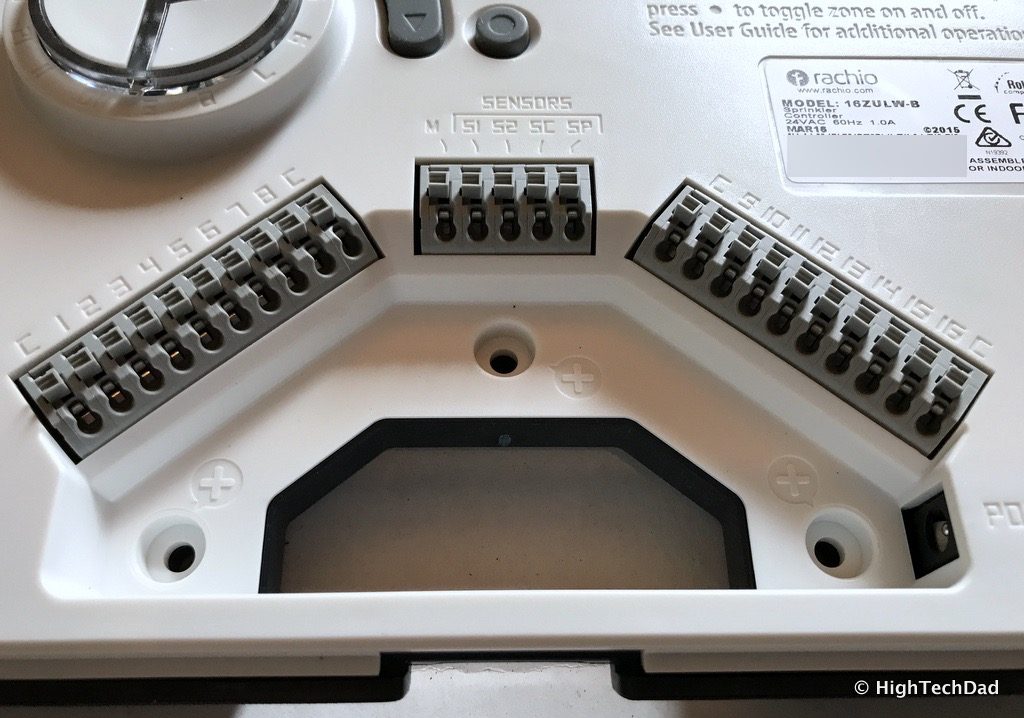
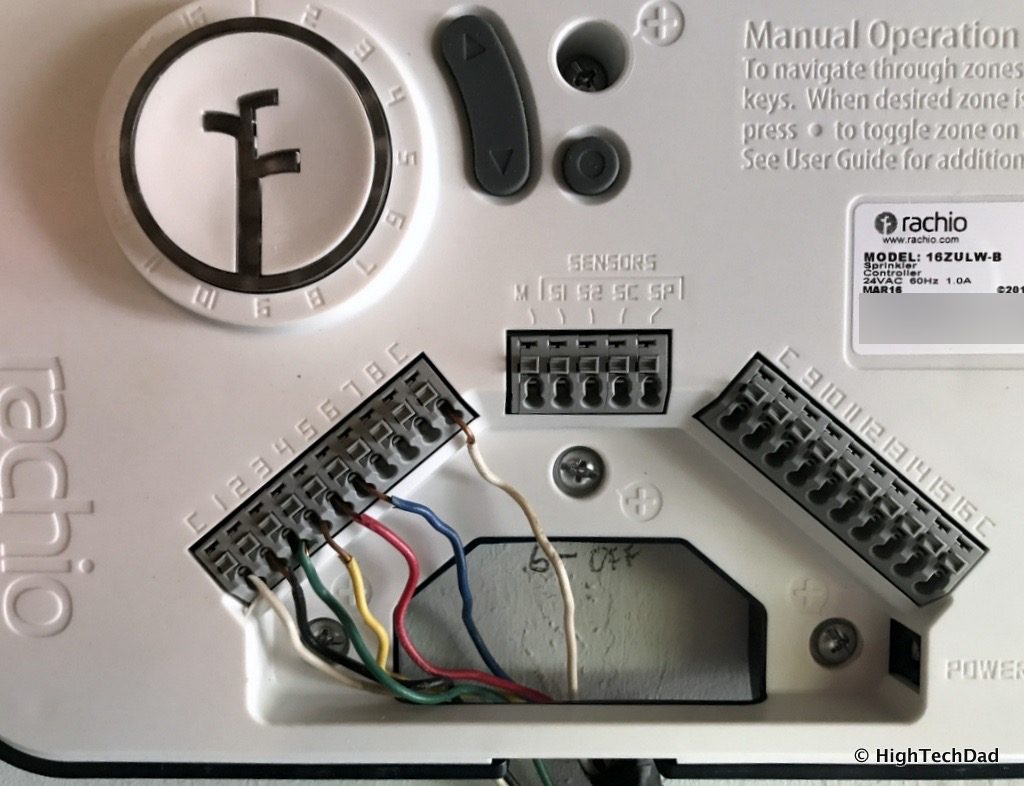
The first thing you will want to do it connect all of the station wirings. Be sure you strip down the wire enough to press it into the small holes. Once you press them in firmly, they will lock. Just tug on them lightly to test.
The stations are clearly labeled and there are 4 slots for C (COM – white) wires. Also, if you get a water/rain sensor, there are connections available for that as well. You feed the wires up through the hole in the bottom. Be sure you do this properly otherwise you will have to redo it the right way.
Above are all of my 5 stations wired in (I only had 5 wired in my old controller). It was nice having the 2 COM wires have their own slots instead of having to force 2 into one slot.
Once you have all of the station wires in, you just need to snap in the power connector. Feed it through the bottom hole as well. Plug it all in and you are done with the physical installation process. Now you go on to the setup which only involves using the smartphone app.
Setting up the Rachio & Understanding the Features
Actually configuring the Rachio does take a bit longer, especially if you have a bunch of watering stations to set up. The nice thing is, once you get the Rachio connected to your WiFi network (oh yeah, hopefully, your WiFi extends to where you installed the Rachio), you can pretty much roam around your yard and test things out.
Below are a bunch of screenshots of the iOS app and most of the steps I went through configuring my system. While it may seem like there are a lot, it probably only took me about 30 minutes to really get things configured.
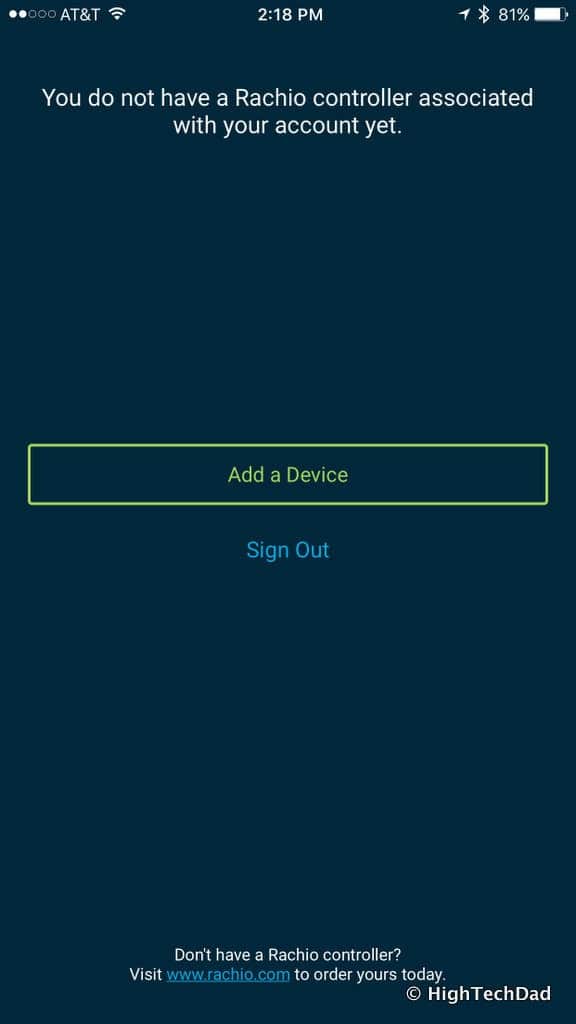
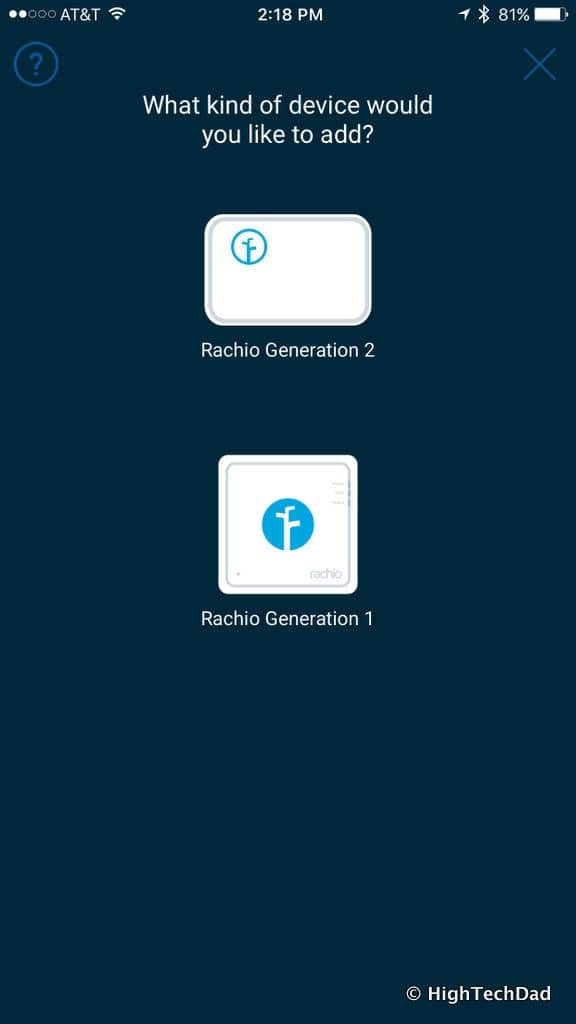
First, you start with connecting the Rachio controller.
You are asked which version of Rachio you want to connect. I was setting up the Generation 2 version.
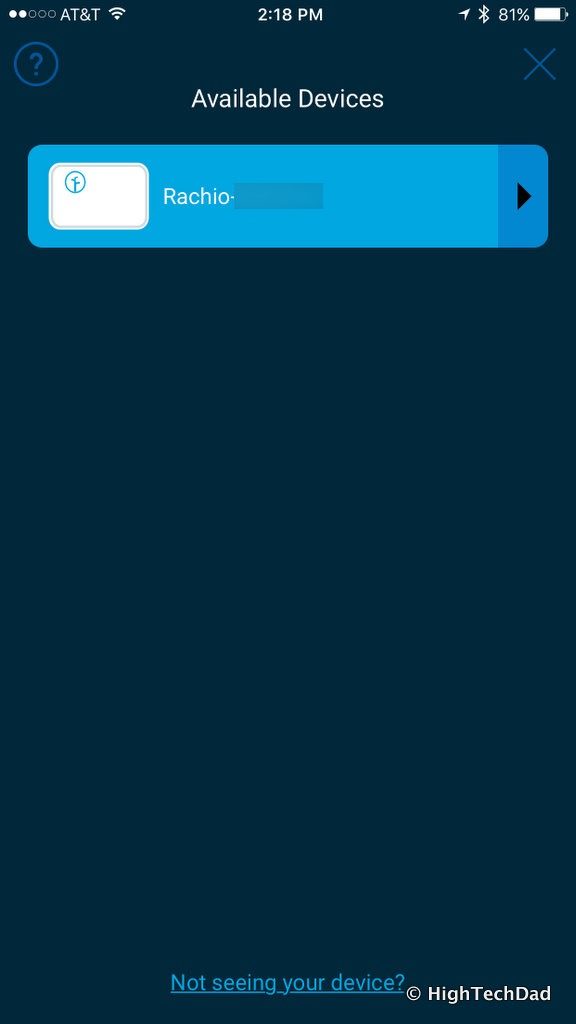
Assuming the Rachio powered up successfully when you plugged it in (and if it doesn’t, just unplug and replug it in), if your phone senses the Rachio nearby, it will discover it and show it as an “available device.”
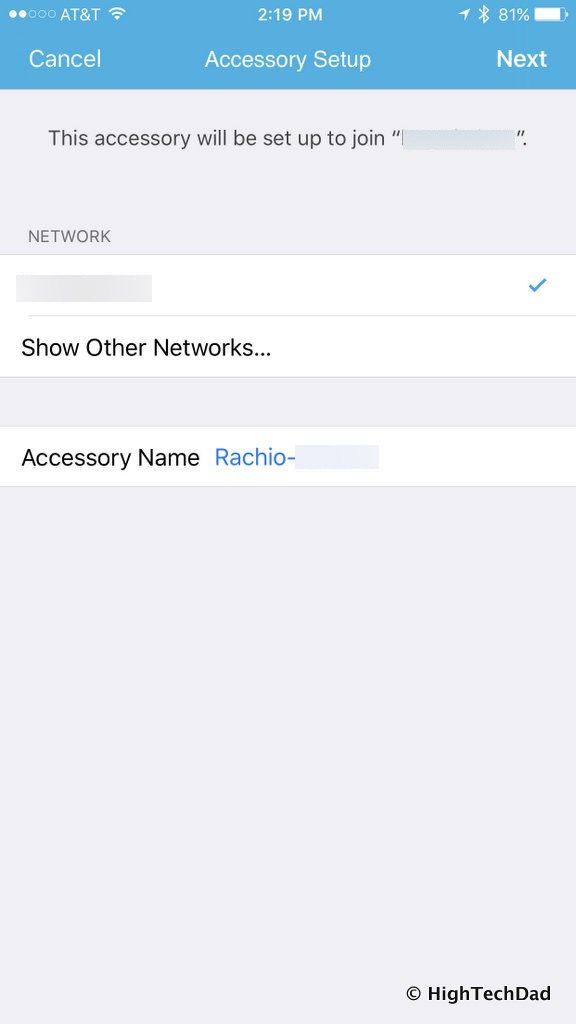
From there, all available WiFi networks will be displayed. Just choose the one you want to connect to.
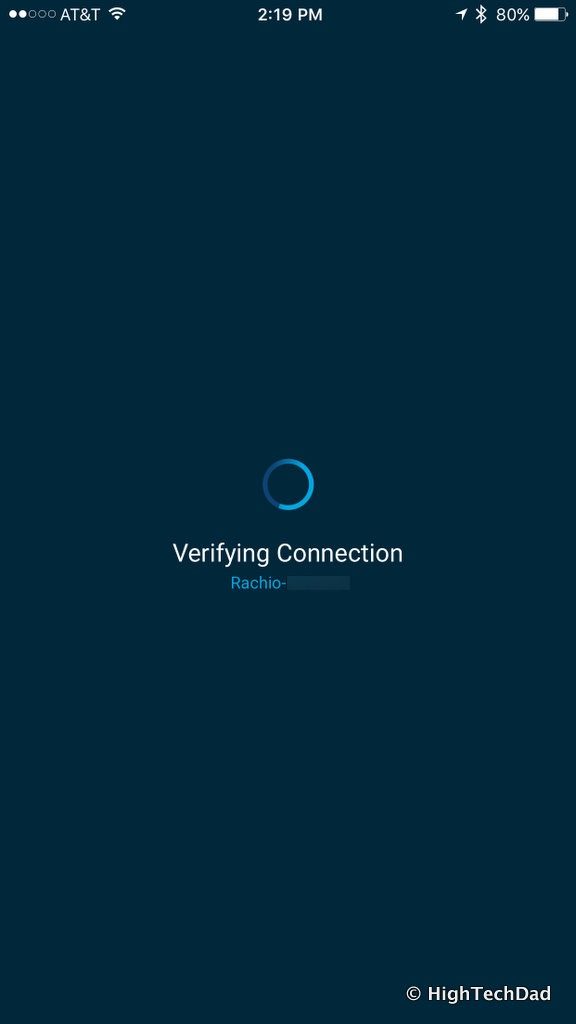
You will enter in your WiFi credentials at this point and the connection will be verified.
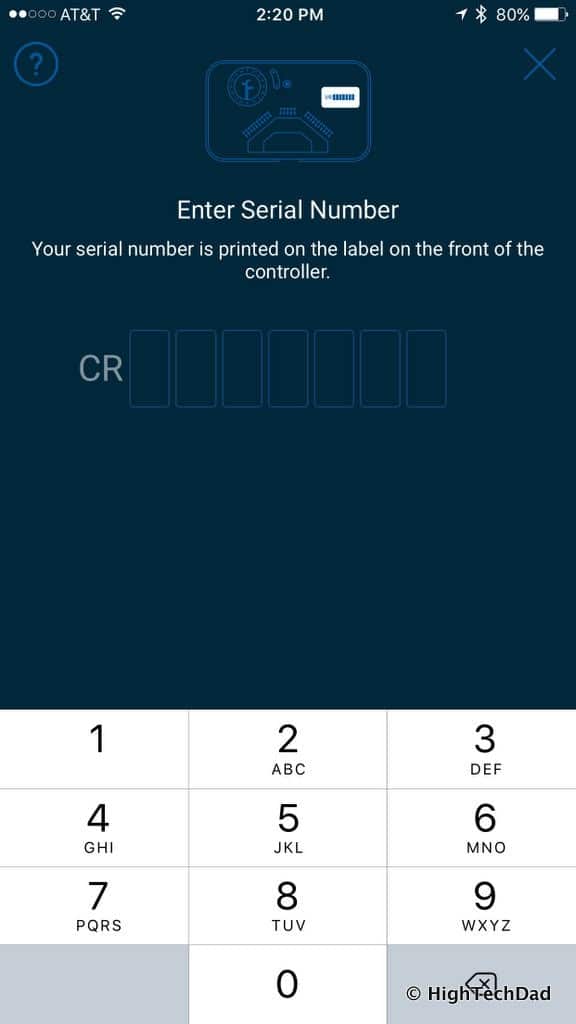
After a successful connection, you then need to enter the serial number. (I guess I should have pointed out that you should leave the cover off of the Rachio until after this step. Sorry.)
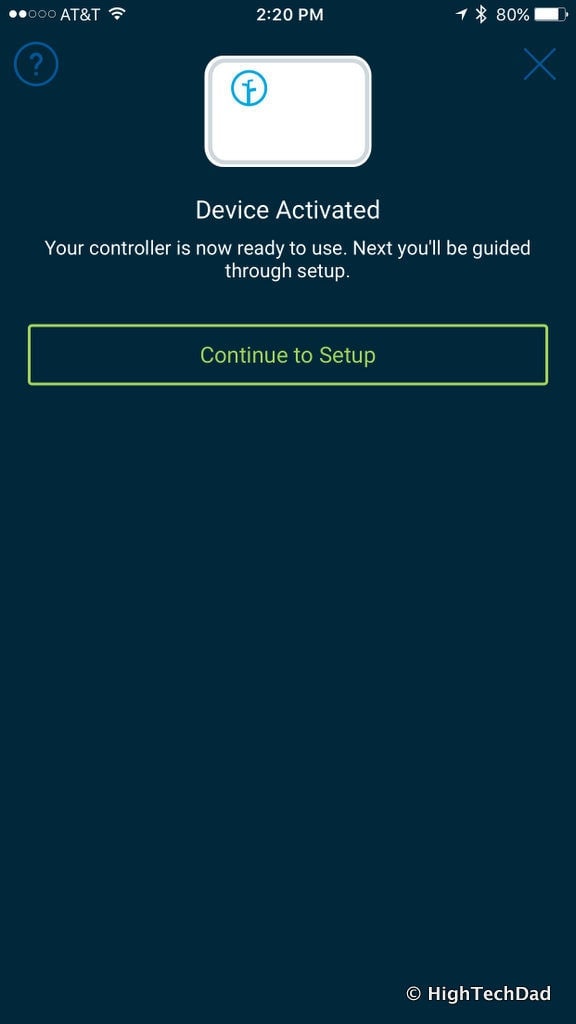
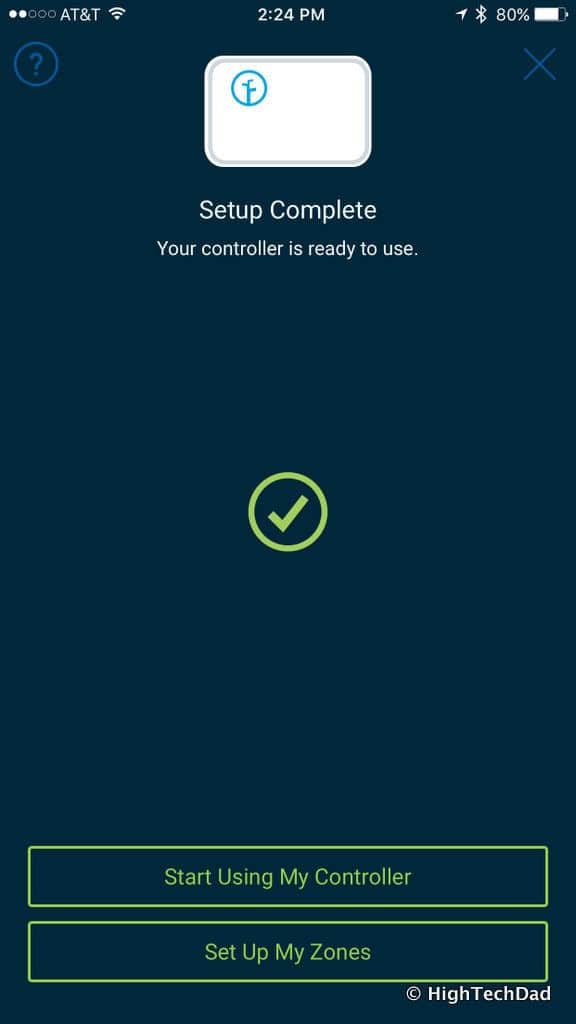
Upon successfully entering in the serial number, your Rachio controller will be activated. And now you move on to setting up and configuring the controller and the watering stations.
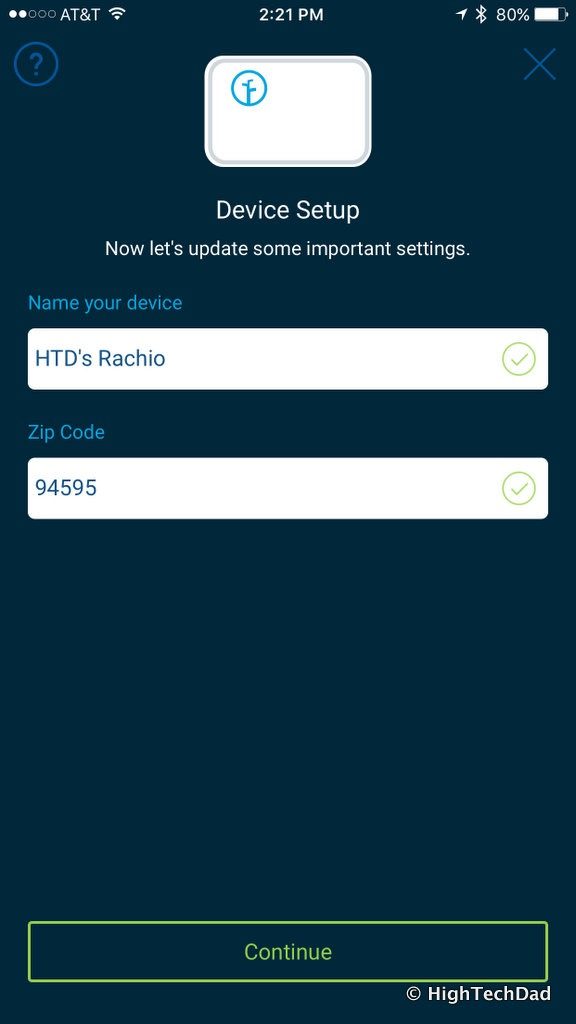
Next, you name your Rachio (in case you have multiple) as well as put in your zip code so that the Rachio service can pull the local weather information.
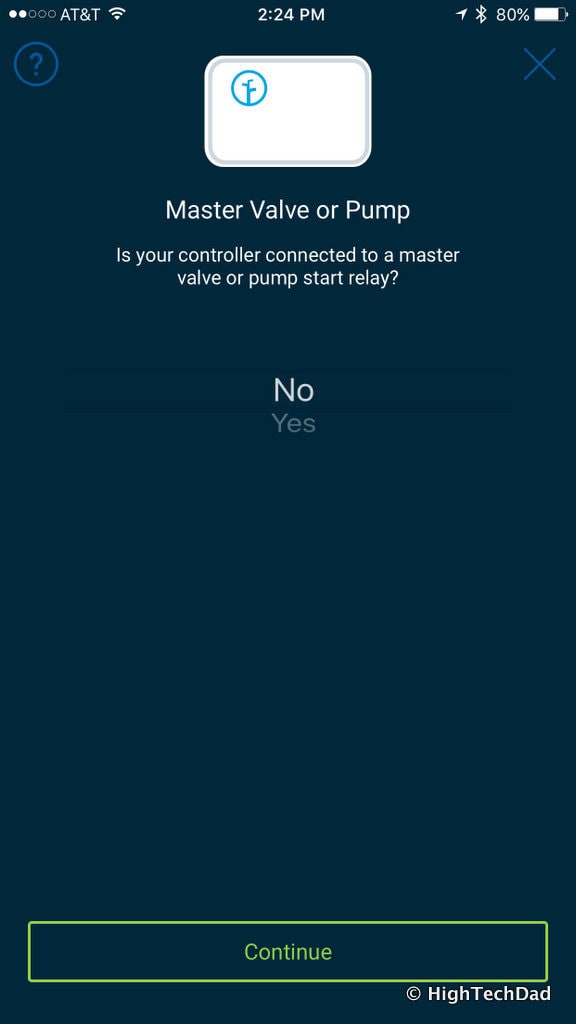
I had to pause at this next step and do a little research as I was asked if I have a Master Valve or Pump. It turns out I don’t. I just have a pretty traditional watering station setup.
With that complete, you can snap the cover onto the Rachio and head out to your yard to set up your Zones.
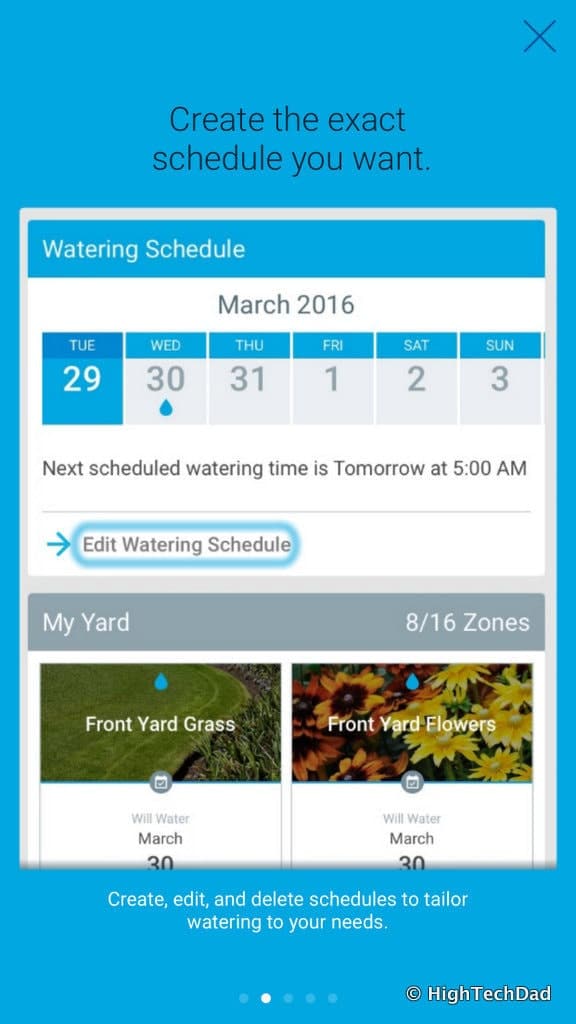
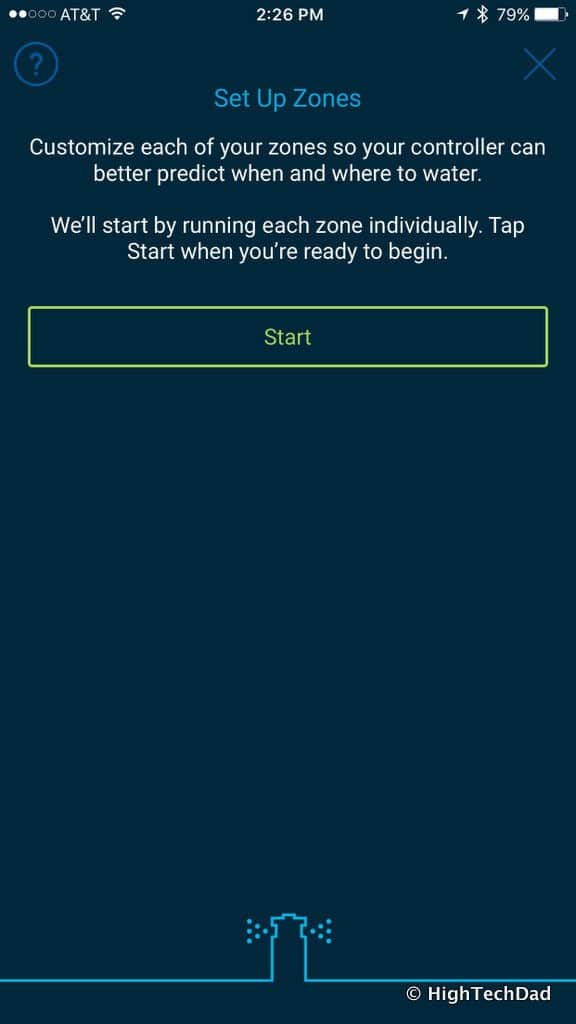
The next thing that I did was to set up my watering schedule. To do that, there is a little tutorial that the Rachio app walks the user through.
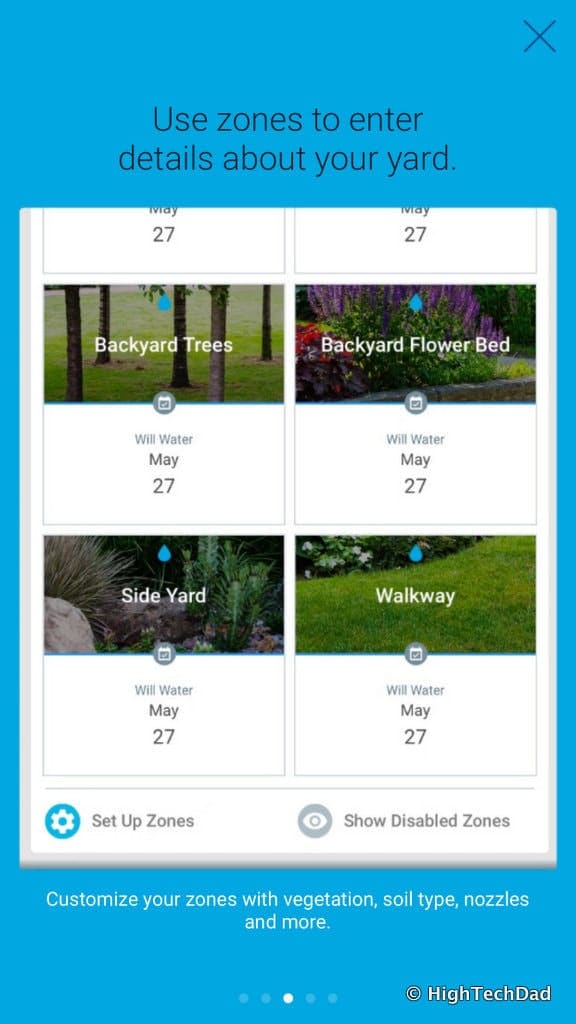
By setting up and configuring zones based on the soil types, sprinkler nozzles, slope, and other items will help Rachio determine the best watering days and duration.
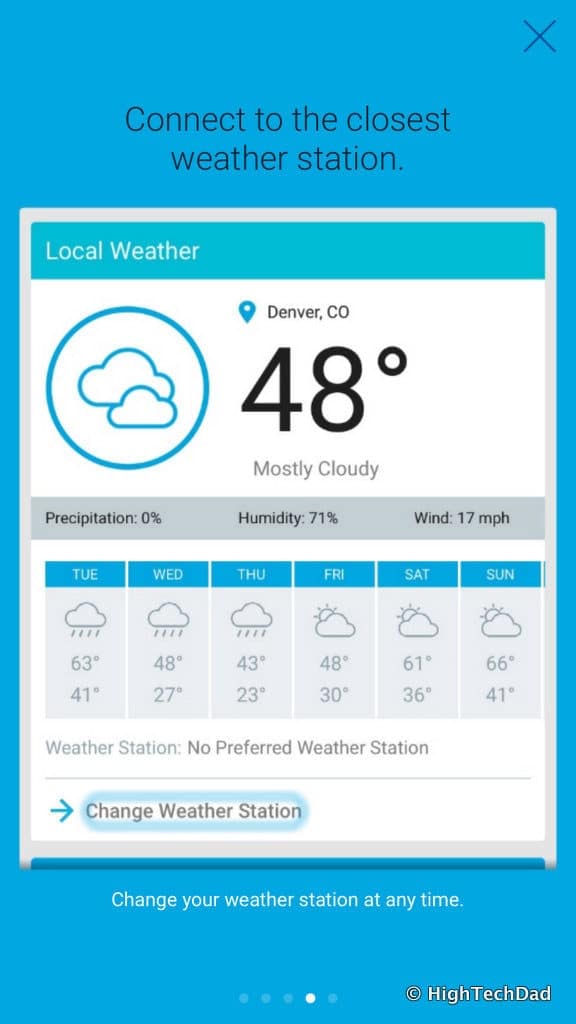
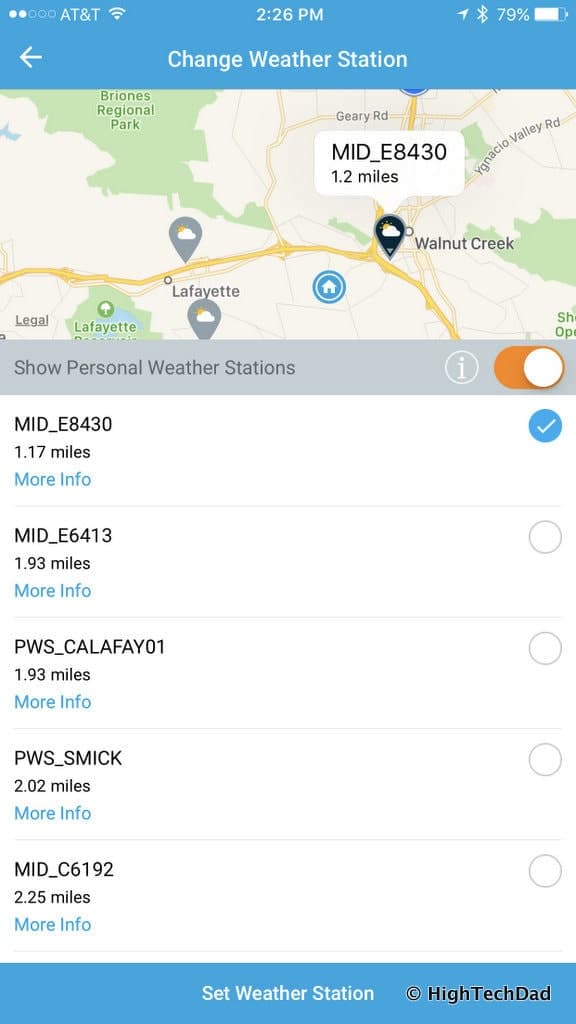
The next step is determining your home’s local weather. For this, you can select EITHER an “approved” weather station or you can choose personal weather stations, ones that might be set up by an individual.
Initially, I wanted to get a weather station that was closer to my home because of micro-climates in the area. But you have to remember that while closer in proximity, a local station might not be as dependable as more of the approved stations. A search in the area did show some local/personal stations, but I just elected to have one that was going to be more reliable.
Selecting a weather station really isn’t optional because if a station detects rain, or there is rain forecast for the area, the Rachio will automatically suspend any watering programs.
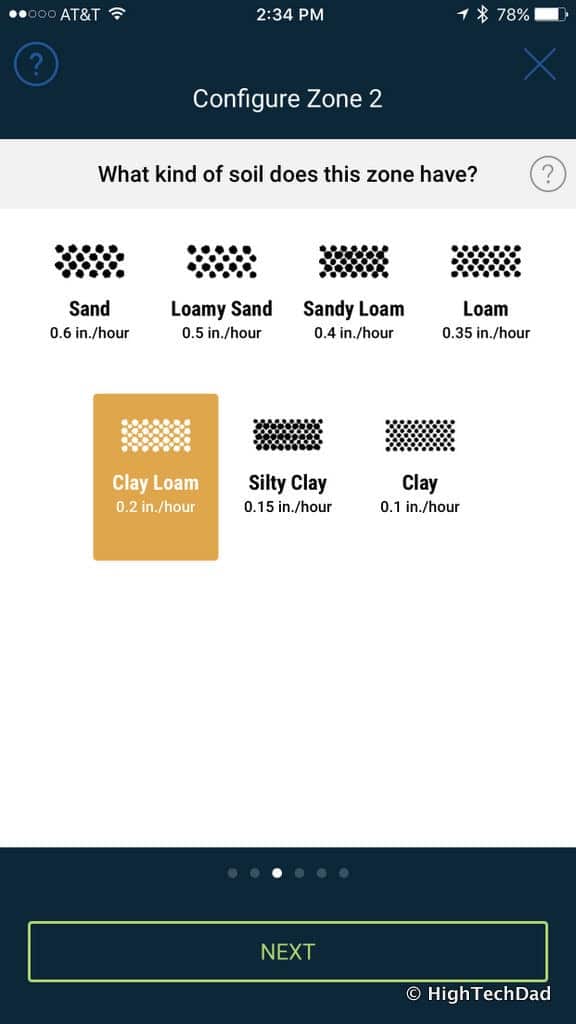
I went on to configure my zones (of which I only had four and all of them were lawns). So the configuration process was similar for each.
You will want to be out by your zones to see if everything is working. You will be asked things like Soil Type.
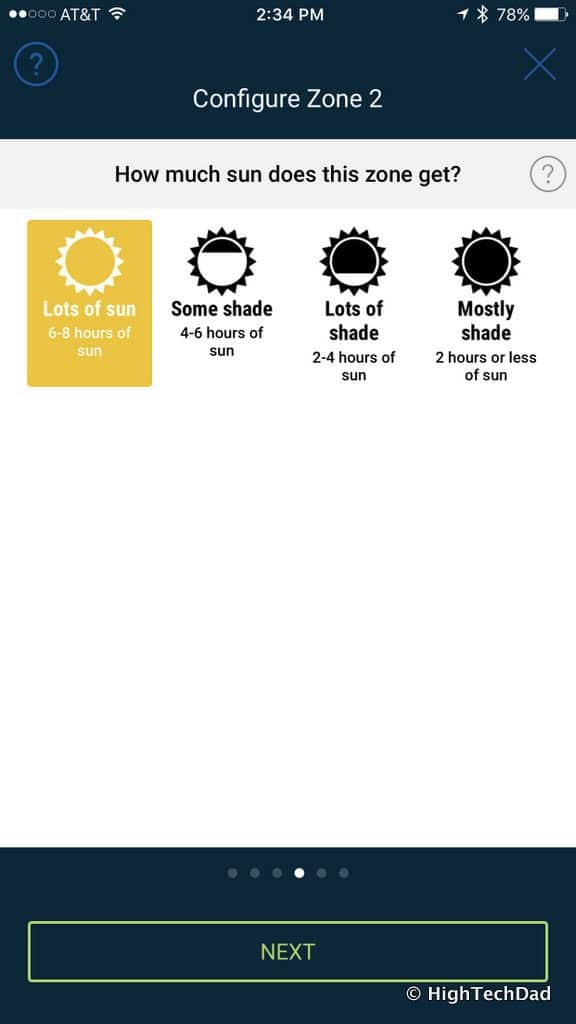
And how many hours of sun a particular zone gets each day.
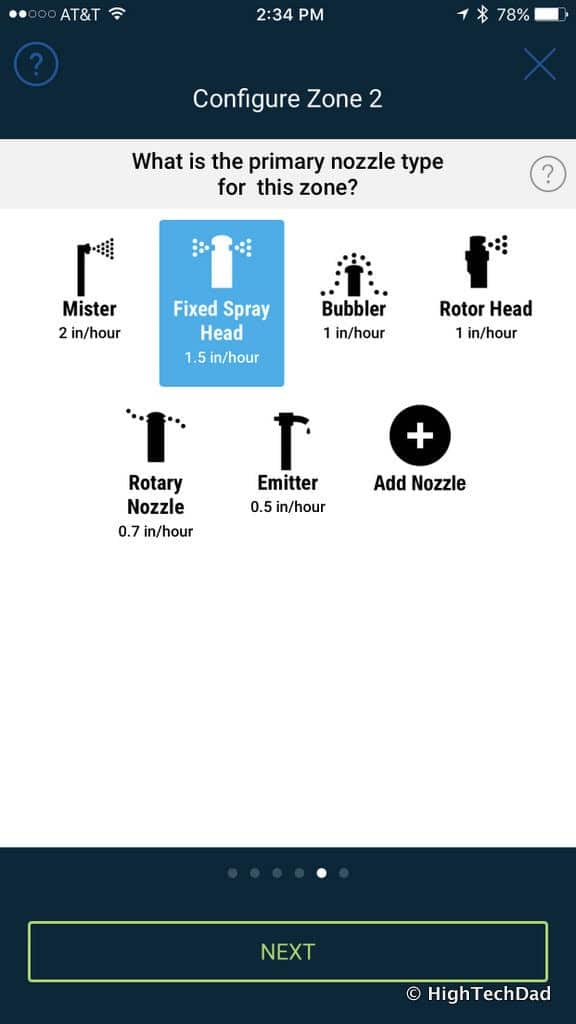
As well as the type of watering nozzle the zone has. You need to choose the primary type, even if you have mixed nozzles.
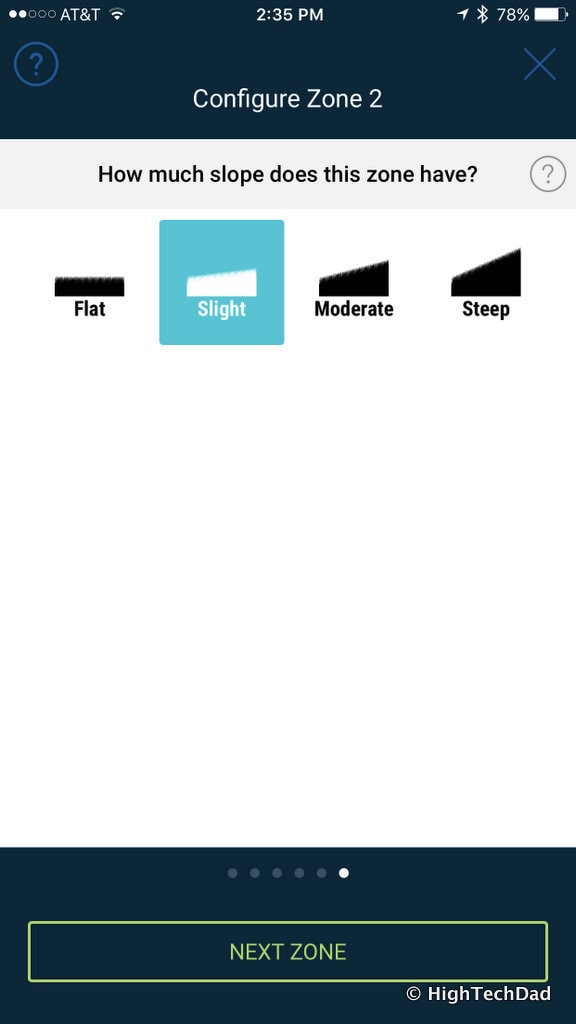
You will want to define the slope of that particular zone. if there is a big grade, for example, if you just leave the water running, much of it will run off, reducing the efficiency of the watering. In those cases, it’s better to water these areas for less time but more frequency so that water can actually soak in.
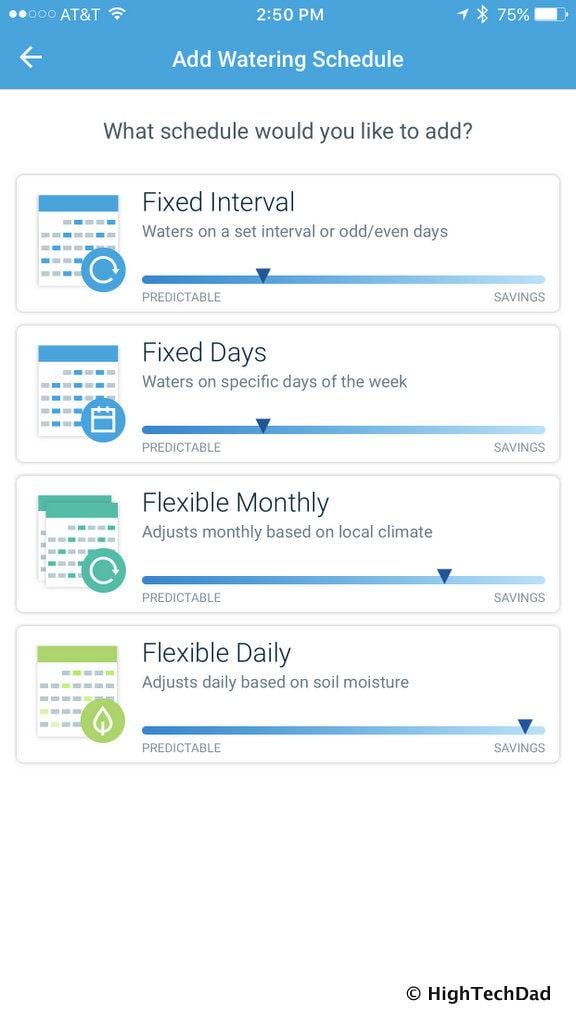
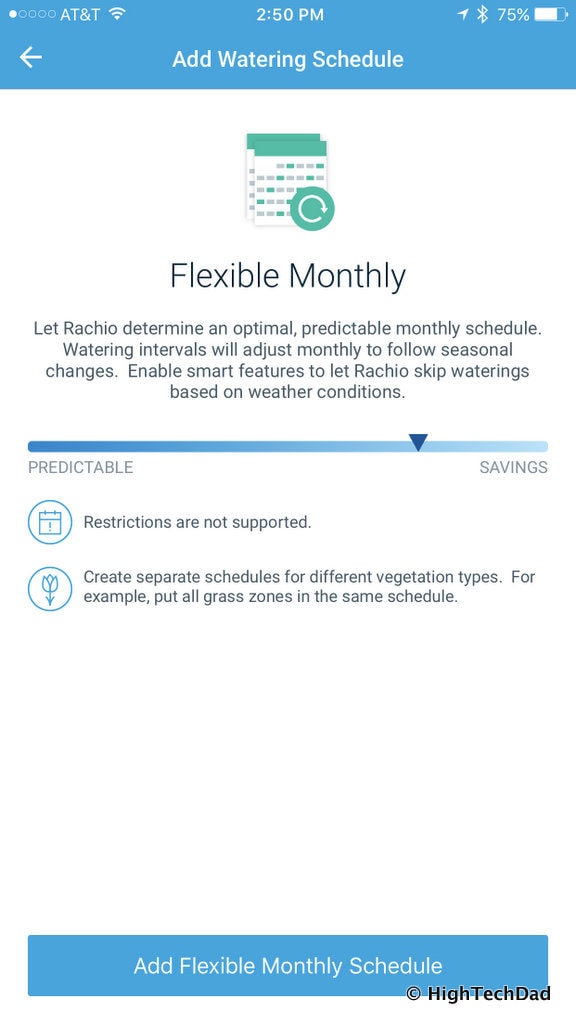
Lastly, you will want to define the schedule type. You can set it for a Fixed Interval where watering days simply alternate. You can say that you only want to water on particular days of the week. These two options are less water efficient and don’t rely on local weather. I chose the Flexible Monthly setting which looks at the local weather and then the schedule automatically adjusts. If you have a moisture monitor, you can use the Flexibly Daily setting.
I figured that the Flexible Monthly made the most sense and still was intelligent in the process.
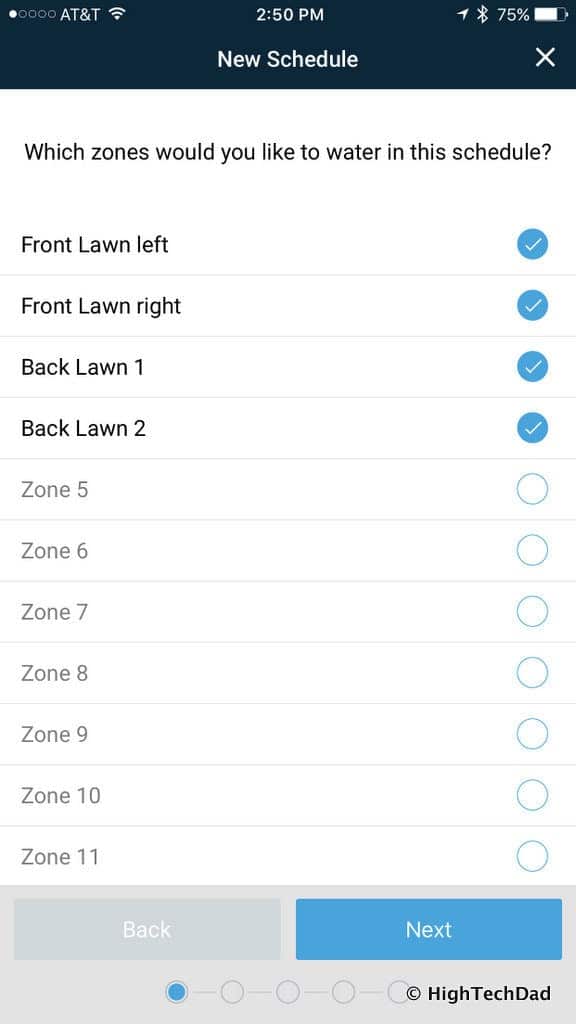
You then assign the zones to the schedule you just defined. You can, of course, decide to have different watering schedules assigned to different zones. That is the beauty of this system. If you have a drip system for planters or pots, you may want it to water more frequently. You have the choice to do this. For me, as I mentioned, all that I had were lawns that needed watering.
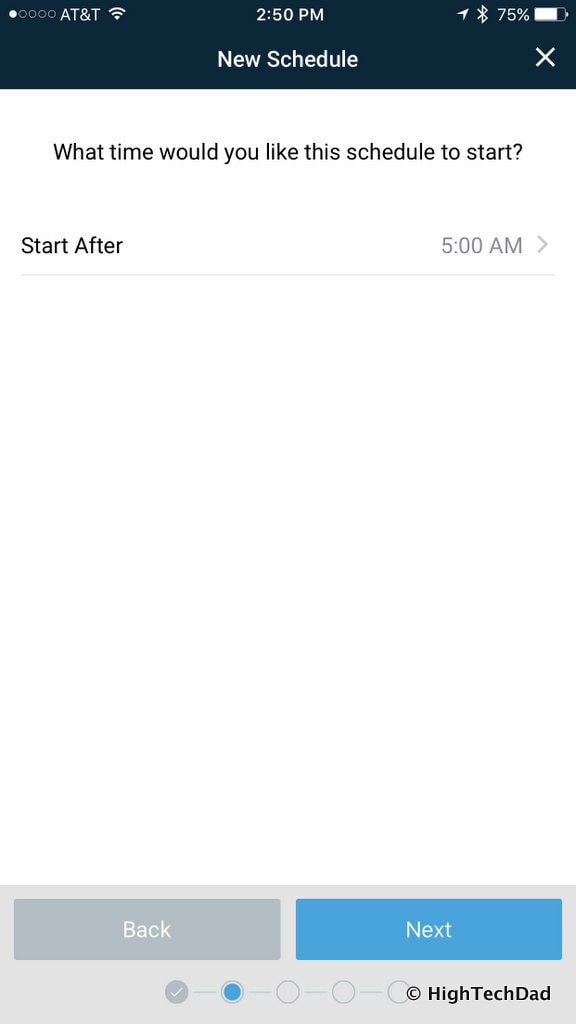
You then decide when you want the schedule to run. This is an interesting debate. I have heard that if you run lawn sprinklers at night, then there is a possibility of getting fungus or something on the lawn as the leaves stay damp overnight. But on the flip side, if you do the morning, there is the risk of water evaporation during the hot days or burning the leaves if you do during the day. I also have the issue of water pressure, so I decided to set my schedule early in the morning so that it didn’t affect the water pressure when I was trying to shower, and I wanted it early enough so that most of the water would soak in, so I chose 5 AM.
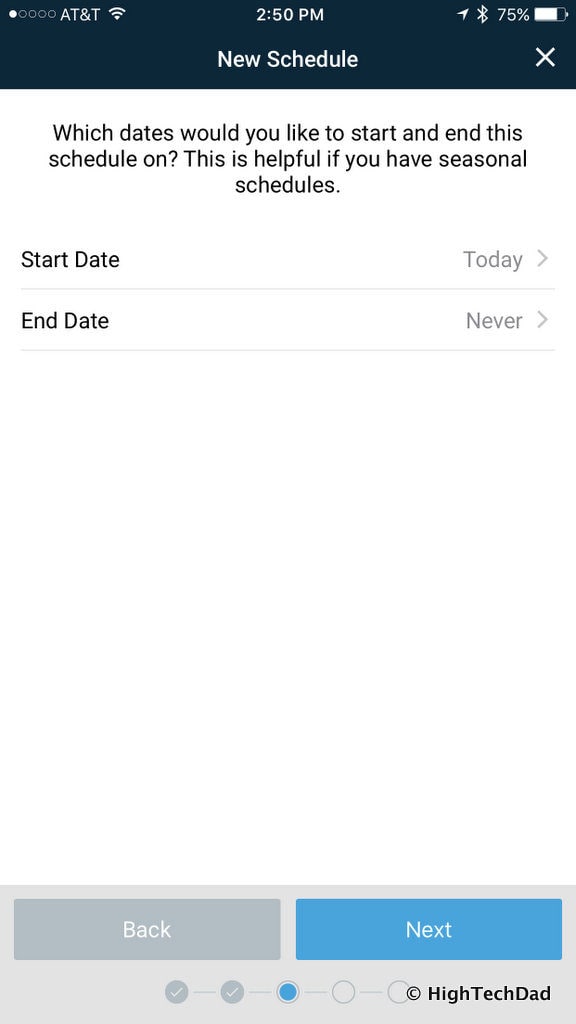
You can even define custom start and end schedules…again the beauty of a flexible app and online system.
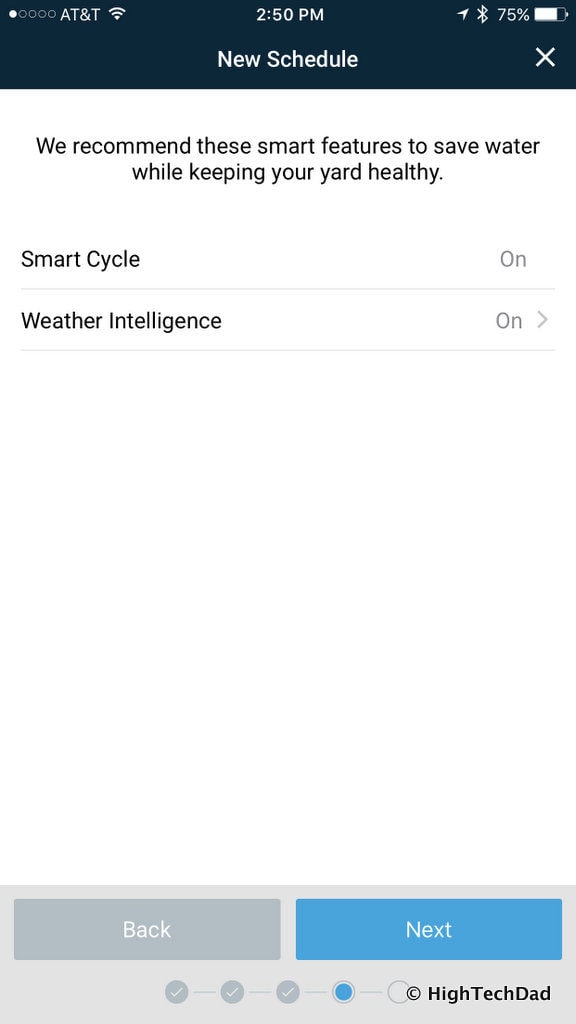
And for additional water savings, you can set up Smart Cycle and Weather Intelligence to save water. The Weather Intelligence I have already talked about. If it’s going to rain, is raining, or has just rained, your schedule will not run. The Smart Cycle is a bit more interested (and I mentioned it in the Slope section above). With old sprinkler systems, if you have a 20-minute duration configured, the system runs for 20 minutes. During that time, you may get a bunch of run-off either because the soil is too hard (initially) and not absorbing the water, or that it has become saturated and cannot be absorbed at the end of the watering duration. With Rachio’s Smart Cycle, a 20-minute watering duration, for example, may actually be broken up into two 10-minute cycles to prevent run-off. It’s pretty neat how the Rachio does this and makes a TON of sense!
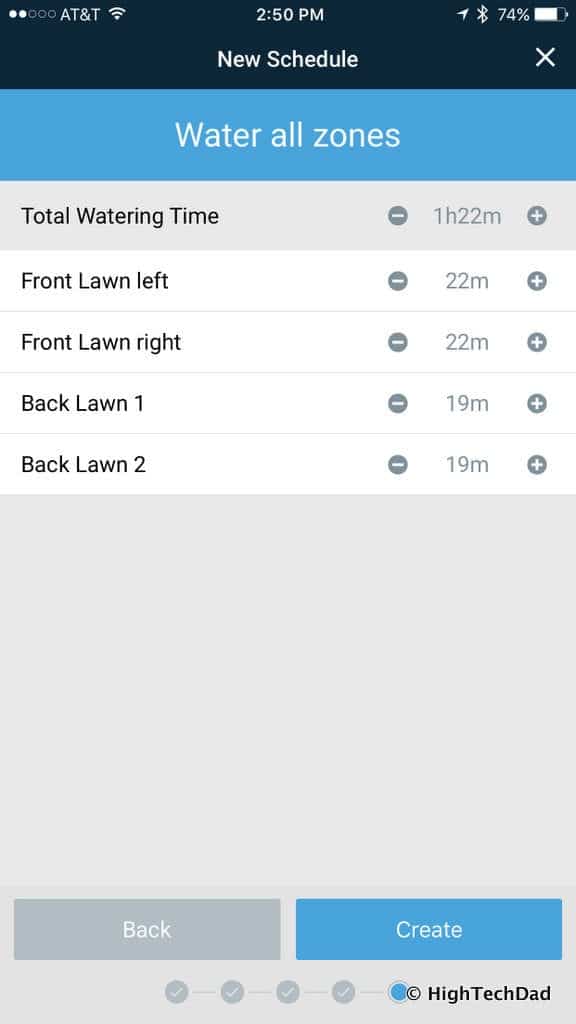
Then you can set the duration of each zone. There are some that are defaulted based on your zone characteristics. I manually tweaked some of the durations.
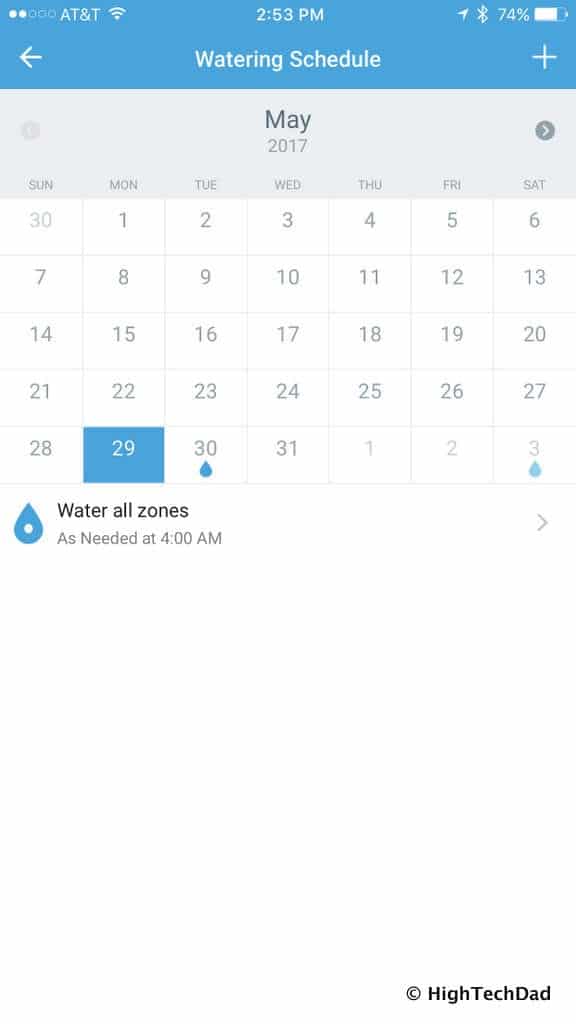
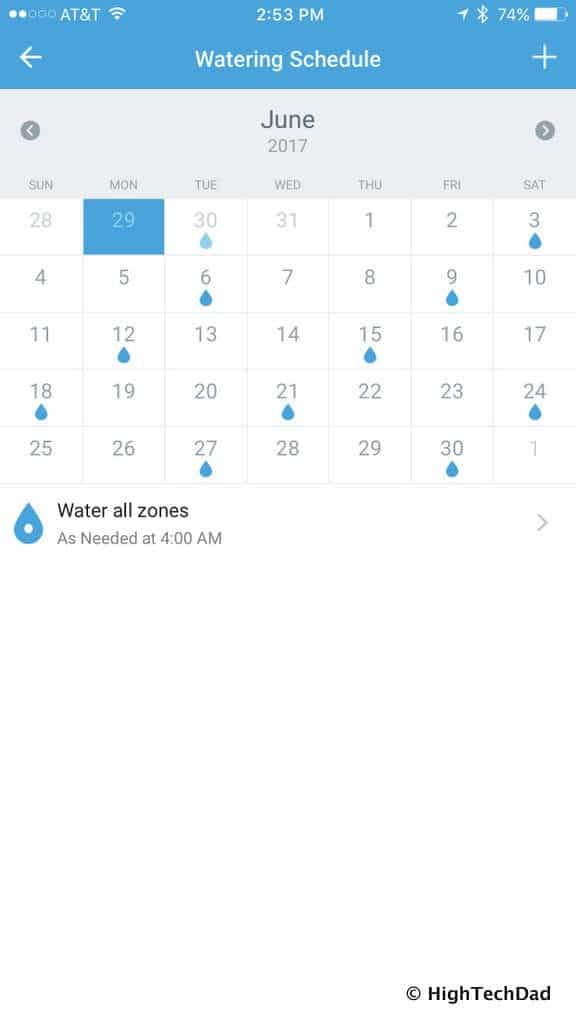
From there, the schedule is created. You are presented with a calendar (which varies, based on the type of scheduling you defined). Since mine automatically monitors the local weather, it adjusts the days based on that. Below you can see the May and June schedules. May was cooler and wetter, so there was a larger gap between watering than June has.
What is also really great is that you get regular updates (via email and in the app) as to when and how schedules have been automatically modified based on weather conditions and historical information.
That’s pretty much it to the setup. From there, you just let the Rachio run and do its things intelligently. Within the app, you can also get estimates of the water used over time. This was one thing that I thought needs a little bit of work as I’m not convinced of the accuracy. Of course, it also means that you need to go into the Advanced settings of each zone and do some additional configurations for things like square footage. What would probably make this more accurate would be the ability to set the number of sprinklers in a zone and the manufacturer (to automatically know the flow capabilities). Then using AI and Big Data, a more accurate usage could be determined.
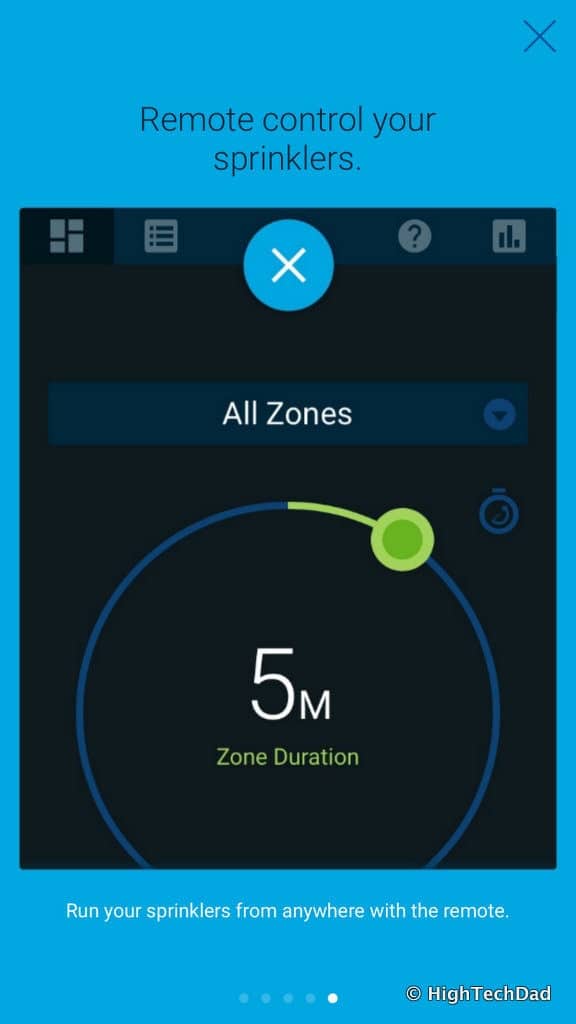
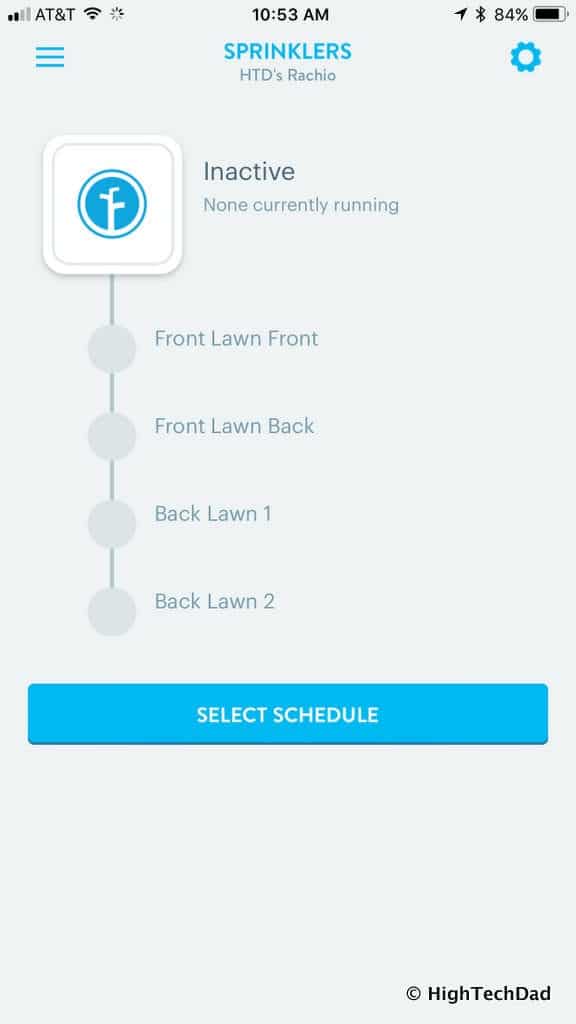
As I mentioned much earlier, you can manually water zones from within the physical Rachio controller itself. But you can also manually water via the app.
Lastly, the Rachio can integrate with other Smart Home controllers. I set it up with my Wink 2 hub and the zones and schedule(s) automatically. My wife, for example, doesn’t have the Rachio app installed (but there is an easy way to share management of it). She does, however, have the Wink app installed so she could manually trigger a schedule using the Wink app. I also have hooked up my Rachio with Amazon Alexa (I haven’t tested out that functionality yet.)
Let’s think back to that initial list of requirements I posted at the beginning of this review. All of the items I listed are more than adequately covered with the Rachio Generation 2. I encourage you to read through the features on their website in case you need more information. In terms of pricing, the Generation 2 has two options. There is an 8-Zone for $199 and a 16-Zone for $249.99. (There is also an optional Waterproof Enclosure in case you want to mount your Rachio outside – mine is inside.) The 8-Zone Generation 2 Rachio is available on Amazon currently for $185.98 and the 16-Zone version is $248.00.
One last thing to consider if the price is scaring you (which it really shouldn’t). There may be rebates available in your area. While rebates to vary and you may have to go through a lot of paperwork or inspections, if you are approved for a rebate, you could cut the cost of the Rachio dramatically. For example, in my zip code, there is a $150 rebate available.
Given that climate change IS a reality, and it is here now, it’s important to use nature’s resources wisely. Installing a smart watering controller like the Rachio Generation 2 will help conserve water while also giving great controls and insights to the user. I highly recommend replacing your old sprinkler controller with a Rachio (or similar smart controller).
Disclosure Text: I have a material connection because I received a gift, sample of a product or service, and/or monetary compensation for consideration in preparing to review the product/service and write this content. I was/am not expected to return this item or gift after my review period. All opinions within this article are my own and are typically not subject to the editorial review from any 3rd party. Also, some of the links in the post above may be “affiliate” or “advertising” links. These may be automatically created or placed by me manually. This means if you click on the link and purchase the item (sometimes but not necessarily the product or service being reviewed), I will receive a small affiliate or advertising commission. More information can be found on my About page.
HTD says: Knowing that my garden is being watered smartly and only when the local weather dictates watering should or shouldn’t be done, makes your garden smart. In this case, the Smart Home extends around your home to include the greenery around your home as well. And this is achieved via the Rachio smart controller.
HTD Ratings
-
Ease-of-Use
-
Family-Friendly
-
Price Point
-
Features
Summary
Knowing that my garden is being watered smartly and only when the local weather dictates watering should or shouldn’t be done, makes your garden smart. In this case, the Smart Home extends around your home to include the greenery around your home as well. And this is achieved via the Rachio smart controller. The installation is extremely easy and just takes a few minutes. The configuration is easy using the smartphone app. And once you have the Rachio set up, you can pretty much just let it run on its own. It will stop watering if there is rain, or it will adjust the watering days based on the season. The Rachio can be integrated with other Smart Home hubs for additional control. The price point is pretty good, especially if you can apply a rebate. And being able to conserve water intelligently makes sense for our world and this precious resource.
