For the past several years, I have been looking at my in-ground pool with scorn. Every month, I would pay the maintenance people to keep it looking pristine, I would dish out money to my electrical provider to push around hundreds of gallons of water every day via an inefficient single-stage pump, and I would pray to Mother Nature that the weather would be hot enough to convince my family to use the chilly waters. Sometimes, the water level would get low, and the skimmer would not have enough water, so a huge sucking sound would emanate in the quiet of the night, forcing me to get out of my bed to go outside to manually turn off the pump.
Note: this article was updated on 5/2/24. Apart from some grammar fixes (haha), some of the product and company names have been updated as well.
My pool was not doing its job, which was to provide joy and recreation in an energy-efficient manner.
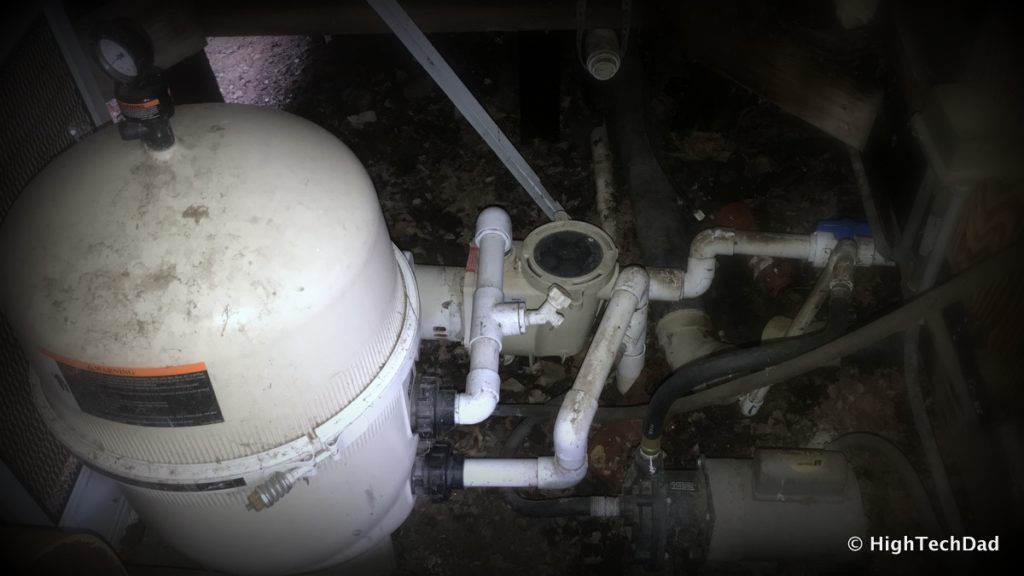
So, I decided to do some research. I wanted to learn what newer pools had that mine did not. I wanted to understand how I could lower my electrical bill (especially since I had gone through efforts to replace all of my old light bulbs with energy-efficient LEDs). Also, I had recently installed a power monitor to know what devices were consuming my electricity at home. And, since I had been slowly automating a variety of items in my home (lights, doors, HVAC, etc.), I wanted to figure out an easy way to turn on and off my pool equipment without having to physically get out of bed in the middle of the night.
Over the months of research, I learned several things:
- There is much more energy-efficient pool equipment available,
- Pool equipment can be automated much better than old-fashioned timers,
- The same equipment can be remotely controlled,
- Simple technology like pipes and valves can also increase efficiency,
- Heating a pool is much more energy-efficient as well, and
- A warm pool will bring people to enjoy it.
So, back in April of this year, I published an article (“6 Tips to a More Enjoyable & Energy-Efficient Swimming Pool”) detailing how bad my equipment actually was and what I was missing out on. If you are thinking of upgrading your pool equipment, read that article in addition to this one.
“You won’t believe what happened next!” (to cheaply borrow an overplayed line).
The article caught the attention of Fluidra North America Pool Systems (the parent company for the Jandy and Polaris pool brands). The heavens must have been shining on me because they reached out to me and offered to bring my equipment into the modern age!

I was floored. My wife was shocked. And my kids were beyond excited! We suddenly had the possibility of actually being able to use our pool much more regularly!
I’d like to share my experience of the installation process and then walk through each item that was upgraded and installed. There are a variety of videos in this article so if you don’t want to read through everything, definitely watch them. There is a short overview video, a looooooong review video, and then individual equipment reviews (taken from the long video). I do hope that what I share here and in my videos, answers many questions you may have, especially if you are thinking about upgrading your pool equipment. If not, please be sure to leave a comment with your questions!
But here’s something you should know: if your pool equipment is over 10 years old, it is probably due for an upgrade!
The Pool Equipment Installation
As with any major construction work or upgrade, the site must be inspected. The installers need to know what needs to go where. The product specialists must evaluate what equipment would be best suited for your environment. Any gotchas or unknowns need to be thought out ahead of time.
Tip: Talk to a local pool servicing and/or equipment company to learn about your options.
For me, this was no different. For example, I learned that the pool and spa heater that I would be getting required a variety of things. For starters, my gas service needed to be upgraded so that I could actually pump a higher volume of natural gas to my pool shed. And, I needed to get a robust and code-compliant gas line run to the shed as well. And I needed a concrete pad installed specifically for the furnace.
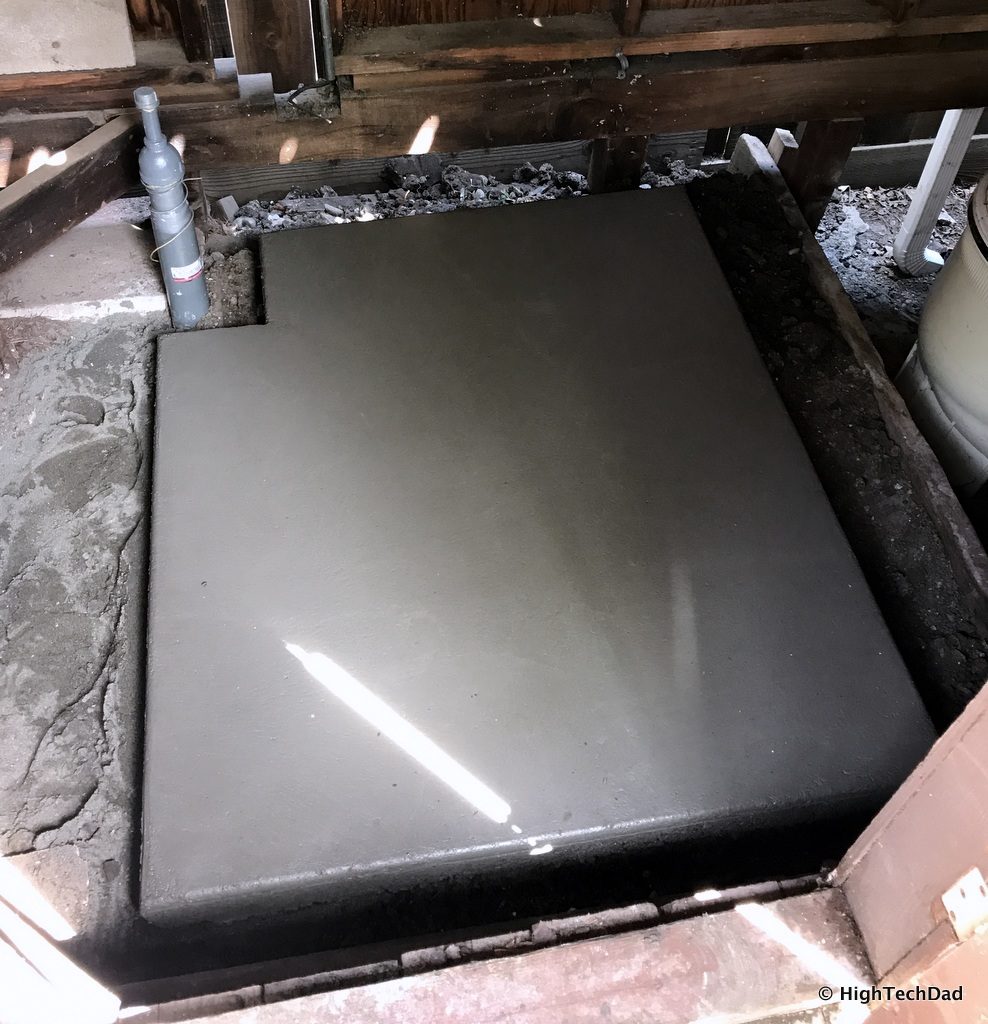
This project alone required coordination with my utility provider to upgrade my service and later inspect the new pipe.
Tip: Be sure to fully evaluate your gas capacity prior to having gas heater equipment installed.
In our upgrade, the new piping for the natural gas coupled with the concrete pad, deck, and other pool surfacing work amounted to several thousand dollars. I recommend getting quotes from various licensed professionals for any pre-work you have to do, and you will need to build this into your overall budget. Depending on your environment and the existing state of your equipment, plumbing, electrical, gas, and more, your budget could balloon dramatically. I was quite happy with the work done by In-Depth Leak Detection & Repair, a company local to our area.
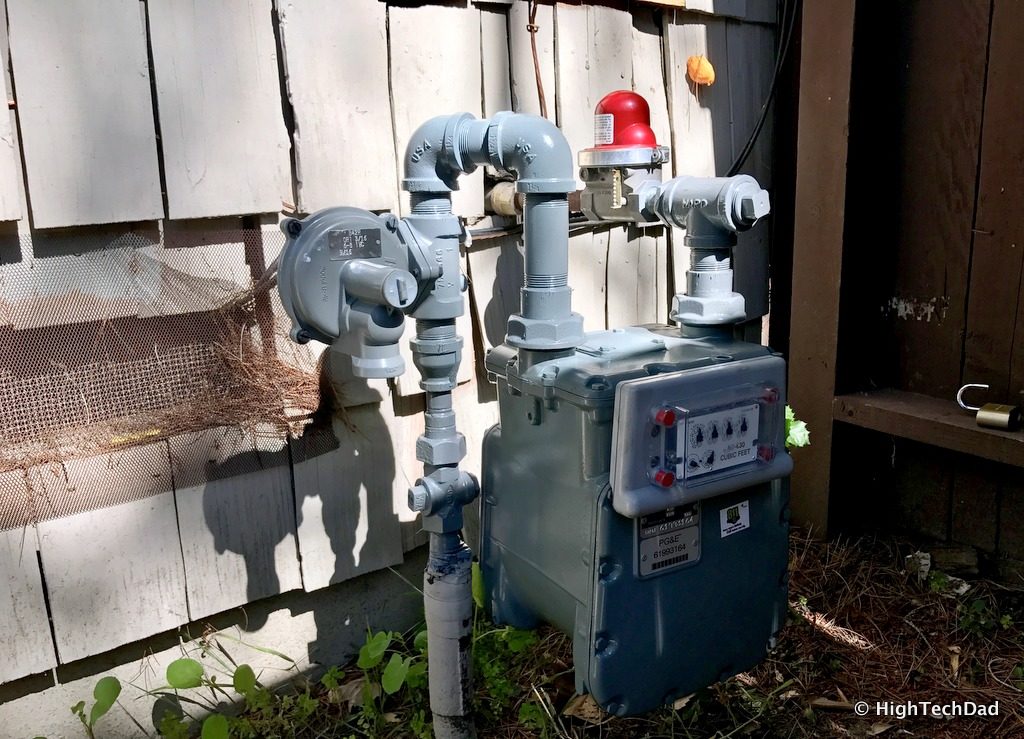
This is a photo of our upgraded service from Pacific Gas & Electric. In our case, the utility company upgraded our service without a fee. When you think about it, it’s sort of the razor and razor blades scenario. They give the razor for free and make their money on the blades. However, this might not be the case for everyone. Your service may need to be moved or changed in some way, and the homeowner may have to cover the costs.
Tip: Be sure your timeline has been budgeted for pre-work as a delay in the front can mess up any later planning.
Our piping was trenched which included the need to cut into deck and pool surface concrete. This can be an additional cost as well. You may be able to shave off some costs by doing some of the work yourself. The company that did my trench work and the gas line also handled the permits and coordinated the inspection later on. I do recommend you do everything to code, otherwise, when you go to sell your home, you may have to do any required code upgrades then.
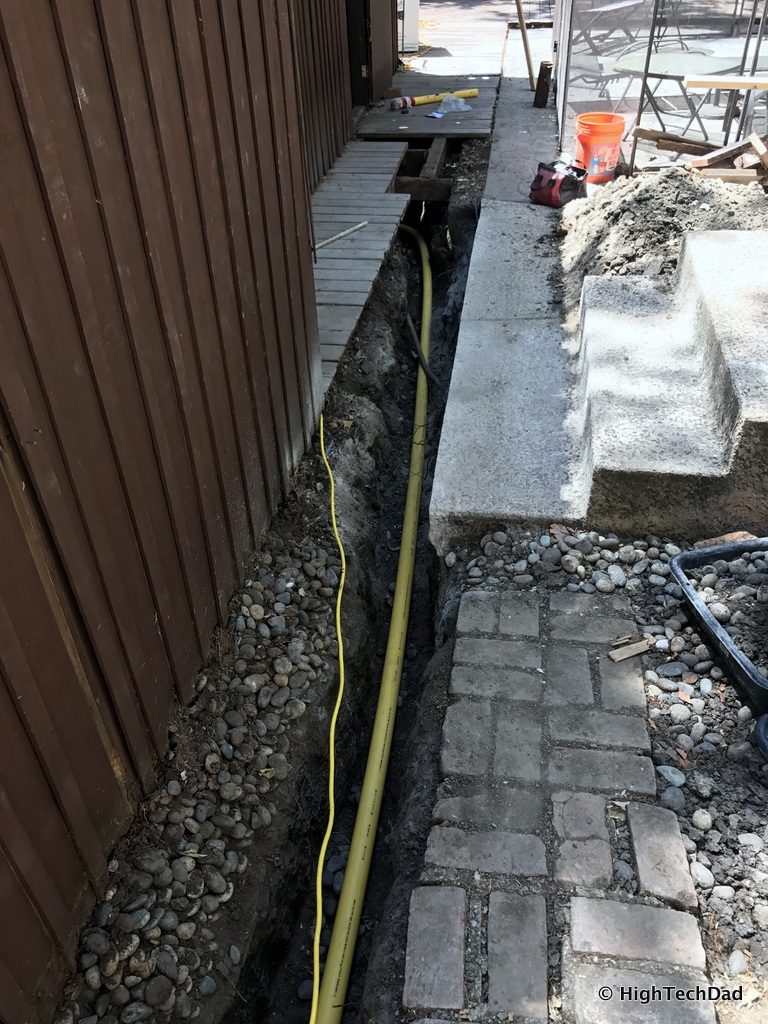
Tip: Do everything to code to avoid having to fix it at a later point in time.
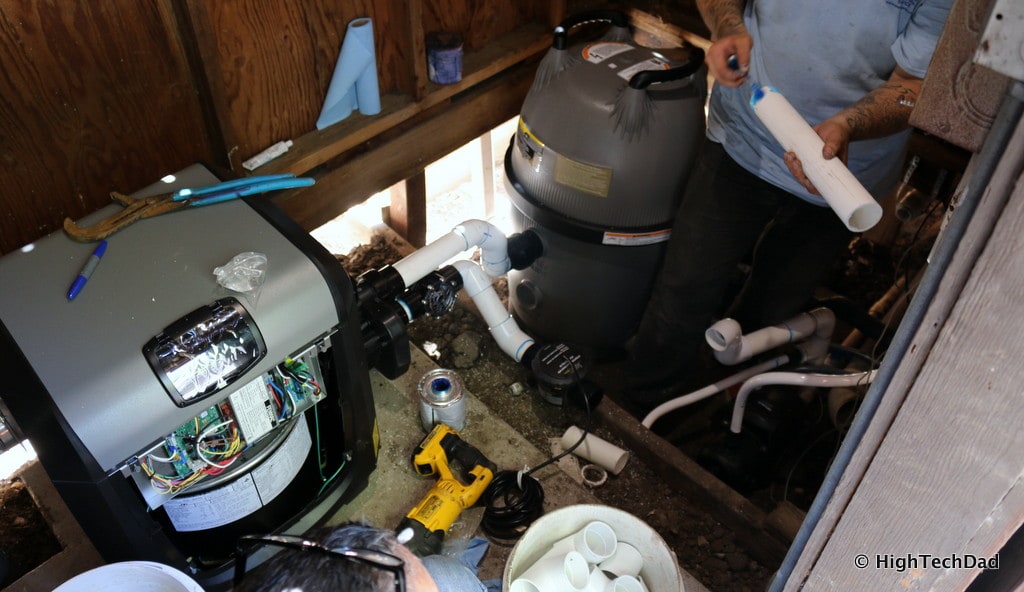
Once we had all of the trench and pipe work completed and the pad for the heater was dry, we could then proceed on to the fun stuff. For our installation, it was quite a team. The main installation work was actually done by our pool servicing company (Aquarius Pool & Spa Service) which made a lot of sense since they were also going to be the ones servicing my pool. They were familiar with my pool and the old equipment. Also, if I have questions or issues, I can work with them directly.
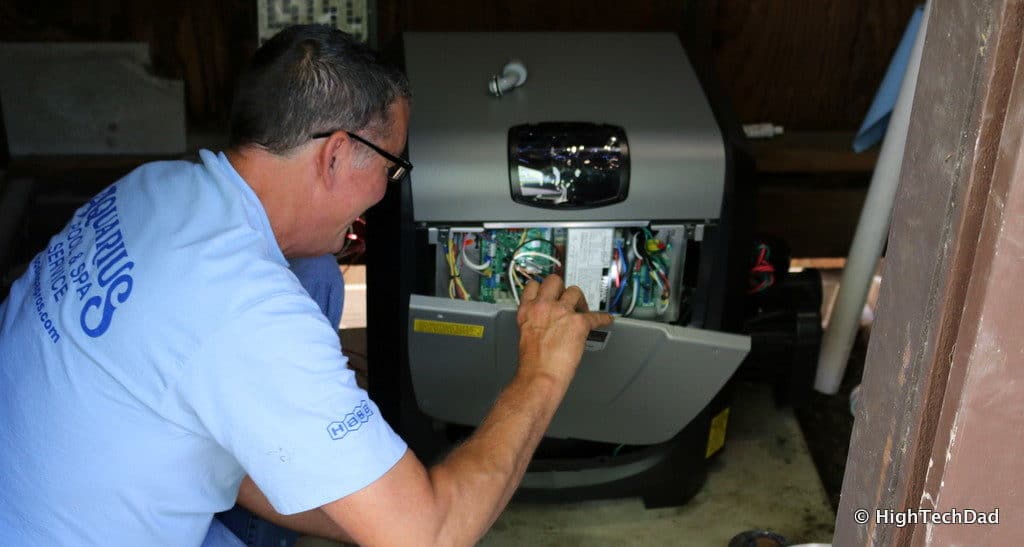
But I also had the great fortune of having a team from Jandy on-site to not only answer all of my questions but also help with portions of the installation, as well as provide information to my pool servicing company on the best practices for installing all of the various Jandy and Polaris equipment. As I watched the installation progress, I was not the only one learning tips and tricks on making an installation successful. I heard one of the Jandy guys recommending a certain type of lubricant for the pipe connectors instead of something different in order to preserve the pipe fittings better.
Typically, however, Jandy, Fluidra, and/or Polaris (aka, “Team Fluidra”) are not the ones directly involved in the installation process. Team Fluidra focuses on training professional installers through a formal training program called Fluidra Pro Academy. They also offer on-the-spot training for pool companies as well as consult or advise on specific jobs if needed.
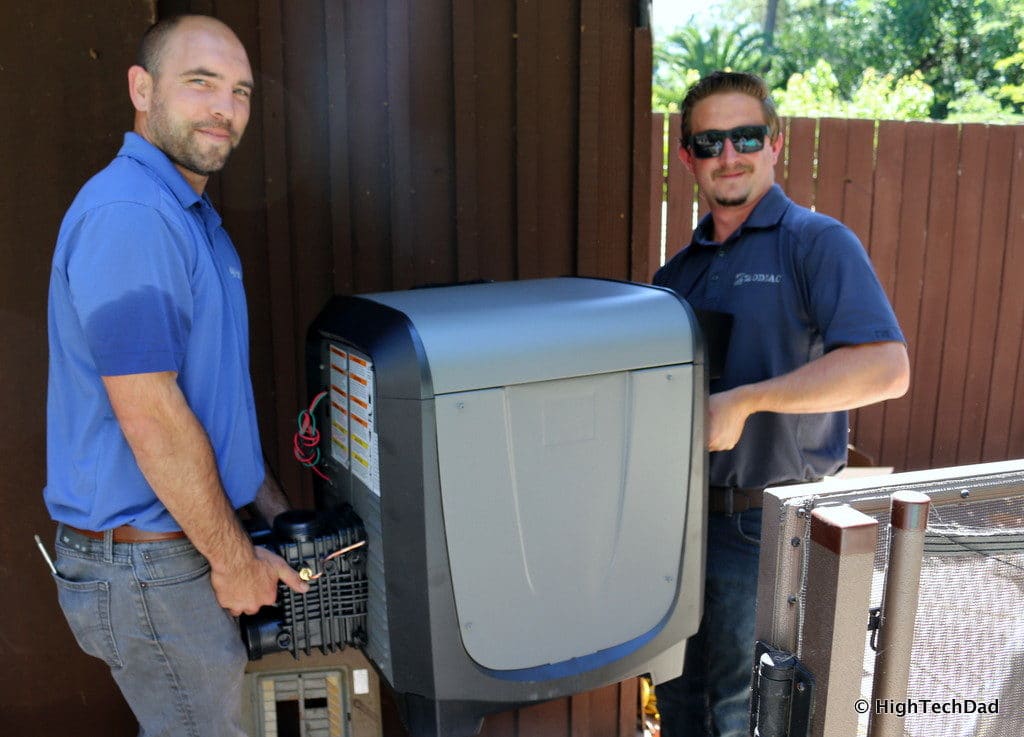
In most situations, the pool builder or servicer does the upgrade and is the point person for these types of installs. It truly depends on the pool owner’s relationships. If a pool was built by the owner, typically, the pool owner works with the pool builder. However, like in my case, if the pool owner inherits the pool through a home purchase, they may have a closer relationship with the pool servicer.
Tip: When you choose to do a pool upgrade, you should generally work with whomever you have a closer relationship with.
As I said, as my installation progressed, Team Fluidra helped coach my local servicing company with the installation. To recap the process briefly, here’s what took place (not in the exact order):
- First, all of the old equipment was cut out and removed.
- The electrical system was evaluated and upgraded (e.g., old fuses removed, new circuit breakers installed, new wiring for the various equipment installed).
- The variable-speed pump was installed.
- The filter was plumbed (using the VersaPlumb system) and installed.
- The booster pump was installed and plumbed.
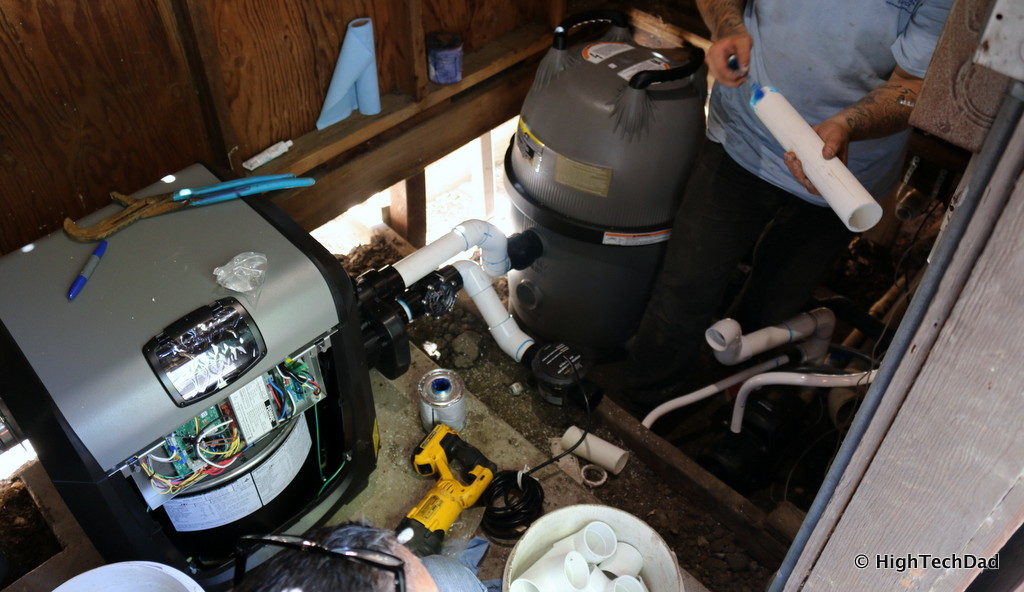
- The swimming pool heater was installed (this was a bit more complicated as there had to be gas and electrical attachments made, as well as a “to-code” venting system for my pool shed to vent out all of the fumes). It was plumbed into the filter.
- The saltwater chlorinator was installed and plumbed, and the “brains” of this system mounted and connected to the electrical.
- The pool automation controller (the brains of everything in the system) was mounted and connected to electrical.
- The wireless controller was hooked into the controller and configured.
- The LED light was installed and wires pulled through to the main controller.
- Hundreds of pounds of pool salt were dumped into my pool for the initial saltwater chlorination (more about that later).
- As a nice, unique touch, my servicing company spray painted all of the plumbing black (makes it look really nice!).
- The system was configured for pump speeds, durations, timing, remote connectivity, and more.
- The entire system was tested and re-tested.
This entire process took a couple of days, given the amount of work, as well as having to get a special part for the heater venting.
Tip: While most installs, if properly planned, go smoothly, do expect delays or “gotchas” to pop up and budget that into the schedule.
The end result was a completely upgraded pool system for my pool. Now, let’s take a look at the individual pieces of equipment that was installed.
The Pool Equipment
This next section discusses the specific pool equipment that was installed at my home. Remember, models will vary, depending on what your pool installer recommends. Each piece of equipment has an accompanying video (taken from that loooong video I mentioned).
Tip: Upgrade scenarios vary because of many different factors: the size of the pool, in-ground versus above-ground, pool features, etc., so consult with an expert when deciding on an upgrade.
Before I “dive” into the specific equipment, I encourage you to watch my short overview video, which briefly touches on everything.

Ok ready? Let’s learn a bit more about the equipment!
Jandy 1.9 HP VS FloPro Variable Speed Pump
One of the biggest energy gobblers of old pool equipment is the pump. My old pump was a single-stage pump which meant that it was either on or off. Think about a driving a car, you either have it fully stopped, or the pedal to the metal racing down the road burning through you gas. There was no in-between stage where you could conserve energy.
The Jandy 1.9 HP VS FloPro Variable Speed Pump changed all of that!

The pump is probably one of the biggest workhorses in your entire pool setup. To keep a pool healthy, the water must be continuously circulated and fed through the filter. Often, the pump works during off-hours to filter the water and pull leaves through the skimmer.
My old pump was loud and inefficient. The VS FloPro was quite the opposite. It is a high-performance yet compact pump that boasts an energy-efficient 2.0 HP motor. Up to 8 speeds can be programmed into this pump. You may, for example, want to have the pump running at slow speeds just when it is doing the circulation and skimming. But when you need to heat up the pool (and pump water through the heater), you need to increase the RPMs. And when the booster pump is running, you need to have something in between.
Tip: If you have a metered electrical rate with electricity cheaper during off-hours, be sure to program the pump to run at those times.
The VS FloPro does come with a back-up battery so that if there is a power outage, the pump settings are stored. It also comes with a remotely mounted controller. My pump was actually hooked into the AquaLink controller, so I had no need for the small, stand-alone controller.
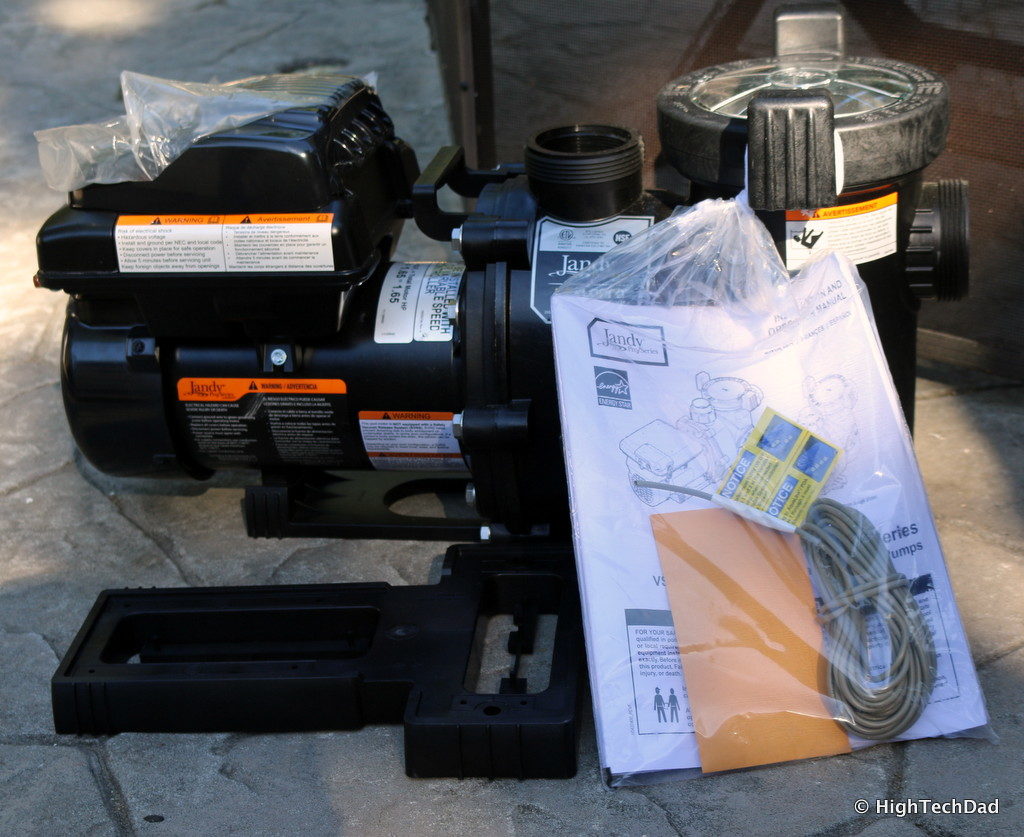
There is a large-capacity basket to capture debris that made it through the skimmer basket. This basket is easy to remove once you unscrew the easy-grip handles.
I have found this model to be incredibly quiet (just watch some of my videos where I showcase this compared to my old model). The VS FloPro is ENERGY STAR® qualified.
It retails for approximately $1000 and you can find it at your local pool supply retailer.
Now, let’s take a look at the filter.
Jandy CV Cartridge Filter
You brush your teeth regularly, right? Something like 2-3 times a day? Good oral hygiene keeps your teeth and gums healthy! In much the same way, the pool filter keeps your pool healthy, with regular filtration of particles. If you don’t have a good or clean filter, your other equipment can get damaged or wear out much more quickly. And worse, your pool’s water can become contaminated. Think about brushing your teeth just by sucking on a tube of toothpaste. Yes, you have the chemicals to clean your teeth (or pool), but without brushing to remove the plaque, it isn’t very effective in the long run.
The Jandy CV Cartridge Filter helps to clean all of that “plaque” from your pool (and it keeps the other equipment happy in the process).

Probably the simplest of all of the upgraded equipment I received, the Jandy CV Cartridge Filter has huge responsibilities when it comes to producing a clean swimming environment. It works most efficiently with other Jandy products because of the Versa Plumb system, which allows for optimized hydraulic performance. With Versa Plum, you can actually get away with a lesser horsepower pump while still getting the same level of water flow (that means energy savings). Installation is quicker as well because Jandy has pre-assembled plumbing kits which also results in fewer pipes and fittings.
Tip: If you are upgrading lots of equipment, consider keeping them all Jandy so that you can take advantage of Versa Plumb!
When it comes to servicing the cartridge filter (e.g., blowing out/cleaning the filters inside which should be done regularly), there are some easy-grip handles to make the removal of the top a bit easier. Also, there is a pressure gauge on the top to see how clean or dirty the filters are. Higher pressure means a dirty filter potentially. And there is an air bleed valve on the top as well to get air out of the filter chambers.
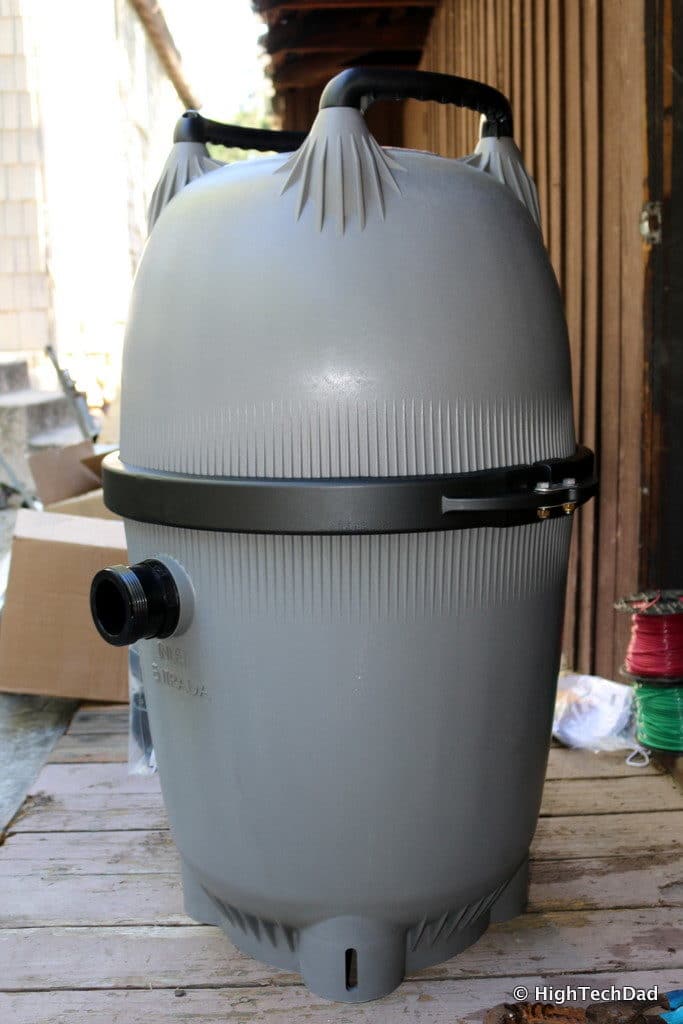
Tip: Be sure that whoever services your pool regularly cleans the filter.
This filter comes in many sizes to handle small or larger pools. The one I received was for larger pools.
Tip: When choosing a filter, be sure it is sized appropriately for your specific pool, otherwise filtration won’t be efficient.
The Jandy CV Cartridge Filter retails for about $1000, but the price depends on the size. Talk to your local pool retailer to find the right fit for your pool.
Let’s move on to the heater!
Jandy JXi Pool and Spa Heater
When we moved into our home about 15 years ago, our pool did have a heater. But it had been detached from the entire pool plumbing. It was massive and took several people to haul it away. For 15 years, we suffered through cold swims, only diving in when it was really hot out. But, those dips were quick and infrequent. I had thought about solar power but never had gotten around to it.
Then Team Fluidra supplied me with the Jandy JXi Pool and Spa Heater, and suddenly, we were swimming more regularly!

For a pool to be truly enjoyable, it should be heated. In fact, if the temperature is below 70 degrees, your body may be shocked as it tries to keep its organs warm. You know that feeling when you gasp in for air as you hit the frigid H20? So ideally, you want the water to be refreshing yet not hot. That ideal temperature can vary by a lot of factors including the age of the swimmers. Younger kids will really need to have a warmer pool whereas athletes might prefer it a bit more on the cooler side.
Tip: Try different temperatures to see what your friends and family prefer (and then set it just slightly lower – grin!).
Regardless, if you don’t have a means to heat your pool either via a heater or solar heating (or even a solar blanket/cover), it’s sort of a moot point (kind of like the situation I was in).
The Jandy JXi Pool and Spa heater changed a lot of things for my family. My kids now swim much more, and I have found that hanging out in the pool is much more enjoyable. Let’s look at some of the details.
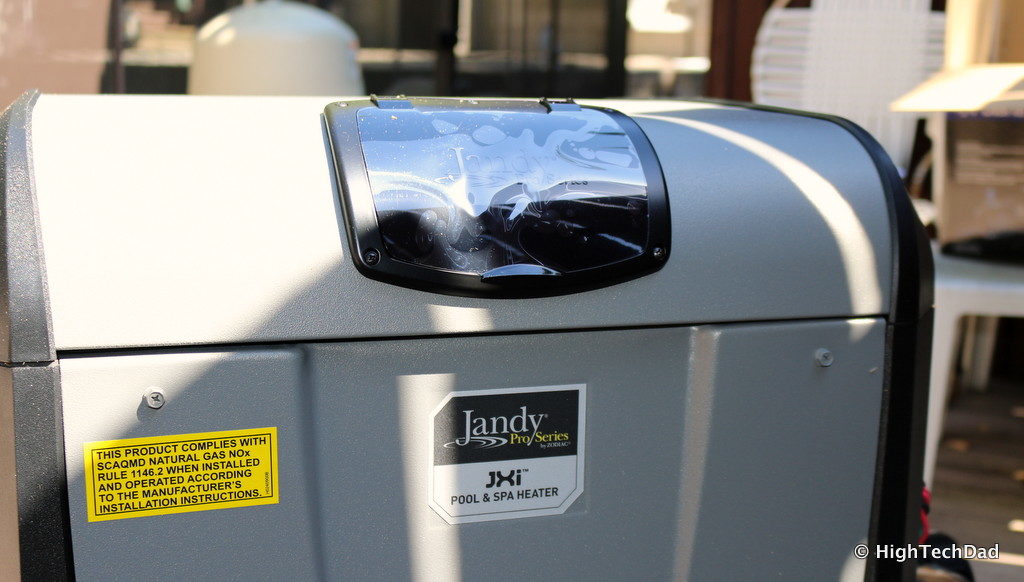
The JXi comes in a variety of sizes and models. Be sure to choose the proper gas type: natural or propane. And, you will need to decide on the correct BTU based on the size of your pool. The one recommended for me was a natural gas one rated at 400,000 BTUs (the largest one in the group). There are smaller sizes of 260k BTU and 200 BTU, both in propane or natural gas versions.
As I mentioned previously, I had to get my gas service upgraded to be able to handle the amount of gas required to heat my pool, especially at 400,000 BTUs. Part of the gas service upgrade process was to add up my existing gas appliance consumption (e.g., stove, oven, furnace, gas dryer, hot water heater, fireplace, etc.). If your service is not “big” enough, you run the risk of having all of the gas capacity sucked into the pool heater and depriving it from other appliances (which could be dangerous if a pilot light goes out!).
Tip: Have your existing gas service evaluated prior to getting a pool/spa heater to ensure it has enough volume capacity.
The JXi is a highly efficient, low NOx heater designed to fit into smaller spaces. While the box that the JXi came in was rather large (and heavy – trust me), when it was unboxed, I was rather surprised at its actual footprint (2’ x 2’). It actually weighs less than 126 pounds (2 people to carry, btw). It is highly configurable – it has a 180-degree rotatable top so you don’t need to flip it around. The electrical panel flips up for easy servicing as well.
And, did I mention it’s highly efficient? It has an 84% thermal efficiency rating. What does that mean? Well for every dollar of gas it consumes, 84 cents of it is used to actually heat the water!
There is a built-in control panel with a digital interface for setting temperatures or running diagnostics. Mine was wired into the AquaLink system so that it could all be remotely controlled.
But one of the coolest (or should I actually say hottest) features is the VersaFlo Integrated Bypass valve. This valve is smart. It knows when heating has been requested and automatically opens up to allow water to flow through the heater. When simple filtration without heating is happening, the valve is closed and water does not enter the heater at all (see the video above for more details). This has two clear advantages: 1) it reduces the wear and tear of the heater itself since it only has water flowing through it when needed, and 2) it allows the variable-speed pump to run at a lower, more energy-efficient speed when the water is not being heated and the heater is being bypassed. When the heater is on, the pump ramps up to a higher speed to push the water through.
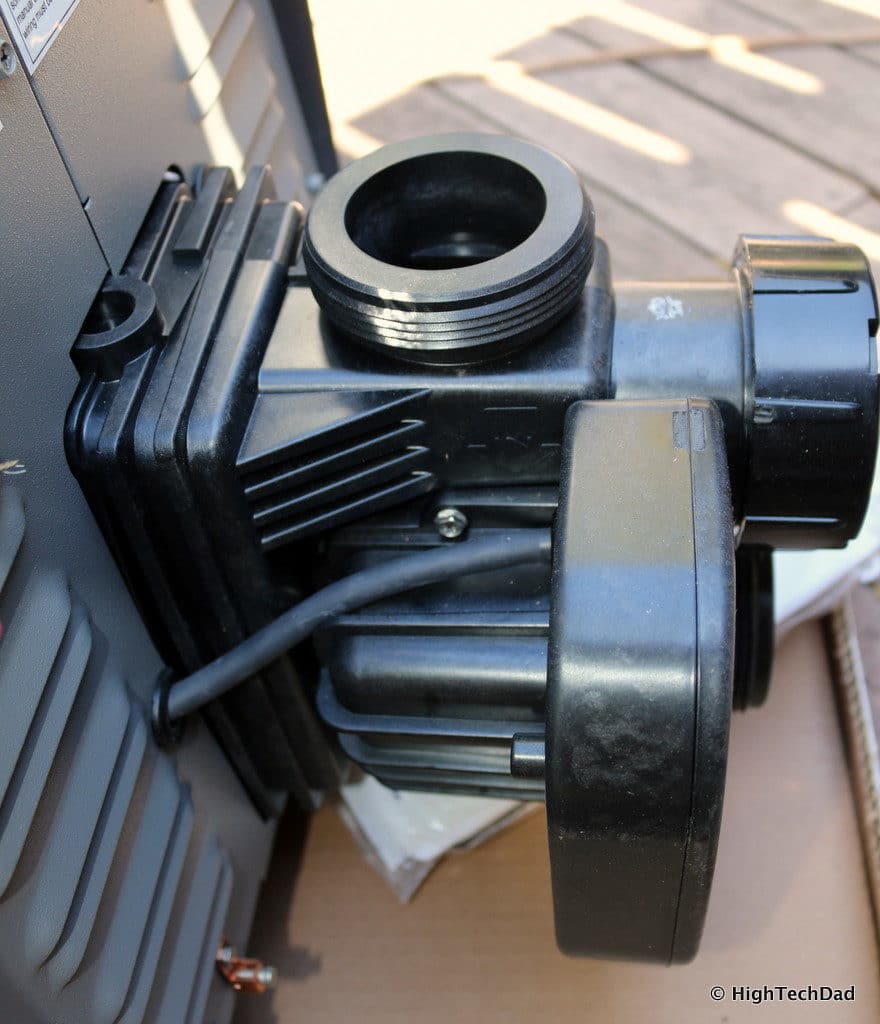
Tip: If you do choose a Jandy JXi heater, do get one with the VersaFlo Integrated Bypass valve!
The Integrated Bypass valve is Versa Plumb-ready so you gain efficiencies and easy hook-up that way as well.
So, how well does it heat? I had heard estimates of a degree an hour. In reality, I found the JXi actually heated a bit faster than that. Just remember, though, when heating, the JXi (or any gas heater for that matter) does consume a ton of gas so don’t be shocked by your bill. While it might not be the $50-swim, depending on how long you have it running, you will see a jump in your gas charges. I did about a 5-degree change that I guesstimated cost about $20 or so, but it depends on your gas prices.
Tip: If you want to hit a certain temperature by a certain time, be sure to plan ahead. And use a cover to keep the heat in!
With my setup, I have two presets for desired temperatures. Using the iAquaLink app on my iPhone, I simply press a toggle and the heater will prime and then turn on within a few minutes after priming. Once the desired temperature is hit, it will monitor and maintain that temperature (don’t forget to turn off the heat later!). With the smartphone app, if the pool pump is running, you can get real-time water temperature readings (once the water has been flowing for a minute or two).
Also, the JXi is fully compatible with saltwater chlorination systems (which I will discuss next). However, Jandy recommends installing a check valve between the heater outlet and the saltwater chlorinator to prevent high concentrations of chlorinated water from back-siphoning into the heater.
The Jandy JXi Pool and Spa heater with VersaFlo integrated bypass (the 400k BTU version) retails for about $3000 And is only available at your local brick-and-mortar pool store.
Jandy TruClear Saltwater Chlorinator
When I was a kid, I used to swim at one of the Stanford University pools. It was a saltwater pool which was really interesting to me as I remember tasting the salty water initially and being surprised. Saltwater chlorination is not something new, but the technology has definitely evolved and improved over time. Some people even say that pools with saltwater chlorinators are better on the eyes and skin (honestly, after swimming in my pool this summer, I have to agree).
There is some crazy chemistry behind how salt is converted into liquid chlorine, something beyond my rudimentary high-school chemistry training. But the Jandy TruClear Saltwater Chlorinator does it all, almost magically.

The TruClear Saltwater Chlorinator makes both pool owners and pool servicing personnel happy. As the swimmer and pool owner, the saltwater chlorinator “just works.” Initially, when the chlorinator is first installed, you have to dump in a ton (well, not actually a ton but my pool had something like 300 lbs) of pool salt. It’s kind of an amazing process.
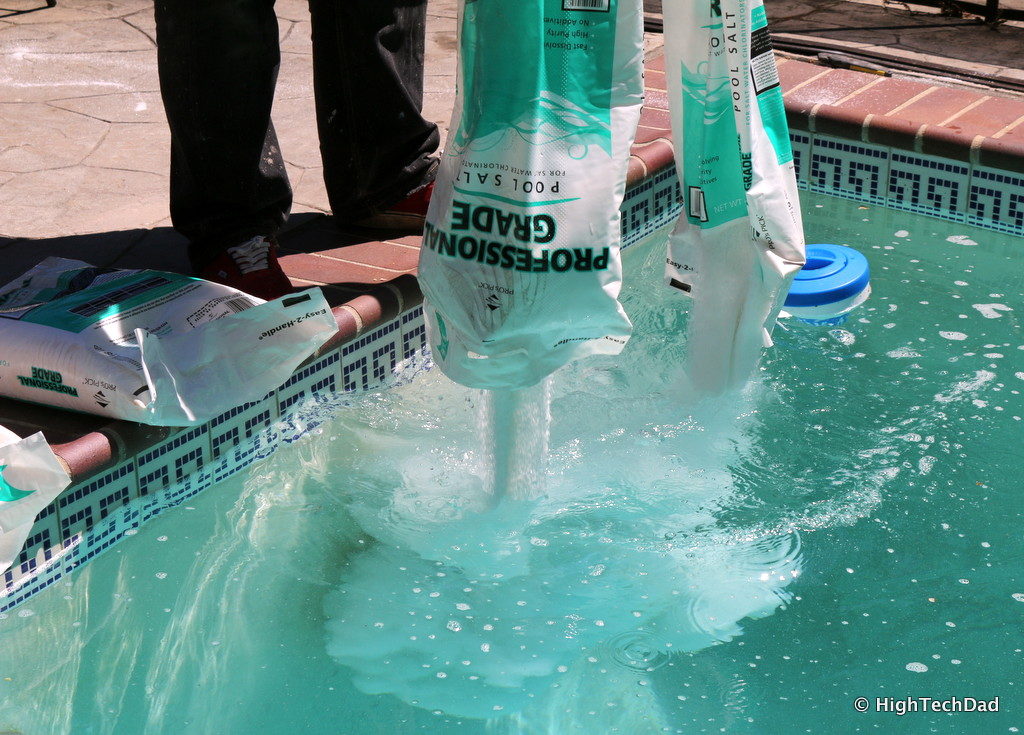
Then over time, as the salt is absorbed and circulated into the water, the TruClear kicks into action, converting the salt into liquid chlorine. For those chemistry geeks out there, here is how it works.
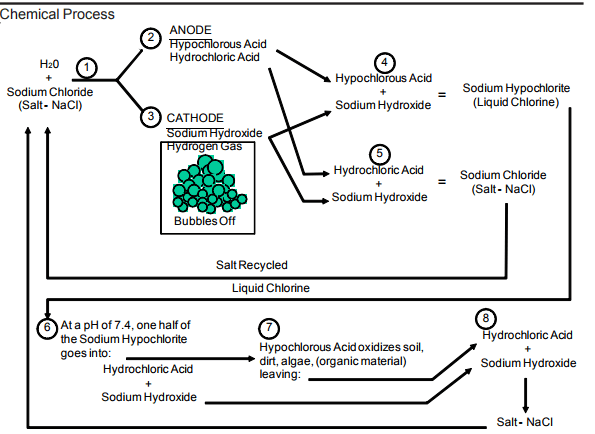
For the person servicing the pool, life becomes a lot easier as well. Once the proper balance is configured (and I know very little about that process), the TruClear automatically and regularly creates liquid chlorine at a regular pace. Traditionally, when your pool is serviced (perhaps weekly), the pool person will dump in liquid chlorine and/or add chlorine “pucks” to bump up the levels (assuming you pool needs it). What this does is boost up the levels of chlorine initially and then over time, the chlorine levels drop off. So, if you swim right after your pool is treated, it may feel/smell/taste a bit more chlorinated, and then by the end of the week, the levels drop off dramatically.
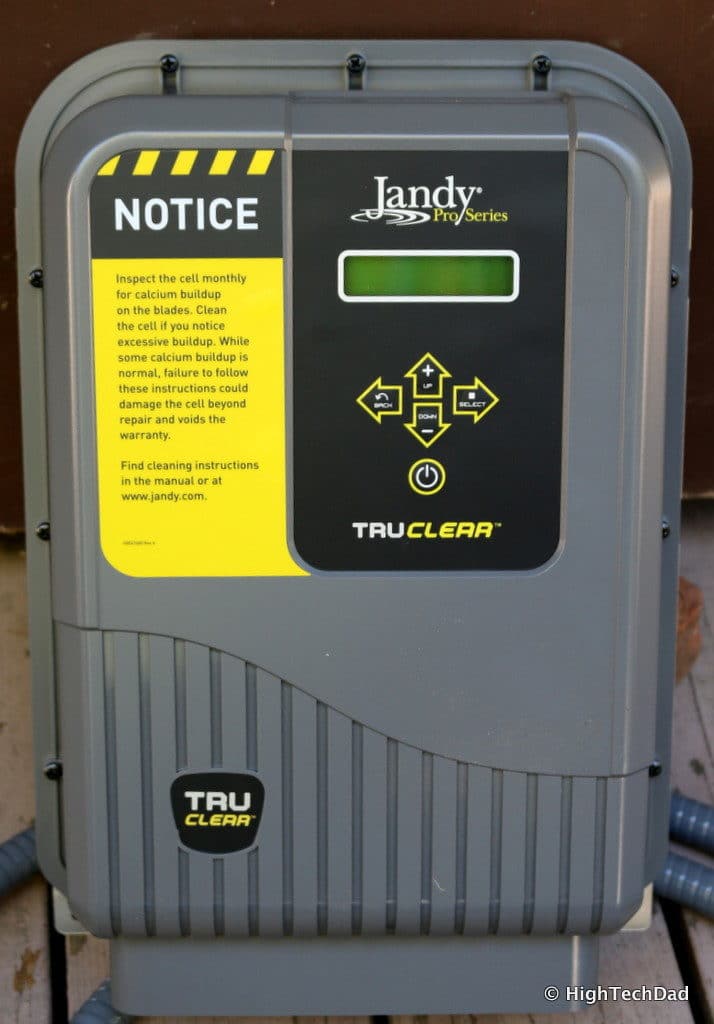
With the TruClear running, chlorine is regularly introduced into the water at an even level, so you don’t experience the highs or lows of chlorine effects. You will also notice that your pool water has a slightly salty taste to it. But I found this to actually be refreshing and almost unnoticeable. And my family’s skin and eyes have been feeling better.
Tip: Technology has evolved for these saltwater chlorinators so be sure to compare products carefully, including the price of replacement parts.
In terms of servicing the TruClear, there is a transparent window where the pool person can inspect the metal “blades” where the chemical conversion takes place. Over time, when these blades have to be serviced due to calcium buildup, the pool service person simply has to unscrew the top, remove the cell, and dip it into a cleaning solution. Also, if the salt/chlorine levels drop due to rain or having to add water to the pool, additional pool salt may have to be added to the pool.
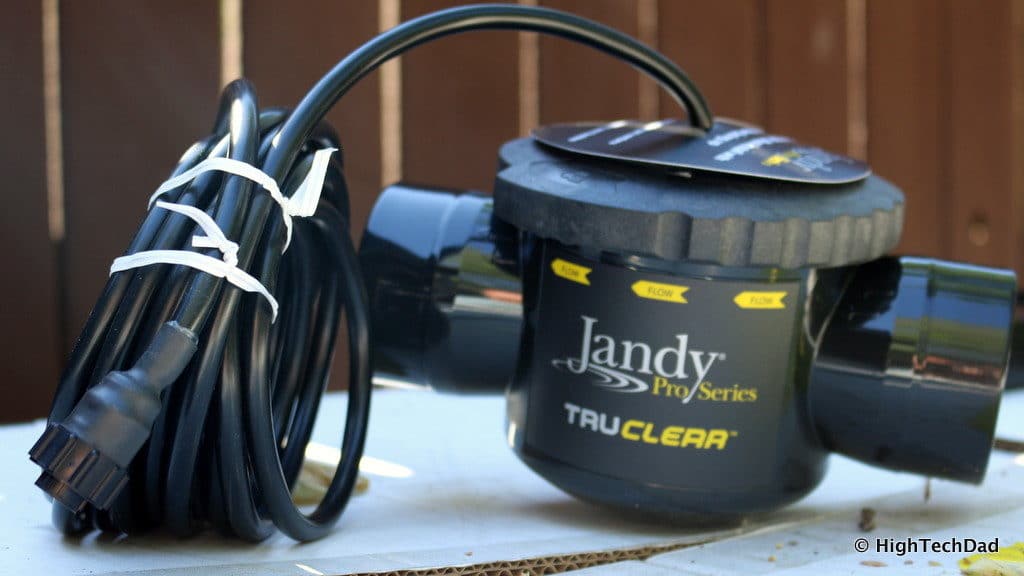
In terms of efficiency, the salt-to-chlorine conversion process can be achieved at very low flow rates, allowing you to only have to run a variable-speed pump at those low speeds, thus saving energy.
The Jandy TruClear Saltwater Chlorinator produces 18 grams of chlorine per hour for pools up to 35,000 gallons and can work at a 20 gallon-per-minute flow.
The Jandy TruClear Saltwater Chlorinator retails for an estimated $750-800 and is available at your local pool retailer.
We are almost through the water flow here. Next, let’s look at the booster pump.
Polaris PB4-SQ Booster Pump
Last year, I wrote a review about the Polaris Vac-Sweep 3900 Sport. Little did I know that about a year later, it would be powered by another Polaris relative, namely the Polaris PB4-SQ Booster Pump. Booster pumps play a critical role in pool maintenance as they provide additional water pressure to pressure cleaners like the Vac-Sweep 3900 Sport.

Similar to my old single-speed pump, my old booster pump was really loud and not very energy efficient. At one point, I even had to swap out a broken part from another old same-model booster pump just to prolong its life. I knew my booster pump was on its way to pool equipment heaven, so getting the PB4-SQ pump gave my pressure cleaner new life.
The PB4-SQ is, as I said, extremely quiet and is a multi-stage pump. The motor and fan are enclosed to provide a much quieter operation, especially when compared to my old pump. At just under 1 HP, it does provide a good amount of pressure to the cleaner, allowing the cleaner to suck debris off the bottom of the pool while allowing the sweep’s tail to whip around (we affectionately call the pool sweep – “the whale”).
Tip: Not all pools are plumbed to support booster pumps so be sure yours’ is supported.
This pump works fine with low-flow as well as variable-speed pumps, like the VS FloPro. In my setup, this booster pump is integrated into the system so I can turn it on or off remotely as well.
The PB4-SQ retails for a couple of hundred dollars And, you guessed it, is available at your local pool store.
Jandy AquaLink RS, Jandy iAquaLink, and Jandy Watercolors LED Lights
We have now reached the brains (and fun) part of the entire operation, namely the main controller, the remote controller, and the LED lighting. This is an extremely important part of a pool equipment upgrade as it adds control, automation, configuration, and remote operation to the mix. Without these key components, I would be manually turning my equipment on and off, which sort of defeats the purpose of an upgrade.
In this section, I discuss 3 items, specifically:
- the Jandy AquaLink RS – provides total control and automation of your pool equipment & other backyard items
- the Jandy iAquaLink – gives remote connectivity
- the Jandy Watercolors LED lights – adding a bit of configurable color to your night-time swimming

Let’s start with the Jandy AquaLink RS. When you want to talk about having a smarthome, there are plenty of things, including your pool, that can be automated. But often, automation of the pool is not always talked about. While my old pool equipment had “automation” of sorts, it was really limited to some old timer dials (again, a throwback from the 70’s or 80’s). True automation, coupled with more modern pool equipment like a heater of variable-speed pump, means that you have a lot more power to configure how and when your equipment runs.
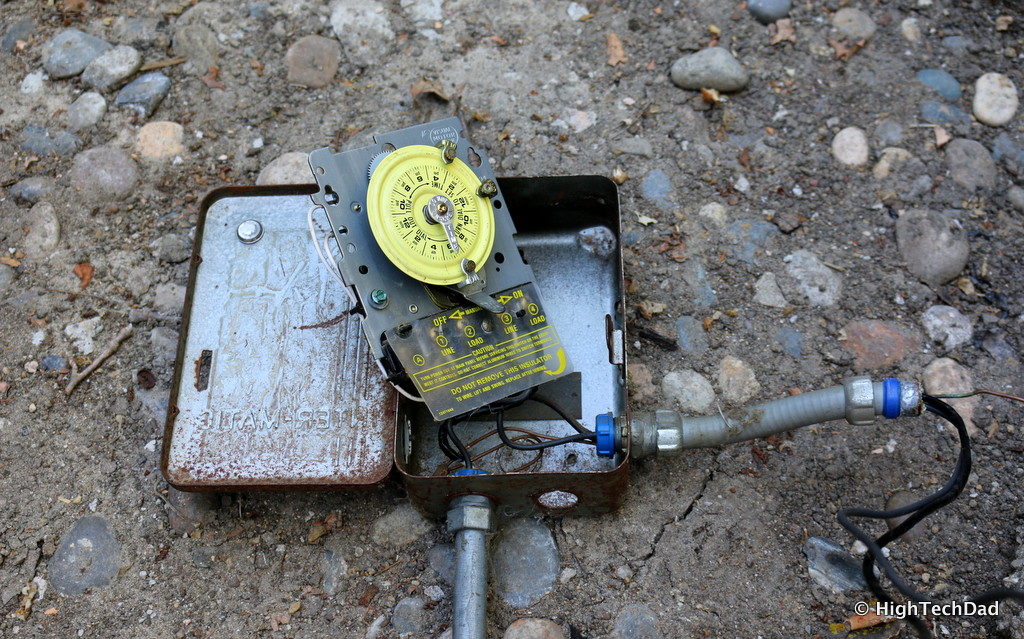
For example, you may want the variable-speed pump to run at very low speeds at night, just to circulate the pool’s water. And then in the morning, bump up the speed of the pump and turn on your booster pump to have the pool sweep run. With the AquaLink RS, you can configure the RPMs of your devices (highs, lows, and run speeds). Also, as you hook in your various pool parts into the AquaLink RS, you will be able to control them manually from the control panel (or remotely as I will go into shortly).
Tip: Definitely look at pool automation features, especially remote management to make your pool truly “smart.”
The AquaLink RS comes in multiple configurations with the ability to control a variety of pool and spa devices. I believe the one supplied to me controls up to 8 devices, but you can get ones that control up to 32 pool and spa features. You can modify schedules for different times of the year and set those to automatically happen, you can control other pool elements and functions like lighting and water features, and you can program your filtration and cleaning to happen automatically.
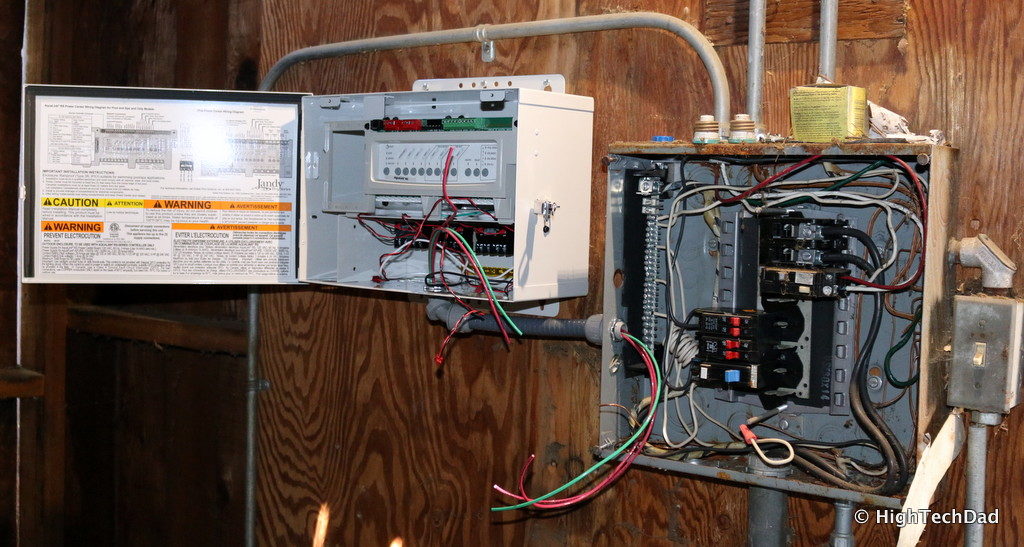
For control within my pool shed, Team Fluidra supplied me with the AquaLink RS OneTouch, which is a back-lit panel that lets you program and control just about every aspect of devices connected to the AquaLink RS control panel. It is completely menu-driven and has an easy-to-use interface.
Tip: Consult with your pool professional to be sure you get the appropriate control panel to ensure all of your devices can be hooked in.
While having a physical control panel in the pool shed is nice, what is even better is having the ability to control and program any of the equipment from anywhere using your smartphone or tablet. When the Jandy iAquaLink is connected, the control of your pool and spa is extended to anywhere you have a data connection. Using the smartphone app, you can do some of the basic controls like turning on/off pumps, setting heating levels, turning on the heater, and activating the pool lighting. Check out the iAquaLink demo!
This summer, for example, my daughter called me at work to tell me that she was going to have some friends over for a nighttime swim. So, I used the iAquaLink app to first turn on my pump so that I could get the current water temperature. Then, I saw the temp was just a bit too low so I set a temperature for the furnace and turned it on remotely. By the time the kids went swimming, the pool was a nice temperature. And, when I was home, I was able to turn on some fun lighting to make the night swim a bit more interesting (they are terrified of the red colored lighting).
The app also has a link to get into the full interface for the controls (and you can access everything via a website as well).
Also, one nice thing about the AquaLink RS and iAquaLink system is that my pool services company and/or Team Fluidra can remotely connect to my equipment to adjust or check settings. No need for a physical visit.
And, last on the list is the Watercolors LED lighting. While pool lighting is great for night-time swims, having the ability to set a particular color (or mood), or even set a cycling color makes that night swim even more exciting. This LED lighting is easy to install (by a professional) and involves feeding a wire all the way back to your main controller. This process is easier if you have existing lighting and can be done yourself, just be careful with water and electricity!
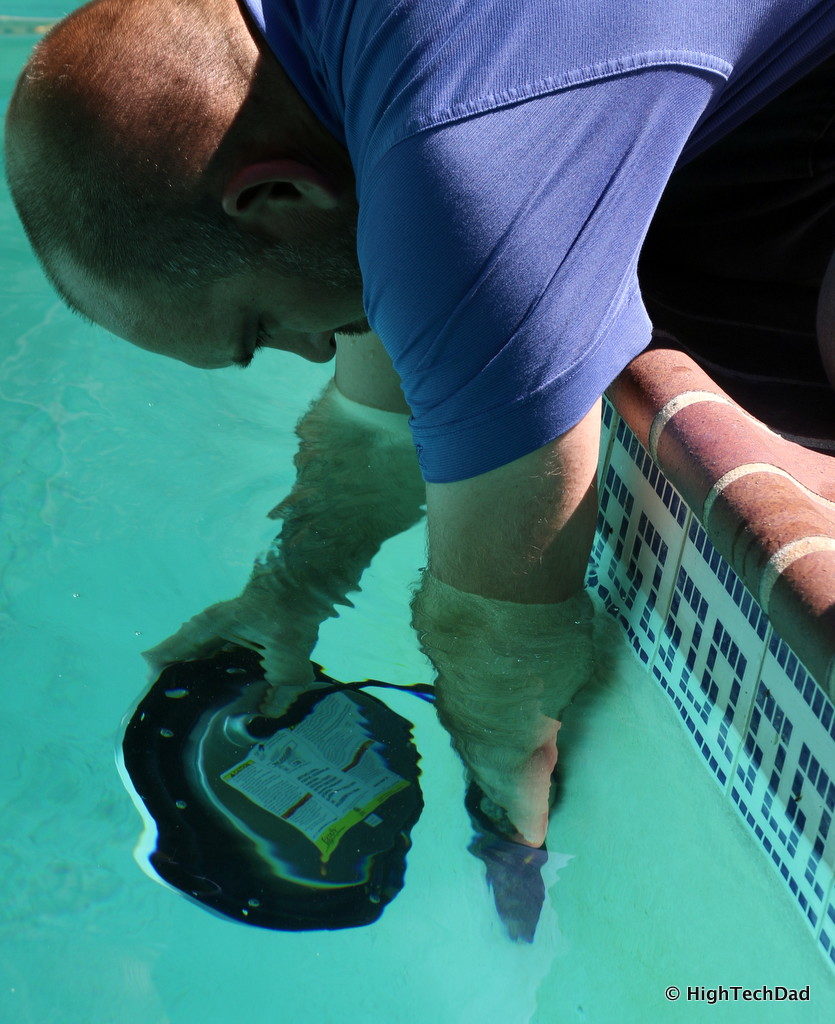
The LED lights use less than 50 watts of power and have 9 colors or 5 light show effects. The lighting can be turned on/off and configured via the OneTouch panel or via your smartphone/tablet.
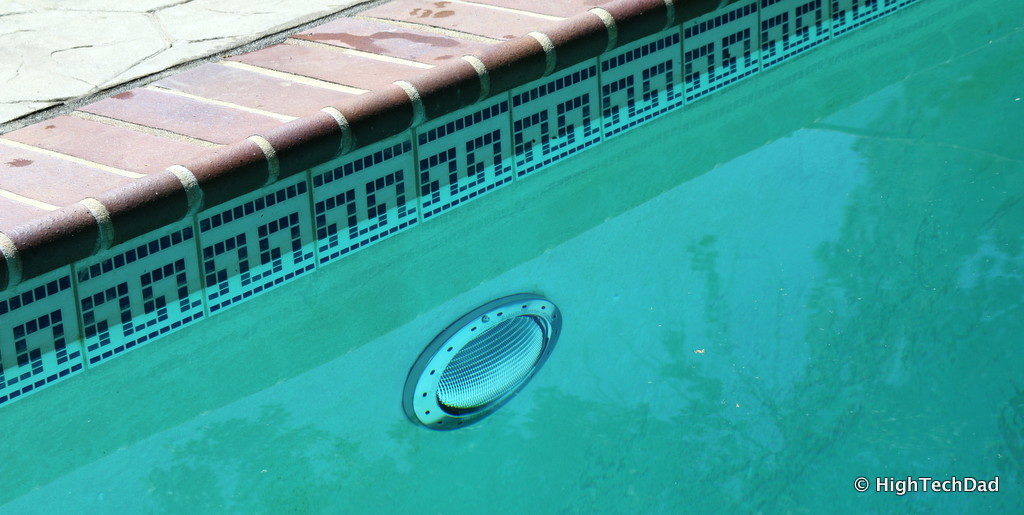
To be honest, controlling the LED lights was the one item of my entire setup that I had some issues with. While I was easily able to turn on or off the lights, selecting the color that I wanted proved to be a bit difficult and sometimes random colors would display. And, sometimes I would get a mystery setting where the colors rapidly cycled through instead of slowly cycling through – my kids actually thought this setting was the best! It’s probably user error, and I’m not selecting the lighting properly, but I did feel I had to mention this.
Tip: Definitely consult with a pool professional to design the best automation and remote access solution for your pool and spa.
The pricing for the AquaLink RS varies based on the number of items you need to control. The AquaLink RS OneTouch Control Panel retails for about $500. And the LED lights also vary (there are pool and spa versions). Be sure to get the 2nd generation version! The LED lights I had installed are model #CPHVLEDS50 and retail for about $600. The iAquaLink 2.0 wireless controller retails for about $300. Your pool retailer can help get you the best price on the right products for your pool.
Diving into your Pool Upgrade
If you made it this far in this article, stop and give yourself a good pat on the back! But it also must mean that you are seriously evaluating your pool equipment, doing your research, and considering taking the plunge. It is a process that definitely takes time to truly figure out. There are always unknowns and “gotchas,” as I mentioned, so I believe it is important to go through the process with a trained professional (your installer or your servicing professional).
Each and every pool is different and the solution you choose must be tailor-made to fits your needs. Obviously, this review/article is specific to Jandy, Fluidra, and Polaris products, but there are quite a few alternate vendors out there. I do, however, recommend that if you can buy products from the same manufacturer, there are integration efficiencies that you can benefit from.
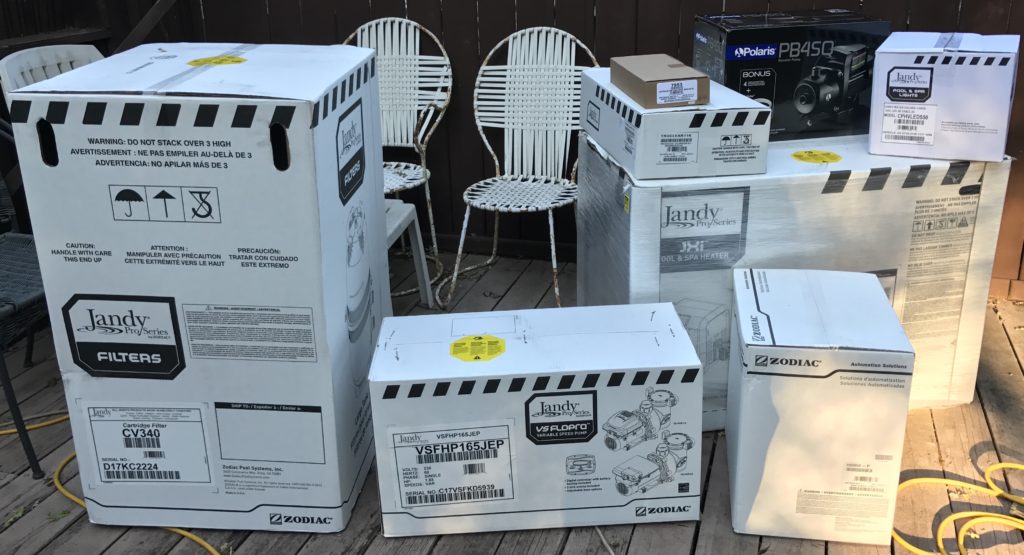
And, if you simply cannot afford to do everything at once, plan out your upgrade methodology by looking first at your immediate needs. For example, a variable-speed pump can immediately save you on electrical costs. With the money you save, you can then pick and choose your next upgrade.
Regardless, caring for your pool and its equipment is an important investment, not only in your home’s value but in the happiness of your family and friends who enjoy it.
If you have any questions about anything you read here, please leave a message. If I cannot answer it, I can definitely reach out to Team Fluidra for official responses!
And thanks again to Team Fluidra for the incredible pool upgrade!
Disclosure Text: I have a material connection because I received a gift, sample of a product or service, and/or monetary compensation for consideration in preparing to review the product/service and write this content. I was/am not expected to return this item or gift after my review period. All opinions within this article are my own and are typically not subject to the editorial review from any 3rd party. More information can be found on my About page.
HTD says: A pool equipment upgrade can make the difference between a ho-hum swimming experience and a pool party! And add pool automation and energy efficiencies, and it’s smiles all around!


3 comments
Barbara Ebert
I do not see how to backwash your jandy pool system. Do you know how to do that and can you help me?
Dennis Skinner
Do you know where I can get a new door latch to close the aqualink cabinet? Mine broke.
Thanks
Michael Sheehan
Hi Dennis, I would reach out directly to Jandy about that. Sorry I can’t help with that.