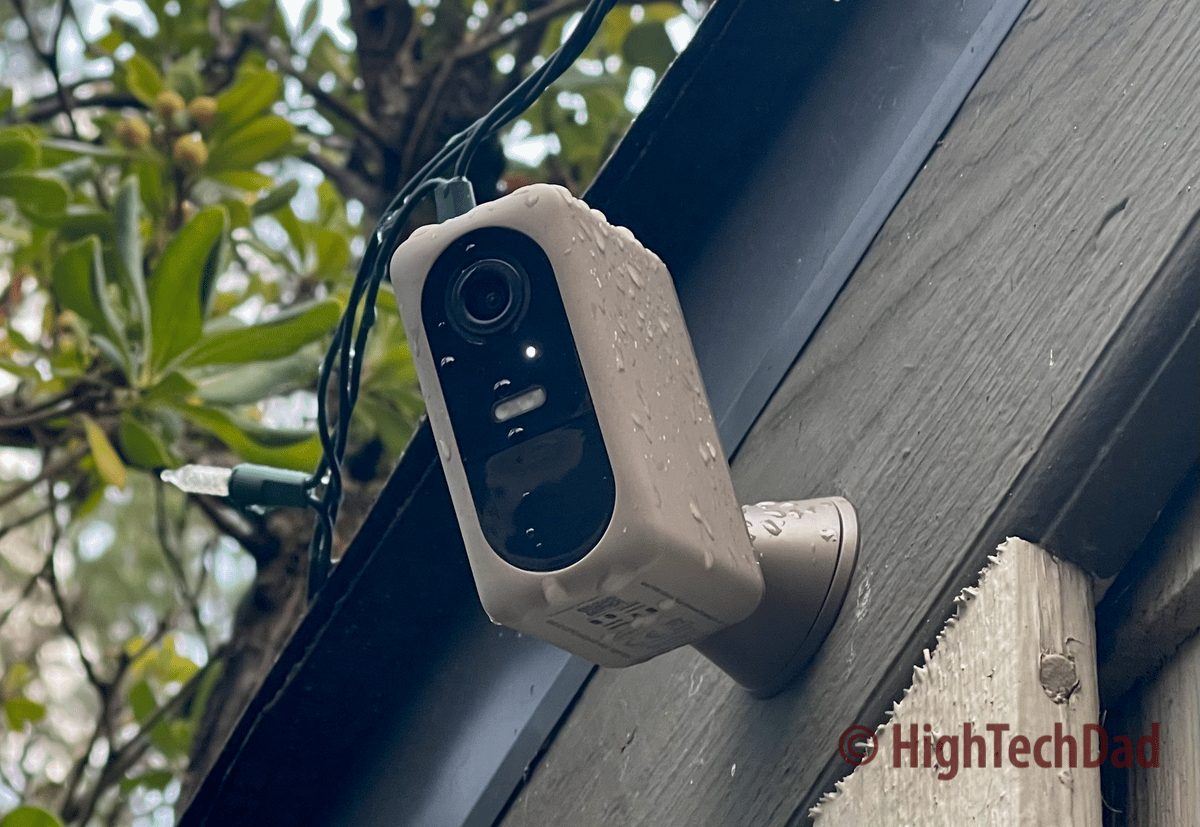
Being able to keep an eye inside, outside, and around your house is essential for your sense of safety or well-being. The Nooie Cam Pro is a small wireless security camera that you can place within your home or office to provide day or nighttime vision. I have reviewed quite a few security cameras (see my reviews), and each one seems to have its own niche. The Nooie Cam Pro is no exception. (*Disclosure below.)
Nooie has always impressed me with its smart home devices. I currently have four of their smart light bulbs set up in my office, controlled by Google Home, to provide ambient lighting throughout the day and night. So, I already have the Nooie ecosystem app configured on my iPhone. The Nooie Cam Pro fits right into that ecosystem – they have a variety of different indoor and outdoor cameras, including doorbells and baby cams.
Extending your vision to the outdoors surrounding your home is an important consideration, especially with porch pirates and other nefarious bad actors roaming the neighborhood. Or perhaps you simply want to keep an eye on the kids while they play in the backyard. A security webcam like the Nooie Cam Pro is an essential addition to any household.
Why is the Nooie Cam Pro a Helpful Security Addition
While some people may view security cameras as potentially an invasion of privacy, others view them as household necessities. There will always be that debate. One of my daughters, for example, said that she hated having cameras monitoring the front door during high school because it eliminated her ability to “sneak out.” Oh well – sorry, not sorry!
The Nooie Cam Pro allows you to quickly glance at a particular area of your yard that you can’t usually see, unless, of course, you have x-ray vision. The Nooie Cam does, however, allow you to see both during the day and at night, and you can listen in to the audio.
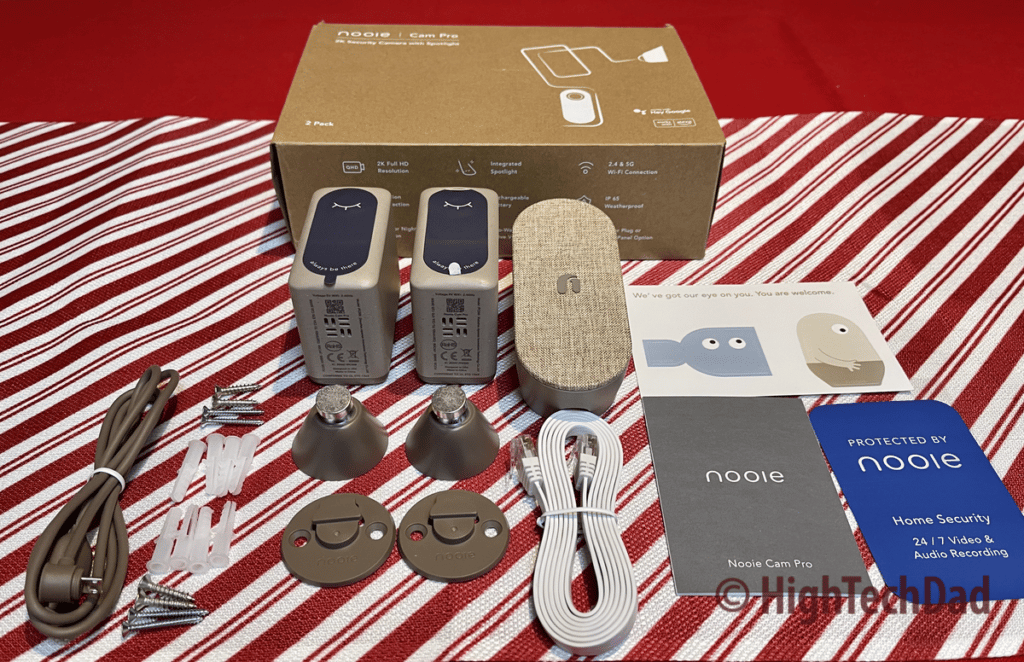
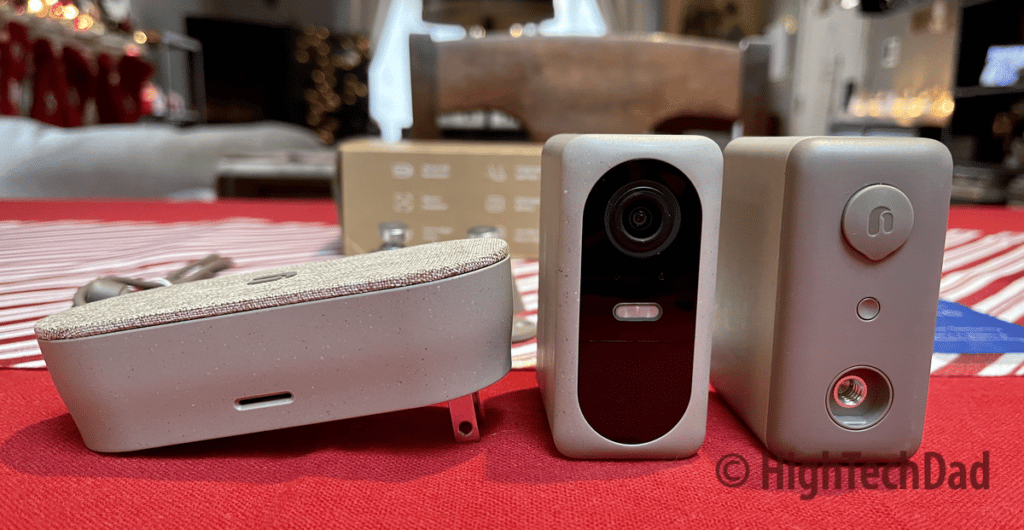
The Pro Cam set I received for review consisted of two cameras and one base station. With this setup, you can connect the base station and then place the wireless cameras within range of the base station – either indoor or outdoor, it’s up to you.
Some important specs about the Nooie Cam Pro:
- Resolution – 2K/H.264
- WiFi – 2.4/5 GHz
- Waterproof – IP65
- Motion Sensor Range – 32-49 feet
- IR Night Vision – 32 feet & Color Night Vision
- Field of View – 140 degrees
- Storage – MicroSD or Cloud-based
- SmartHome – Google Home or Amazon Alexa
- Detection – human
Let me quickly translate what all of those items above mean. For starters, a 2K resolution means that you will get quite good quality on the videos recorded by the Nooie. An important thing to remember is that with better lighting (e.g., during the day), the quality will be much better than at night.
There are two options for connecting your Nooie hub to your network. You can do it via a wired Ethernet connection, which I always recommend. However, it also does support a wireless/WiFi connection of both 2.4 and 5 GHz, so you do have both of those options.
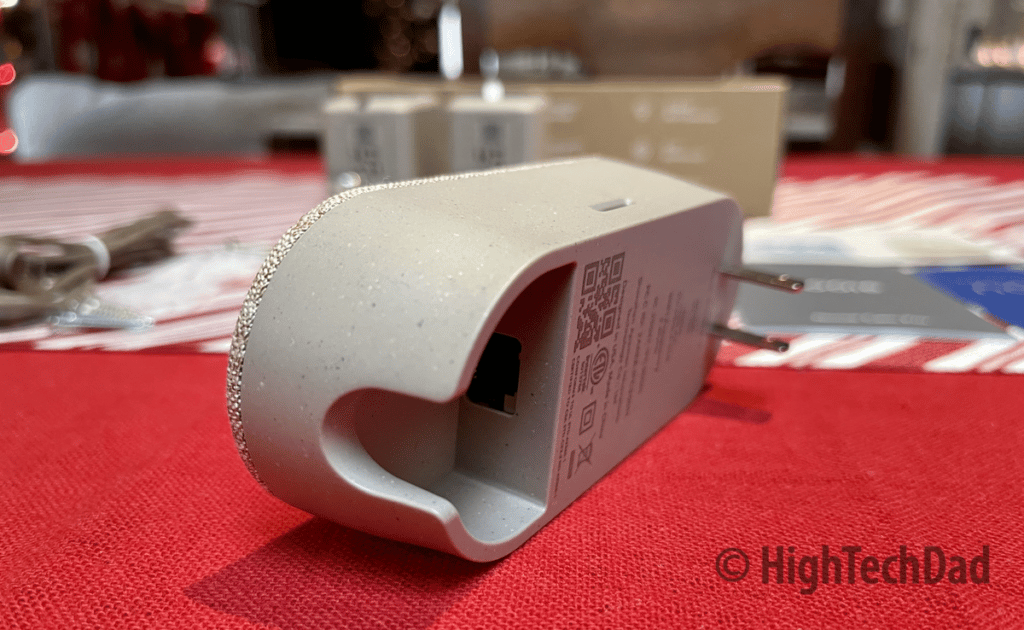
An IP65 rating means you can mount the cameras outside, and they don’t need to be under protective coverings. They can handle typical weather of rain, snow, and heat (all within reason, of course). More about the mounting shortly.
The motion sensor range is fairly decent. You would obviously want to place the camera in a higher position to ensure a broader range of coverage. In my tests, I have found that the Nooie does a fairly good job at detecting motion, even that of “human” motion. However, it doesn’t capture everything I have noticed, especially compared to some other cameras I have.
The IR Night Vision does seem to work pretty well, although I have placed the cameras where there is either fairly good ambient light or the area is already illuminated by a floodlight at night.
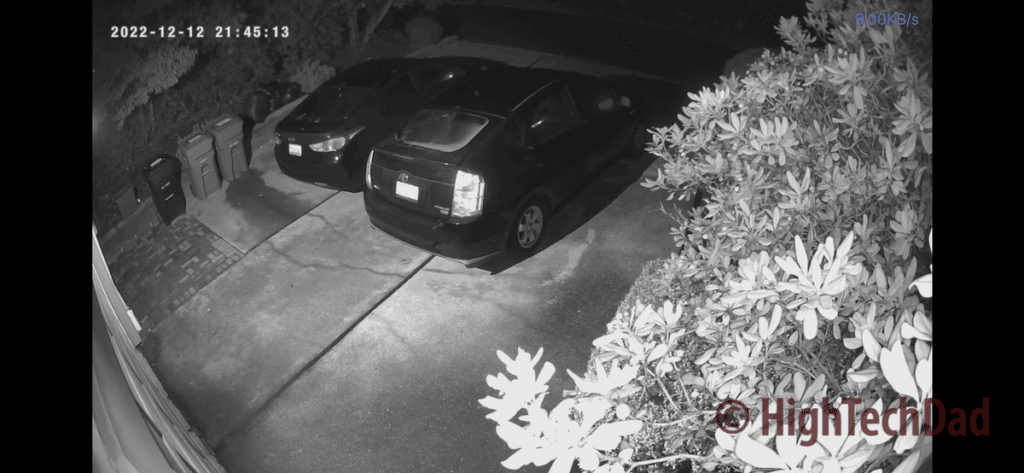
The 140-degree field of view is great to be able to provide a wider range of vision. While it isn’t a fish-eye type of view, the area capture is quite good, again, depending on how high up you mount the camera.
I do want to spend a little bit of time talking about storage for the cameras. The nice thing is the Nooie Cam Pro kit does provide you with two types of storage options – the Nooie cloud service or via a microSD card.
If you choose the cloud option, you will need to sign up for the service, which is fairly reasonably priced. Nooie+ gives you options based on whether you have a wired or wireless battery-powered camera (the Nooie Cam Pro is wireless). The wired plans are a bit more expensive because you get 24/7 continuous recording versus the wireless battery-powered plan, which simply stores “events” as they occur. There are Starter and Standard plans with monthly or annual payments available. AND, most importantly, the plans are PER CAMERA and not per account. So, if you have this kit of two cameras, you must activate a plan for each camera. (This nuance doesn’t jump out at you on their website.)
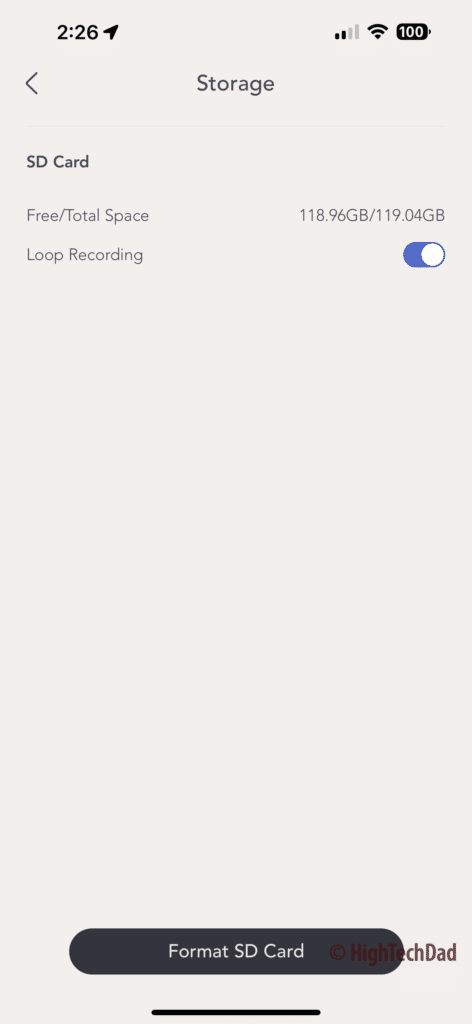
Because of this, I decided to go the microSD card route. Another word of WARNING – be sure to get a quality microSD card and beware of fake cards. The first card I purchased actually heated up so much that I thought it would melt the hub or the card or both. And when I tried to reformat the microSD card on my Mac, it heated up equally as much. So, I returned the card and bought another one which seems to have worked just fine. Another tip – you can get up to 128GB cards, so the larger the card, the more space for storing recordings.
From a Smart Home perspective, the Nooie does integrate into with both Amazon Alexa and Google Home…sort of. I was able to connect the Cam Pros to my Alexa account, but when I try to view the camera, Alexa says “Live view not supported on this device.” And with Google Home, I, unfortunately, didn’t have great success with that either. My four LED lights show up just fine, but the two Pro Cam cameras do not, despite having things linked.
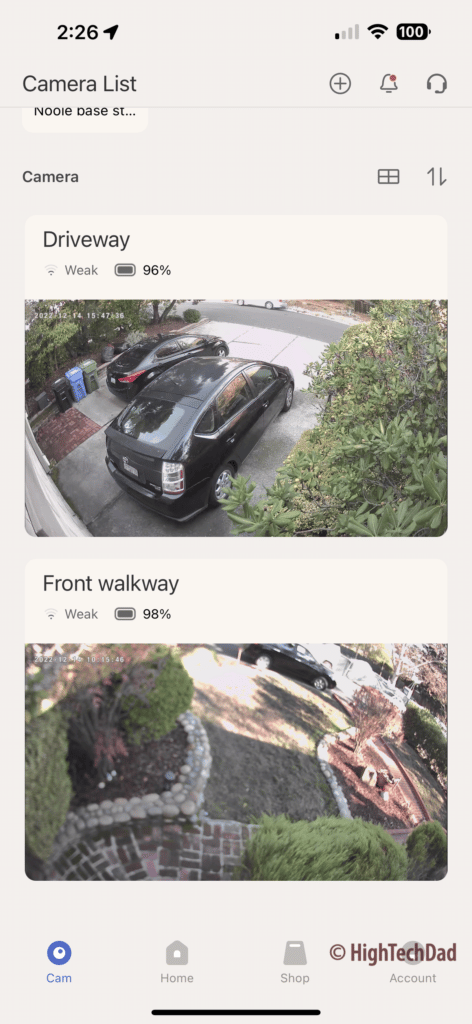
Honestly, that doesn’t bother me too much because the Nooie app (which works for the cameras and the lights) is pretty good. You use the app to set up and control the devices (lights or cameras). And you can access the video playback directly in the app. And it is the app that tells me it “thinks it has spotted someone” via a notification – this is the Human Detection feature.
Nooie Cam Pro Setup and Usage
Setting up the Nooie Cam Pro is pretty straightforward. You do all of the setup and configuration using the Nooie smartphone app for Android or iOS. First, I recommend charging up the two cameras fully. There is one included micro USB cable, and I simply found another micro USB cable in my stash and charged both of them up.

Next, I configured the hub. For this, you can choose to use a WiFi or Wired Ethernet connection. As I mentioned, I used the Ethernet connection as you will get potentially faster throughput on your video recording and playback. The ethernet port is recessed in the back, and it is a bit difficult to plug in a standard Ethernet cable, but it is doable. Next, I plugged the hub into the power. The plug is part of the hub itself – there are no cables – so you will have to find a spare plug somewhere to connect to power.
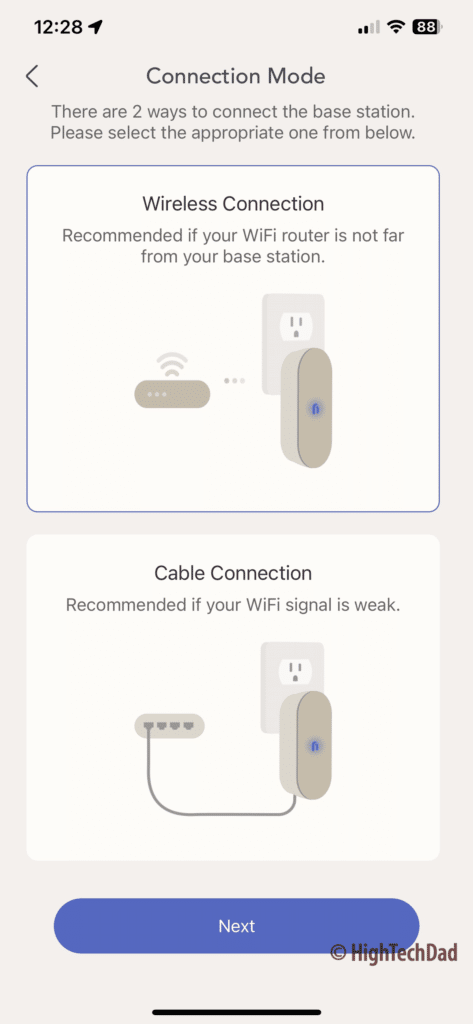
After that, the Nooie smartphone app will walk you through connecting and configuring each camera. I recommend you do all the camera configurations with the camera next to the hub before you mount the cameras.
During the configuration process, you may have firmware updates, and you will also define the name and where the camera is located. But it is all very straightforward.
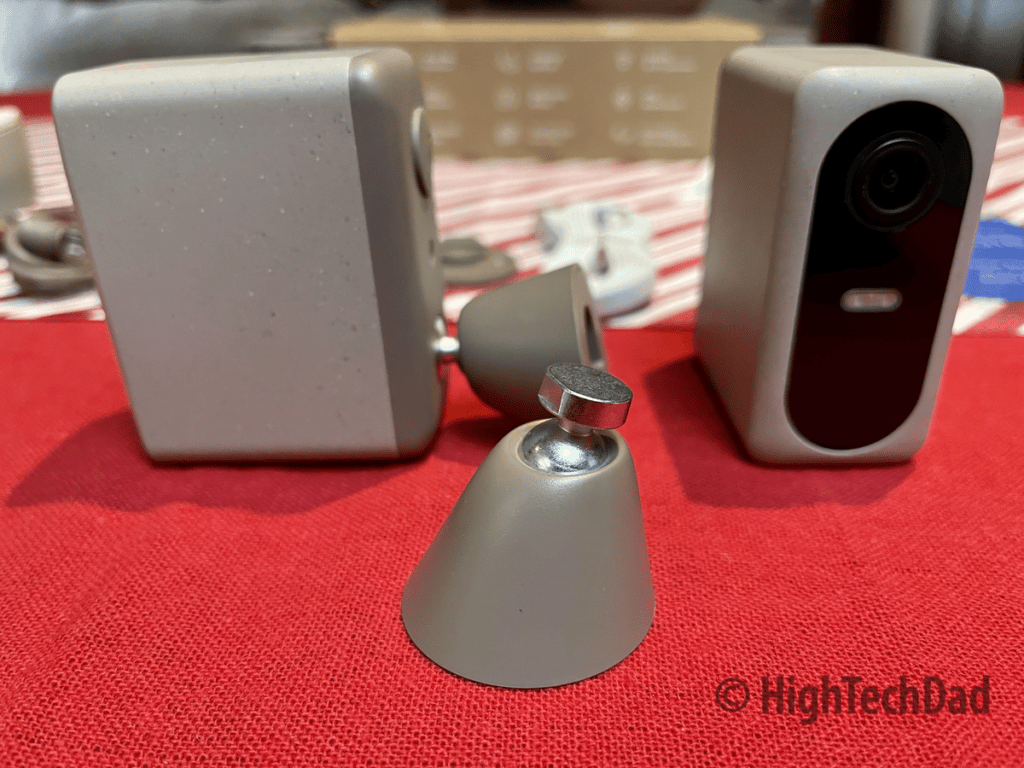
Once the cameras are configured and connected, you will want to find a good place to mount them. Try to place the cameras as close to the Nooie hub as possible so you can stream live more reliably. Even though my hub is about 10-20 feet away from the cameras, the Nooie software shows that the wireless connection is “poor.” This probably has to do with the number of devices I have near the hub that may be causing interference, as well as the fact that I have the hub on the floor (ideally, you want to have it up high and away from things that may cause interference).
However, in testing the camera, despite the “poor” connection, I can still activate the Live View reasonably quickly. However, this is important to note. In my testing, I found that it can take up to ten seconds to get a live view. In my mind, this is not as great as I would have liked. If you hear a noise and want to view the camera, ten seconds is a lot of time, and whatever object that may be in your camera may have moved on by that time.
This, of course, could have to do with my “poor” connection between the base and the camera, so I will continue to optimize the placement of the hub.
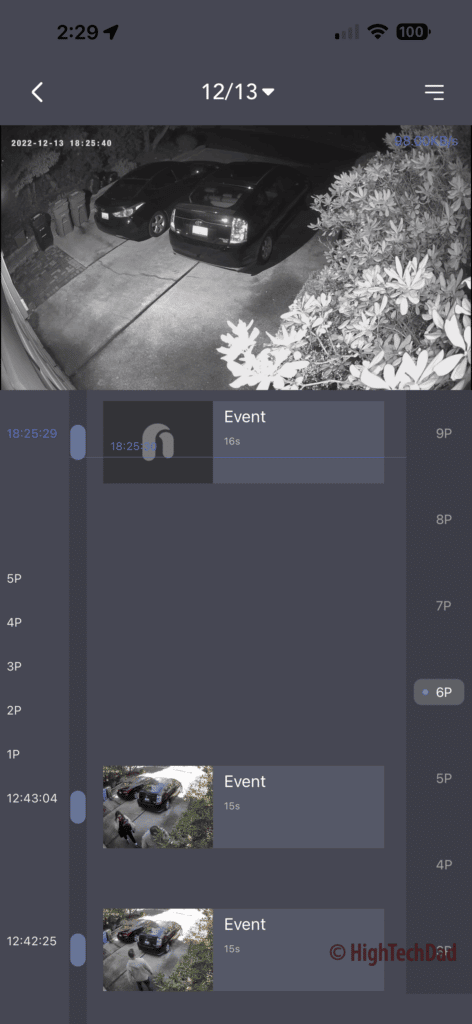
Similarly, getting to the recorded video playback from the microSD card on the hub can take up to fifteen seconds before it is available. Once the Nooie app is connected to the storage, you can scroll through various time-stamped recordings (which you can screenshot or save to your photo album).
Within the Live View (once you are connected), you have various options to use. You can click the Record button and record whatever is currently on the screen directly to your smartphone. You can take a Snapshot of what is on the screen and save that directly to your smartphone as well. You can activate a Microphone to hear the audio being captured, and you can activate a Speaker so you can broadcast your voice from the Nooie Cam Pro. Lastly, you can also activate a small LED Spotlight for better night vision.
Within the smartphone app and in the Activity Center, you can scroll through snapshots of events that the cameras have captured. It gives a screenshot and timestamp, and if you click on an event there, it goes to the video storage so you can view the entire clip. Unfortunately, and I’m not sure if this is a drawback of using microSD storage, moving from the Activity Center clip to the actual video clip was a bit hit or miss. Clicking sometimes said there was no video available, but if I went to the camera itself and looked at the activity, it was there.
Because of these nuances, I may test out the Nooie+ cloud option for one of the cameras.
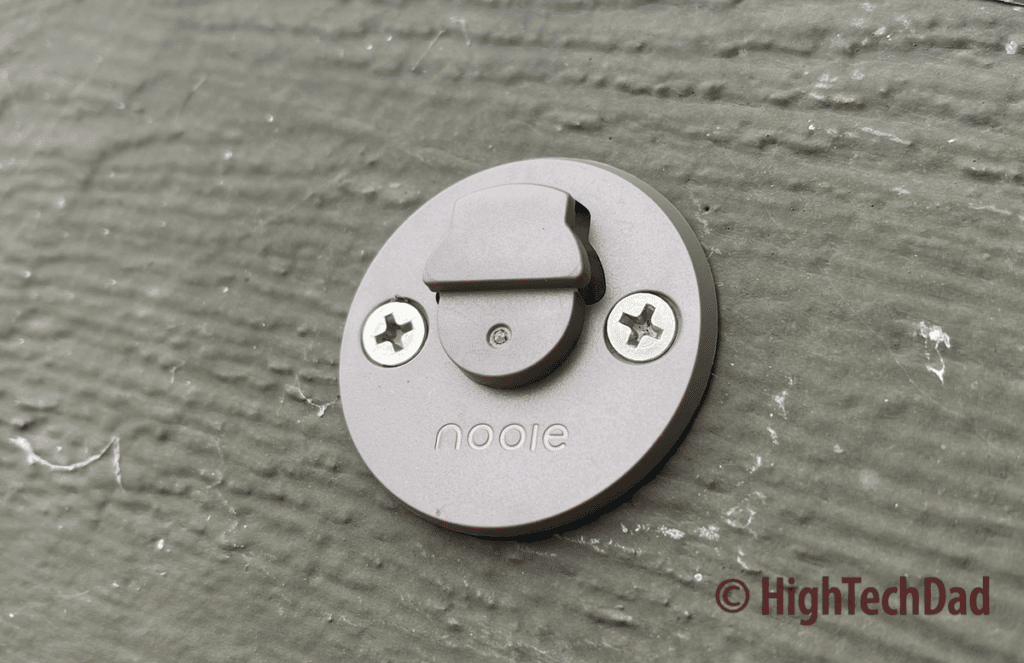
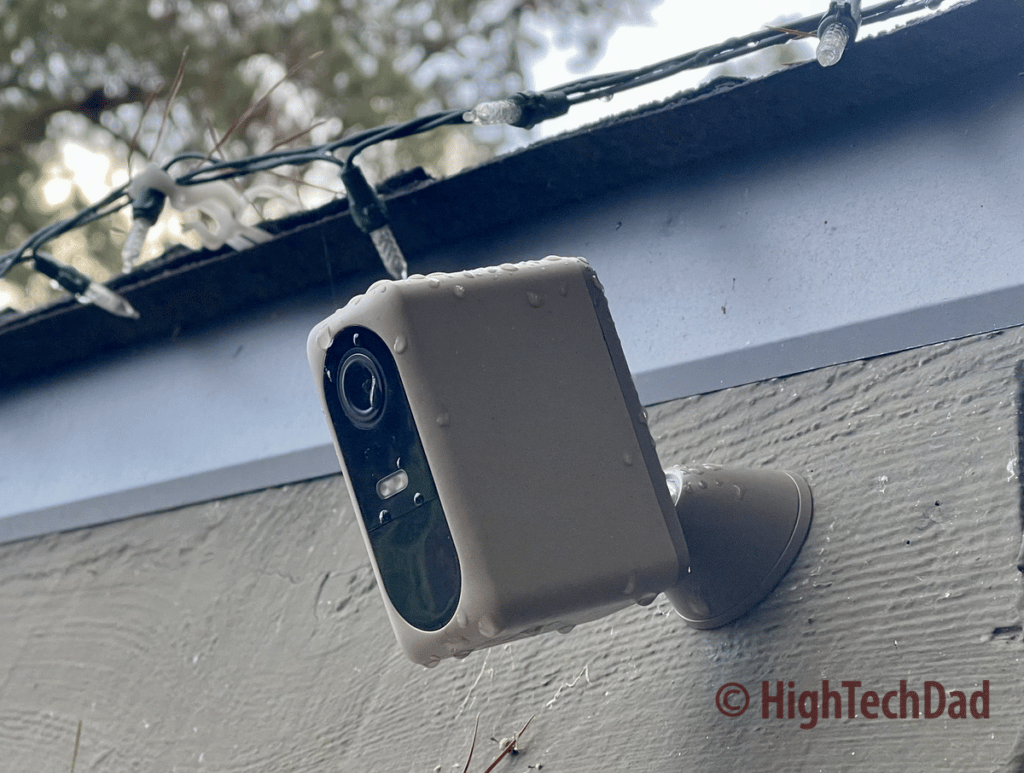
I did want to loop back to the installation process. The Nooie Cam Pro does come with wall mounts that are very easy to attach. Once you decide on the optimal location, screw the base into the wall. From that, you snap the magnetic base mount onto the wall mount. Then you attach the Cam Pro to the magnet.
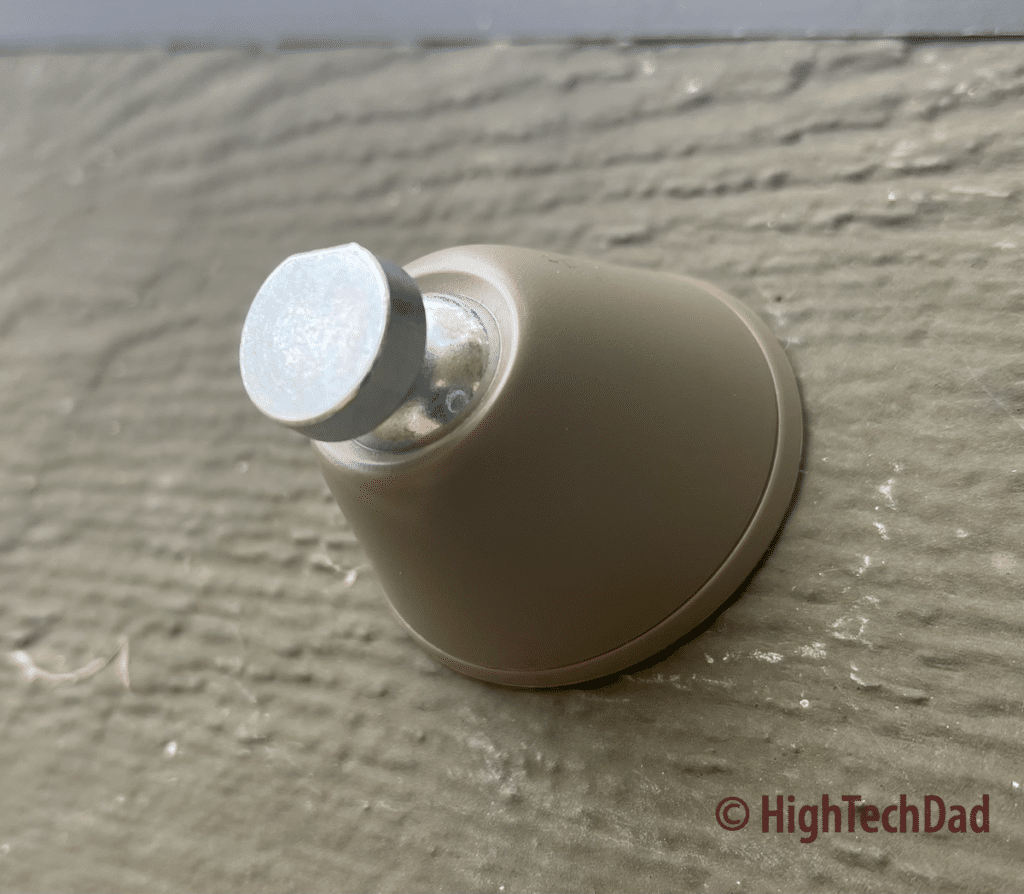
The magnet has a notch on the top, so be sure you align that with the notch on the camera itself. You can fully tilt, rotate, and angle the camera once it is magnetically attached. And, because it is a magnet, you can simply pop off the camera to take it indoors to charge. Note, Nooie did come out with a solar panel to allow you to keep the battery charged as long as there is sun. Unfortunately, I did not get one of those solar panels, but that is an excellent addition.
Bottom line – the setup and configuration process is quite easy. The usage and playback have some nuances that I’m working to understand. Things may work a bit better through better hub placement and potentially using the Nooie+ cloud storage. But, overall, the system is more than adequate. (It isn’t, however, my primary security camera.)
There are several different options you can purchase.
- 2 Camera & 1 Base Station & 1 Solar Panel Kit – $299.99 on Nooie & $309.98 on Amazon
- 2 Camera & 1 Base Station – $259.99 on Nooie & $259.99 on Amazon
- Solar Panel only – $49.99 on Nooie & $49.99 on Amazon
Shop on HighTechDad.com
The product shown below (and related products that have been reviewed on HighTechDad) is available within the HighTechDad Shop. This review has all of the details about this particular product and you can order it directly by clicking on the Buy button or clicking on the image/title to view more. Be sure to review other products available in the HighTechDad Shop.
-
 Nooie Cam Pro$259.99
If you are looking to supplement your existing security cameras with an easy-to-install kit and one that provides quite good day and nighttime viewing, the Nooie Cam Pro is a great addition. If you want to add an extra set of “eyes” in your backyard to keep watch on your kids, the Cam Pro is a solid option. Or, if you are just starting out with having an electronic watchdog, the Nooie Cam Pro is an easy onramp to gaining an overwatch of core areas inside and outside your home.
Disclosure: I have a material connection because I received a sample of a product for consideration in preparing to review the product and write this content. I was/am not expected to return this item after my review period. All opinions within this article are my own and are typically not subject to editorial review from any 3rd party. Also, some of the links in the post above may be “affiliate” or “advertising” links. These may be automatically created or placed by me manually. This means if you click on the link and purchase the item (sometimes but not necessarily the product or service being reviewed), I will receive a small affiliate or advertising commission. More information can be found on my About page.
HTD says: The Nooie Cam Pro is an ideal security cam kit with day and night visibility in 2k. Easy to set up and use, the Nooie Cam Pro is a great entry-level security system with a great ecosystem of other cameras to grow your security environment.
HighTechDad Ratings
-
Ease-of-Use
-
Family-Friendly
-
Price Point
-
Features
Summary
The Nooie Cam Pro is an ideal security cam kit with day and night visibility in 2k. Easy to set up and use, the Nooie Cam Pro is a great entry-level security system with a great ecosystem of other cameras to grow your security environment. The setup of the Nooie Cam Pro is very easy and straightforward. Configuring the cameras on the Nooie app is very easy. And the physical mounting is equally easy. The usage does have some room for improvement, and I wish there were account cloud storage plans, not just per camera. However, having the ability to store locally to a microSD card is definitely a plus.
Pros
- Easy to mount and set up
- Small design
- Nightvision, 2k, and people detection
- Local microSD cloud storage
Cons
- Cloud storage plan is per camera, which could add up if you have multiple cameras
- Moving from an Activity list to an actual video sometimes is hit or miss
