Believe it or not, Pixies and Pixie dust actually do exist. If you have lost or misplaced something, these magical little things will help you find it. I’m not talking about tiny creatures of Peter Pan, but rather the modern, digital equivalent. Pixie Points are these magical little helpers that when active can find that remote, set of keys, smartphone, wallet, purse, or even a pet when you have lost it. Through the use of a Bluetooth mesh network, a sophisticated location engine, and an augmented reality app, finding lost items nearby almost becomes a fun little adventure. And losing things is something that we humans are good at (and Pixie Point equally as good at reversing).
In their “Lost & Found” survey conducted by Pixie, there were some stats that really grabbed me:
- Did you know that Americans spend 2.5 days a year looking for something that was lost?
- Or that the #1 misplaced item at home is the TV remote?
- Or that only 23% of Millennials HAVEN’T lost something in more than 2 months (compared to 34% of Gen-Xers or 55% of Baby Boomers?
- And, that on average, a search for a missing item will take about 5 minutes and 20 seconds?
Be sure to see more eye-opening and jaw-dropping stats in the “Lost & Found” survey conducted by Pixie.
Locating lost items is probably one of the places where technology really excels. Wouldn’t you rather have a guide to help you find whatever you misplaced more quickly than have to turn your home upside down looking for your keys, only to discover them in your pocket of your pants in the dirty laundry? And, while there are plenty of Bluetooth tracker solutions in the market that beep to “help” you locate your missing item, those types of solutions really feel kind of “old school” and a bit boring.
This is where Pixie makes things more interesting…and fun!
(Oh, and at the end of this review, I have a limited-time discount offer!)
What is a Pixie Point Exactly and How Does It Work?
I was curious about this myself as I was contacted to do a sponsored review of Pixie. I had seen lots of solutions for Bluetooth trackers but all of them really seemed to offer the same type of solution. Many of these solutions seem to advertise the “lost luggage” use case, the scenario being you attach a tracker to your luggage and then when you arrive somewhere after traveling, you discover your luggage has been “found” on the other side of the world. Of course, this solution only works if there are other people using that same tracker AND they happen to be where your luggage actually is.
The problem is, luggage isn’t really lost that frequently, at least according to this USA Today article, which states that in 2012, there were only 3.09 reports of mishandled bags per 1,000 customers. And guess what? I wouldn’t be surprised if that number doesn’t continue to decrease because of advances in baggage handling technology employed by the airlines.
But I digress.
I don’t travel that much, so the odds of me losing my bag on a trip is probably extremely lower than me misplacing something at home. And that’s the use case where I believe Pixie shines.
Pixie works best in your home or office, where you spend a majority of your time. Or, when you go out locally and forget something at a store, movie theater, or cafe. I guess I would categorize is as more “local” than “global.” (But you can use it to locate luggage, by the way.)
Here’s where I believe Pixie shines. As I mentioned initially, Pixie is made up of 3 core components:
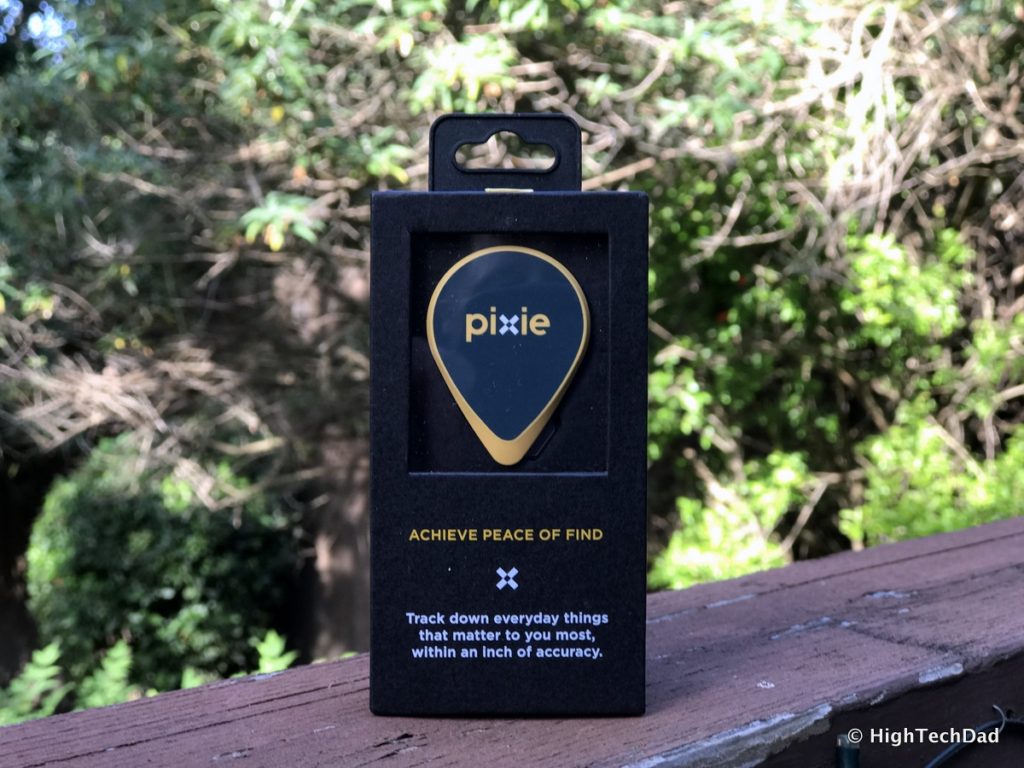
- Pixie Points – these are flat little plastic tabs that have chips, a battery, and a Bluetooth and other radios inside.
- The Pixie Location Engine – this is the brains of the solution that allows you to locate items via triangulation techniques.
- The Pixie App – this is the smart little electronic creature that shows you where your lost item is.
When these three things work together, they can magically show you where your lost item is (provided it has a Pixie Point attached to it).
The more Pixie Points you have attached to items in your home, the more accurate the location process actually becomes. This is because each Pixie Point communicates with other Pixie Points, allowing for more location data to be gathered and processed.
Honestly, I didn’t understand this initially. I figured I just would pair a Pixie Point with my smartphone and then would be able to instantly locate the first Pixie Point.
It actually is a slightly different approach.
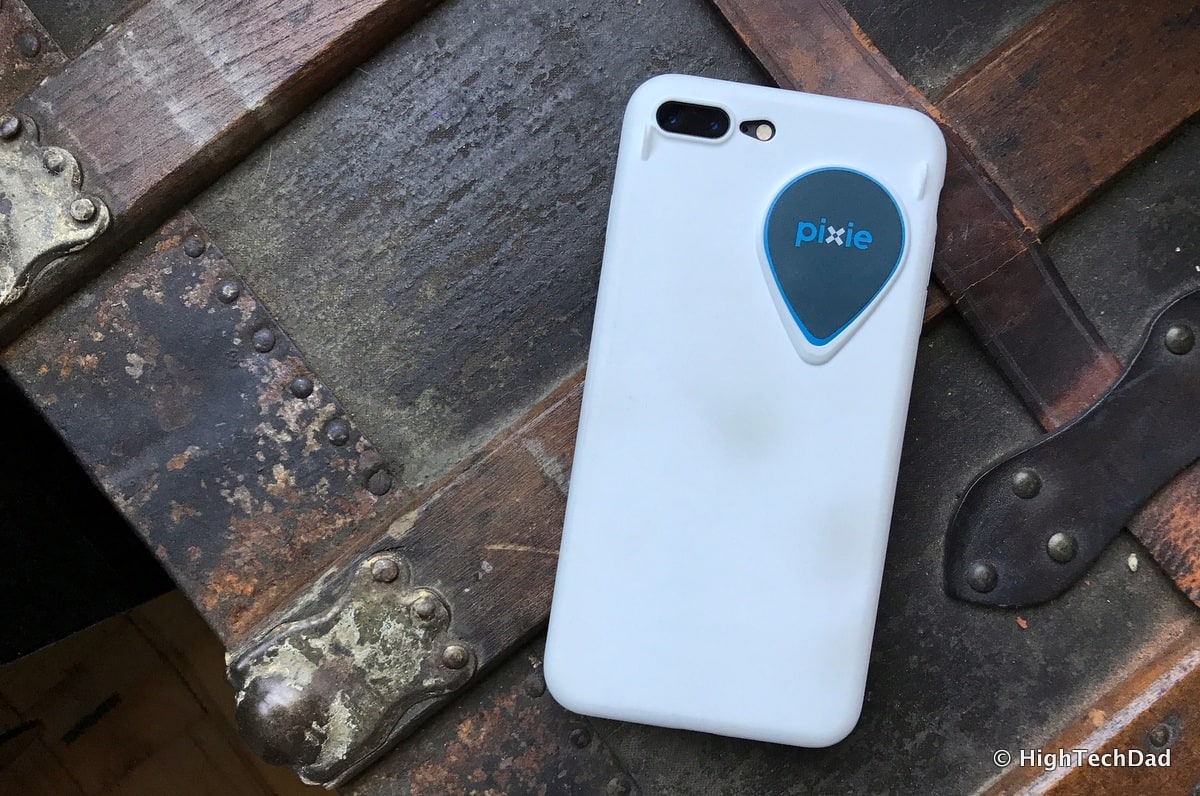
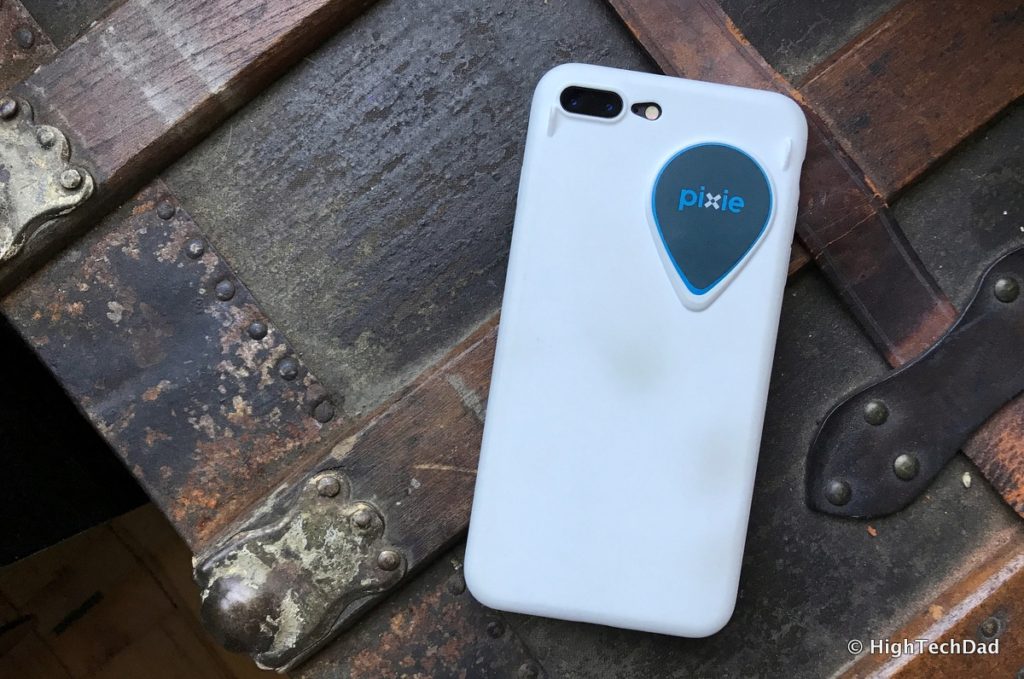
The first Pixie Point you pair with your smartphone is called a Base Pixie Point. You will want to attach this Base Pixie Point to your smartphone either via adhesive or by using one of the Pixie smartphone cases which hold the Base Pixie Point in place. This Base Pixie Point actually connects to your smartphone via Bluetooth LE. Once you connect the Base Pixie Point, you can then start pairing other Pixie Points for the items you want to track.
A bit of geek-speak here – the Pixie Network that allows the point-to-point communication between Pixie Points is a 2.4 GHz ISM frequency. There is another equally geeky technique called Time of Flight (ToF) which uses a different frequency. Mash all of this geekiness together and you have a private mesh network that uses very low power and helps pinpoint the location of Pixie-tagged items.
Make sense? Let’s see it in action.
Using Pixie
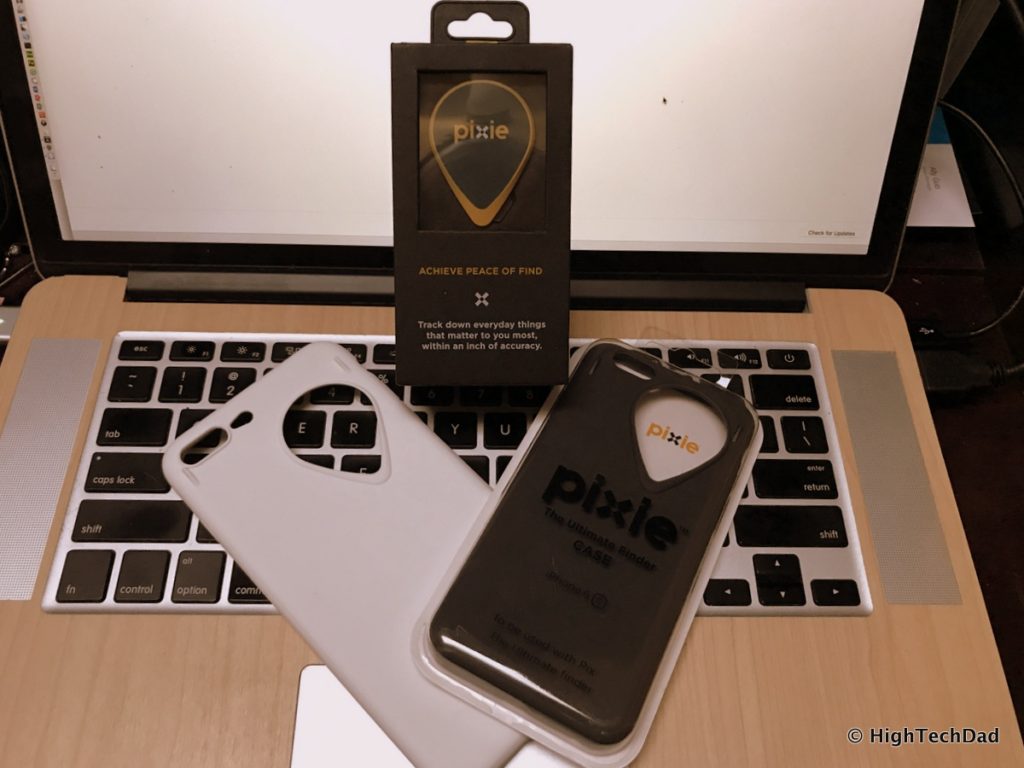
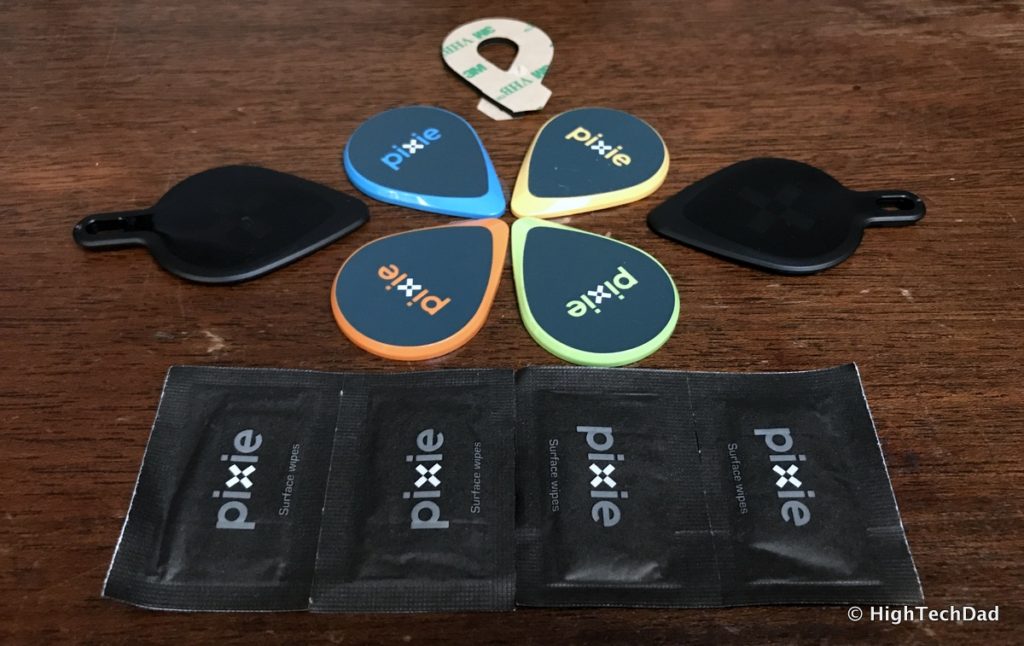
First of all, here’s what was in the box:
- 4 Pixie Points (1 being the Base Pixie Point)
- 2 Keychain holders (also can be pet tags)
- Surface wipes
- Adhesive for curved surfaces
As part of my sponsored reviewer’s kit, I also received 2 iPhone cases that hold the Pixie Point.
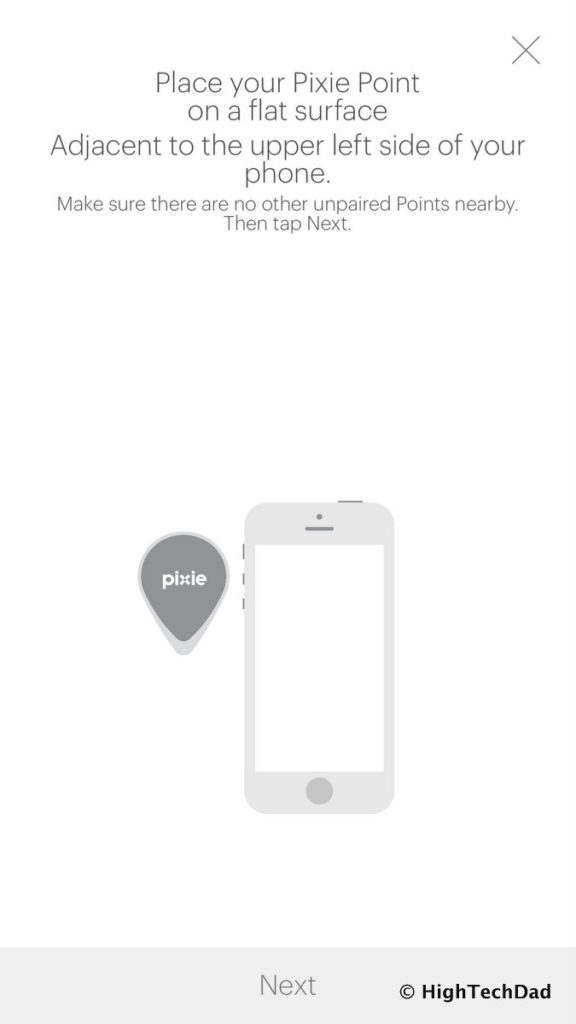
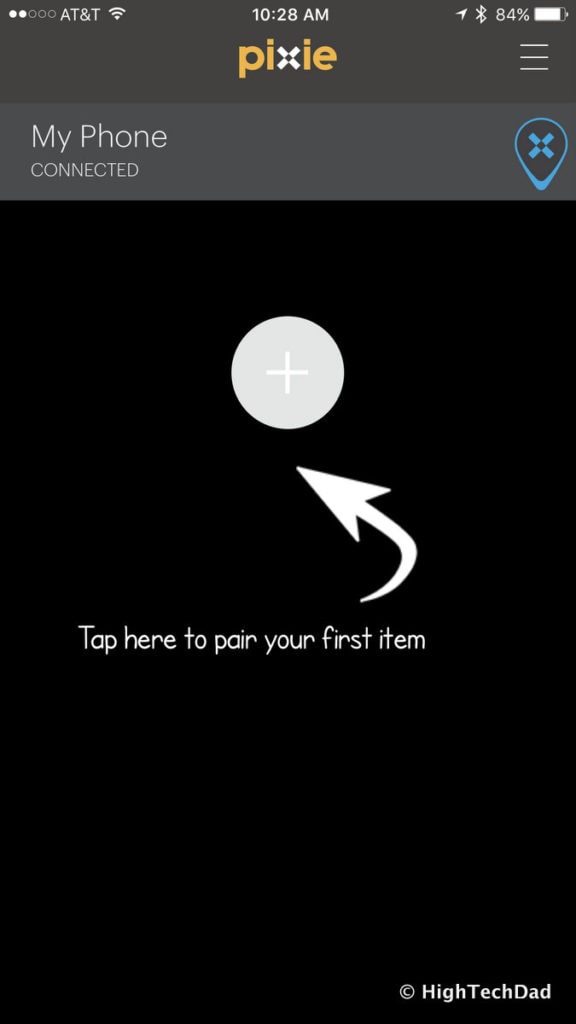
In order to make Pixie work, you must have the Pixie app installed on your smartphone. From there, you are guided through the pairing of the Base Pixie Point and then setting up the other regular Pixie Points. The process of pairing Base and regular Pixie Points is extremely easy. First, let’s start with the Base Pixie Point.
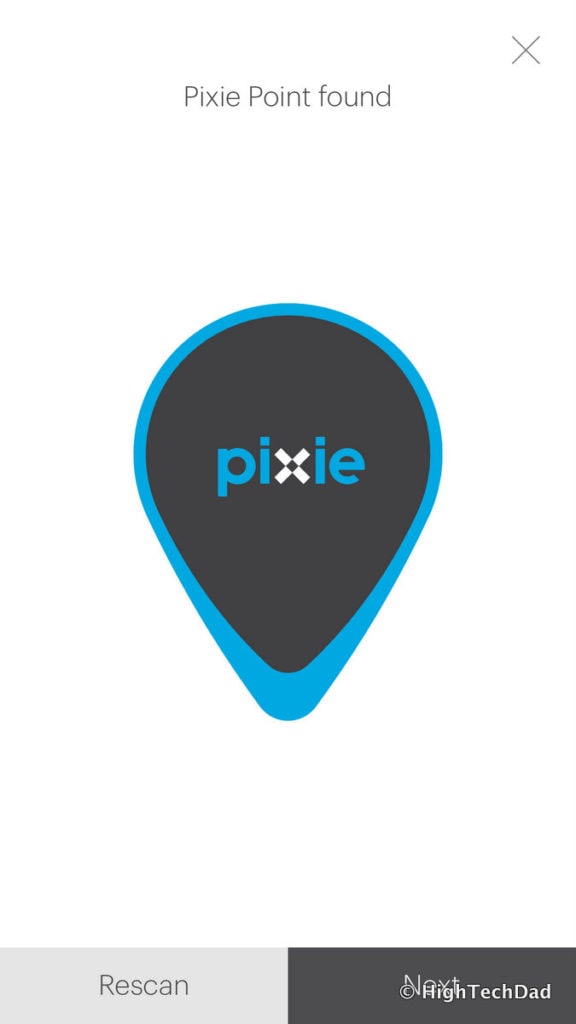
Just place the Pixie Point next to your smartphone. Be sure you have Bluetooth turned on in your smartphone. Next, the app and your smartphone will scan for a Pixie Point. Be sure to have your smartphone on a table and the Pixie Point right next to it.
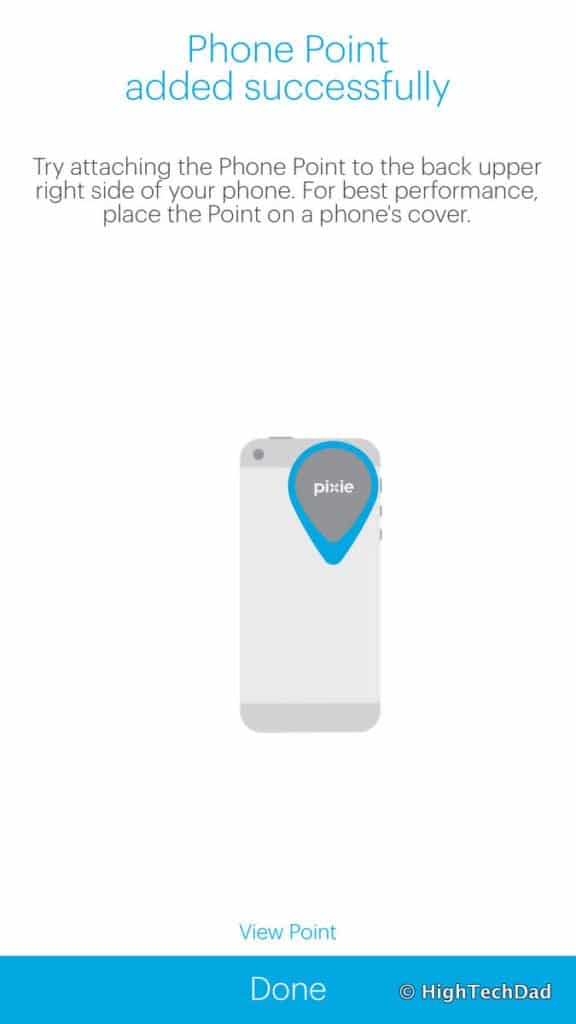
Once the first Pixie Point is connected (as the Base Pixie Point), you need to be sure that it is attached to your main smartphone. You can do this by either using the adhesive on the back of the Pixie Point and sticking it to your smartphone or smartphone case. Or, you can use one of the Pixie Point phone cases (which is what I used).
Once you are done with the Base Pixie Point, you can add other Pixie Points that you will “assign” to objects for tracking. Remember, in order for the locating process to work, you must have the Base Pixie Point attached to the smartphone doing the locating.
Next, you are prompted to add other Pixie Points. You use the same process of placing your smartphone on a table and putting the Pixie Point next to it. It’s important to not have any other Pixie Points nearby to eliminate the possibility of pairing the wrong Pixie Point.
From there, I paired and named a few other Pixie Points. I did one stand-alone one that I could put in a bag or a wallet. I also stuck one to a keychain/tag so that I could put on my keys, or, for my tests, I put on my dog’s collar.
Once you pair your first Pixie Point, after the Base Pixie Point, of course, you will be walked through a variety of tutories. I highly recommend doing these as there are multiple steps involved in locating an item. These are the steps:
- Mapping
- Showing
- Grabbing
Mapping consists of creating a digital map of your surroundings (about 30′-50′ when indoors). To find an object, you first start by tapping on it in the list of Pixie Points within the app. The App will attempt to communicate with the Pixie Point. If it can’t connect, you will be prompted to walk around a bit until the signal strength is better.
Once a signal is locked, you do a Panorama scan of your surroundings.
In this stage, you just rotate around in place to allow for Pixie to generate a general idea of where your item is located. Don’t move too quickly during this process. There is an arrow that will turn red if you are moving too quickly.
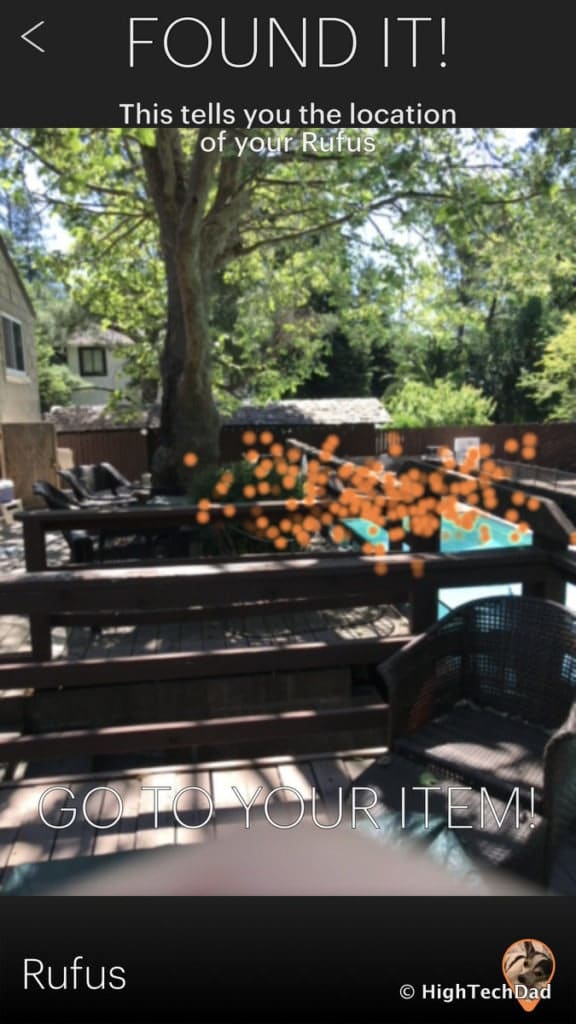
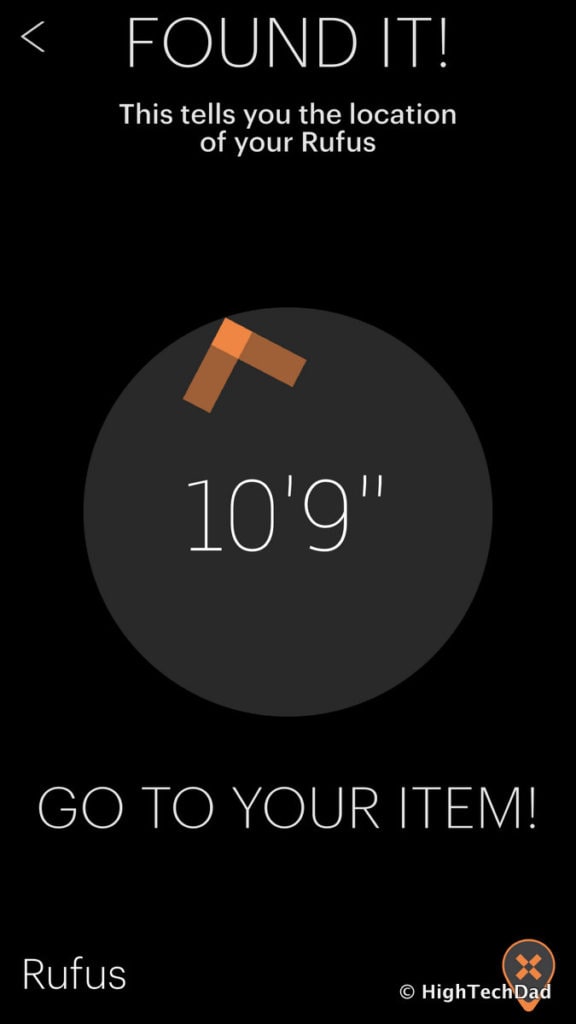
The next “Show It” stage will guide you to where your object is. This display can vary based on the proximity. As I wanted to show as many of these stages as possible, my photos show a mix of searching for one Pixie Point (called “Green gizmo” – green in color) and another (called “Rufus” – the orange one and the name of my dog). In the photo below, I put the orange Pixie Point on a table to show the magic of the Pixie Dust which gives a general proximity of the Pixie Point.
The Pixie Dust will be the color of the actual Pixie Point, so in the photo above, the Dust is orange. Once you have a Pixie Point located in a general area, you get a directional arrow that provides both direction and distance. You can then start walking to that location.
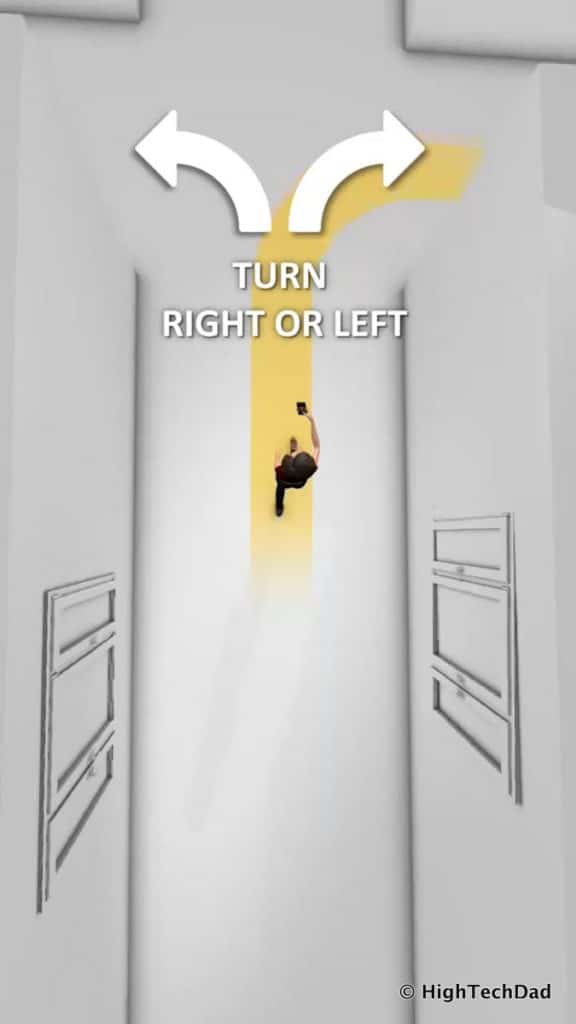
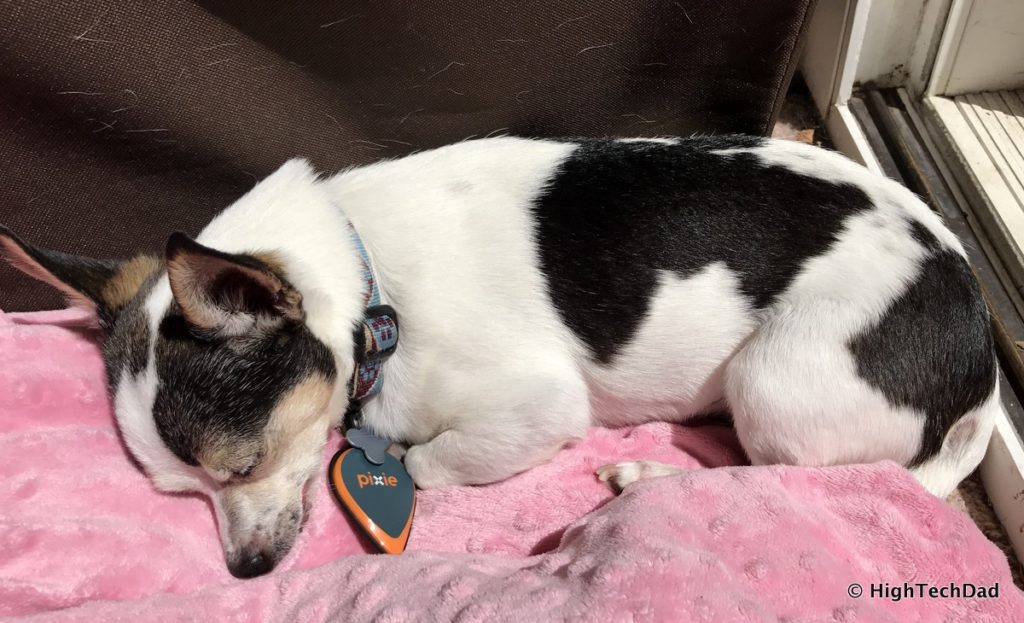
Remember, Pixie can “see” through walls and other objects so your item might be in a different room. As you walk around, the Augmented Reality (like the Pixie Dust) will disappear in favor of the directional arrow. Below, I started searching for my dog who had a Pixie Point on his collar.
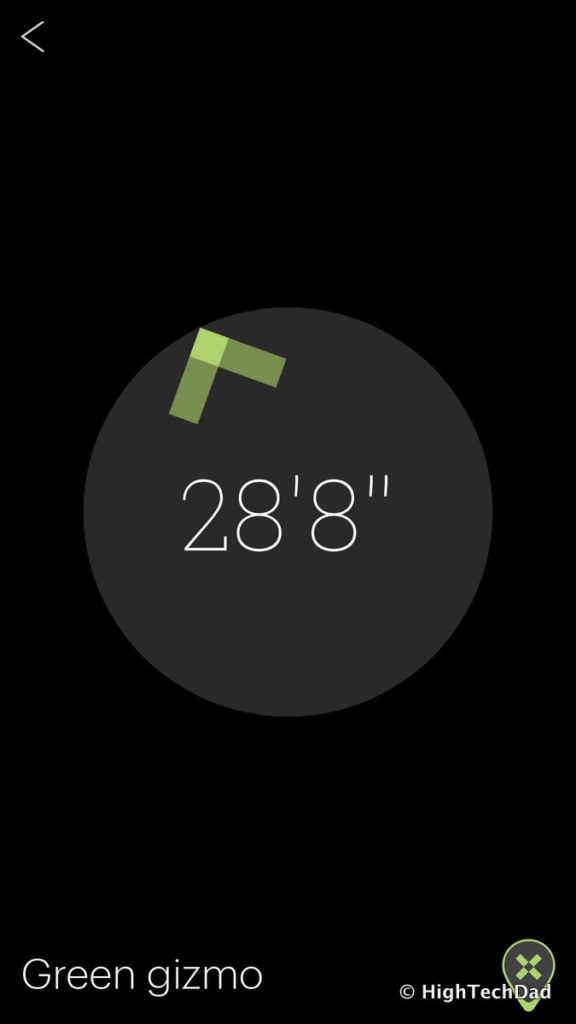
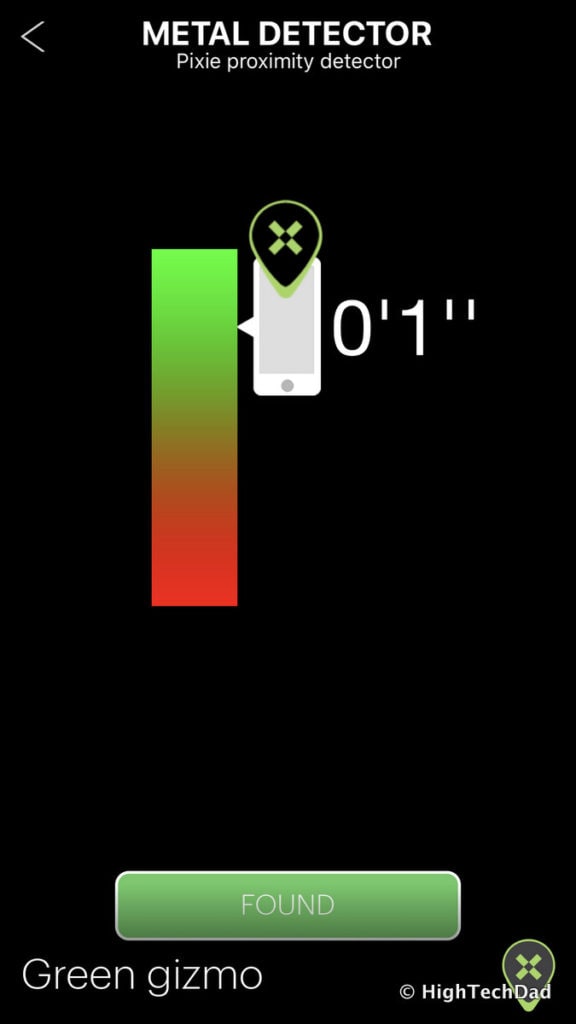
Once you get closer to the Pixie Point, the Pixie app automatically switches to “Grab It” mode. It almost acts like a metal detector, complete with sound. It will show you how close you are to the Pixie Point as well. (Below, showing the green Pixie Point.)
As you get closer, the readout and the audio indicate the proximity. Once you are basically at the Pixie Point, it’s a solid tone and you are prompted to click the “Found” button (and rate the search process). I found my dog napping away!
Just to further test out how easy the process works, I decided to get my kids to help. I let one of my daughters hide a Pixie Point somewhere in their room and then another of my daughters and I tried to find it using the Pixie app. We tried this numerous times around the house. Not only was it a fun, modern way of playing “hide & seek,” it also seemed to work quite well and was a good way to train them on the app and location process.
For the most part, the location process is quite easy (yes, my kids could do it). And, for the most part, it was accurate. There were a couple of times where the Pixie Dust showed a particular area but the Pixie Point was actually a few feet away from where it was identified. However, as we got closer to the location, we were always able to find the Pixie Point. Also, if you are away from your dwelling where the Points are (e.g., outside of the Bluetooth range), the App will show the last known location (e.g., an address) and the time it was “last seen.” So, once you get to that location where your phone and Base Pixie Point are in range, you should be able to pick those other Pixie Points back up and locate them.
There are a variety of price points for the Pixie (available on their website). You can start with an entry pack of 2 Pixie Points (remember, one is the Base Pixie Point) which also comes with a free iPhone case. That package is $49.99. From there, you can get other packages (with discounts and a free iPhone case) that have more Pixie Points: 4-pack ($74.99), 6-pack ($99.99), and 8-pack ($124.99). iPhone cases are $8.99. Pixie Points are currently available on Amazon as well: 2-pack at $49.99 and a 4-pack at $89.99 (both of these include the choice of case).
Limited Time Discount Code: Until June 30th, 2017, you can get $5 off any order of $10 or more by entering the code: HTdad !!! So be sure to take advantage of this offer!
Disclosure Text: I have a material connection because I received a gift, sample of this product as well as monetary compensation for consideration in preparing to review the product and write this content. I was/am not expected to return this item or gift after my review period. All opinions within this article are my own and are typically not subject to the editorial review from any 3rd party. More information can be found on my About page.
HTD says: Using Pixie to locate a lost item is not only accurate, it’s also a lot of fun! My kids played hide & seek with various Pixie Points to prove how well it works. And, with the multiple ways to pinpoint the location of items, including Augmented Reality, it will be hard to misplace any items that have a Pixie Point attached.
HighTechDad's Ratings
-
Ease-of-Use
-
Family-Friendly
-
Price Point
-
Features
Summary
Using Pixie to locate a lost item is not only accurate, it’s also a lot of fun! My kids played hide & seek with various Pixie Points to prove how well it works. And, with the multiple ways to pinpoint the location of items, including Augmented Reality, it will be hard to misplace any items that have a Pixie Point attached. The setup was easy enough and almost fun, especially as you started going through the tutorials. It was even more fun when you started looking for items. If you have kids, you can create a modern and digital game of hide and seek. But best of all, when you do lose something that has a Pixie Point attached to it, you can find that item quite quickly. The price is reasonable for what you get as well.
