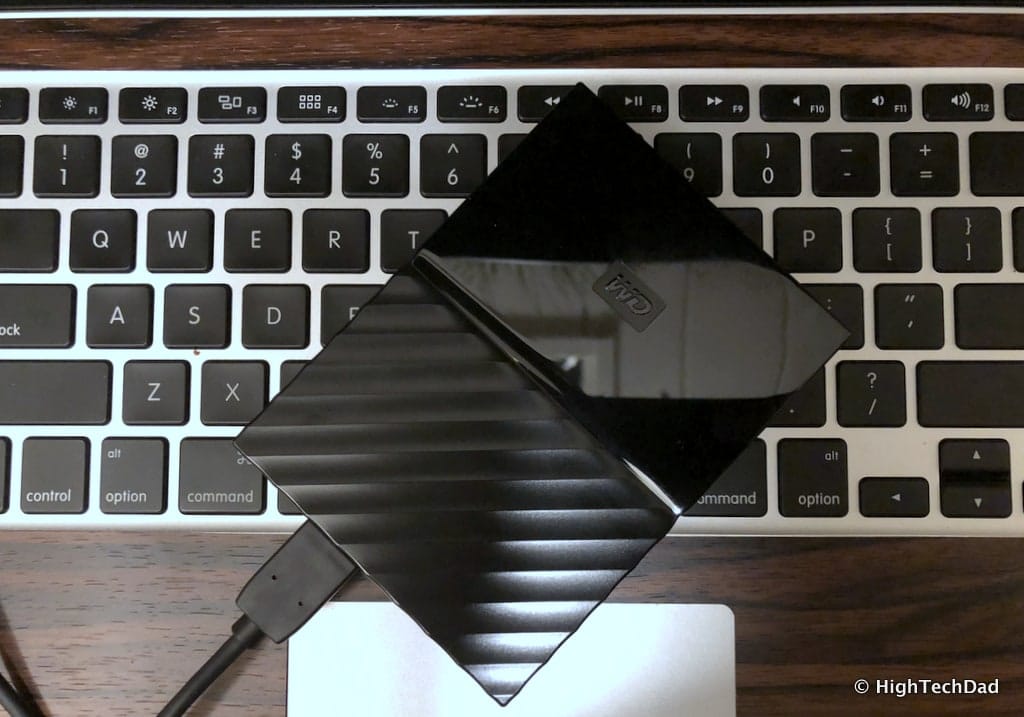
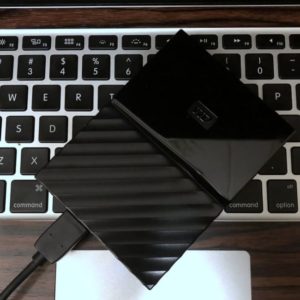
It’s the start of a new year and probably like many of you, I have a long list of New Year’s Resolutions. Most of them are informal and many of them will be forgotten about after a few weeks. But it’s always good to set goals and at least make an effort to stick to them. Two of mine will hopefully be met by using a single device – a Western Digital My Passport external hard drive. Let me explain. (*Disclosure below.)
The two goals specifically are to teach myself Final Cut Pro (FCP) and to make sure I do regular backups of my laptop. While the My Passport won’t actually teach me FCP, it will get me down that path a bit more easily. And in terms of developing a backup strategy, the My Passport actually gets me a lot closer.
This article is less of a review and more of a couple of use cases. Along my journey towards achieving my resolutions, I learned some interesting tidbits of information and tips so I will be sure to share them along the way.
Resolution #1: Regularly Backup My Hard Drive
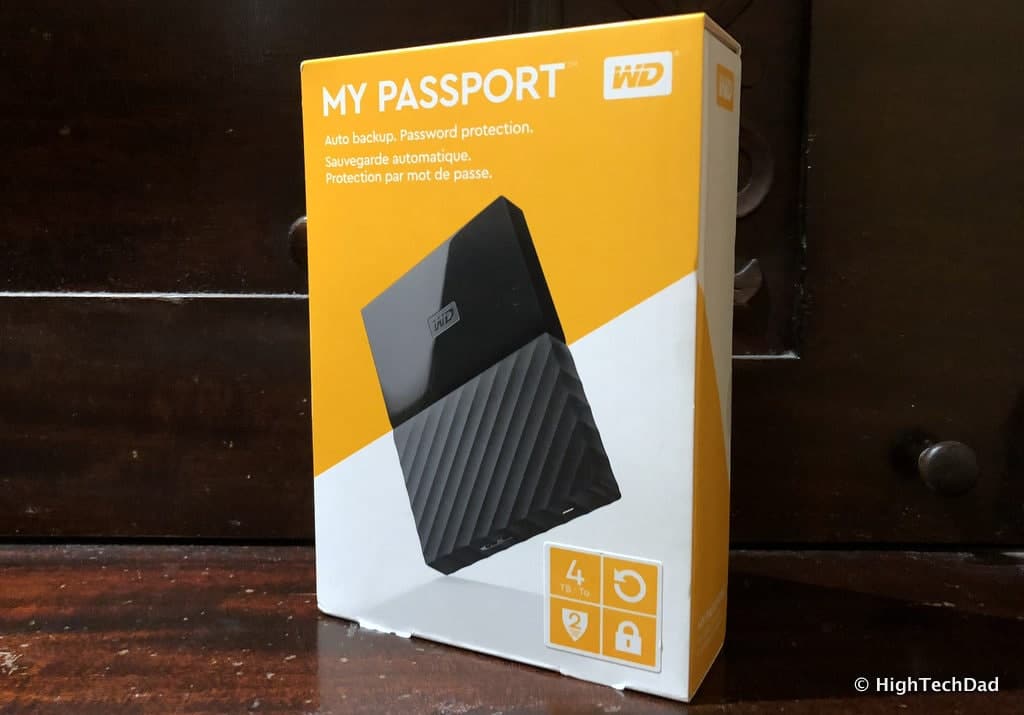
Let’s start out with the easy one: setting up a backup strategy. First, the My Passport I received in order to write this article was the 4 TB version. So the high capacity would allow me to hopefully achieve both goals. Since FCP files are notoriously large, I wanted to be sure I had space for them. And the more space you have for backups, particularly and specifically for Time Machine, the further back in history you can go with your Time Machine backup.
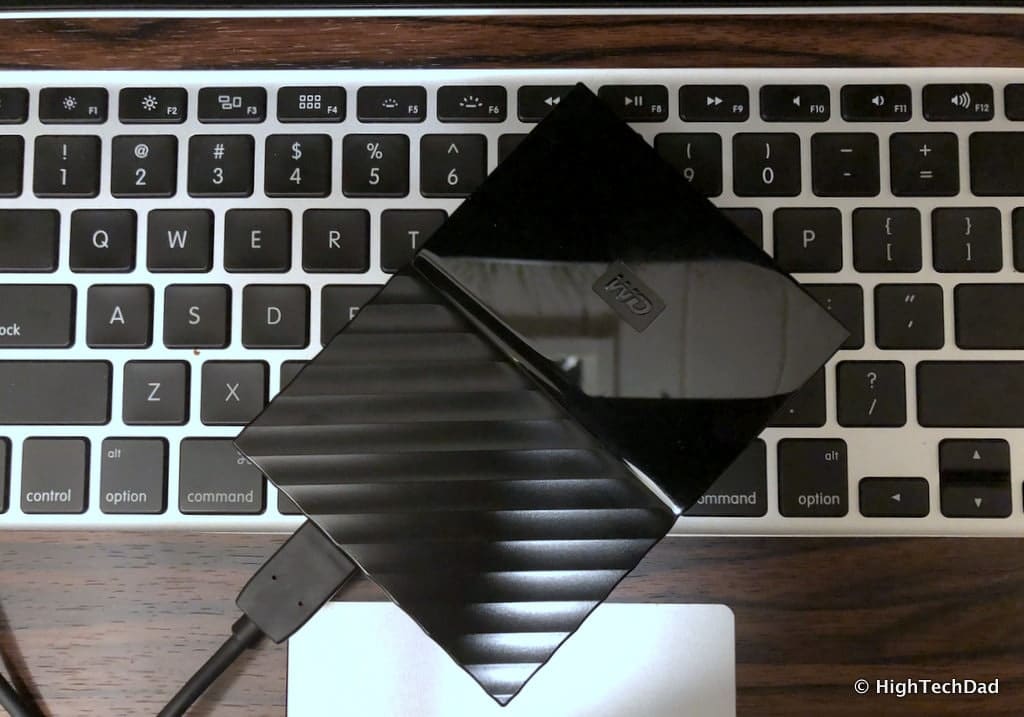
Now this particular WD My Passport came formatted and ready to go for Windows. It even has Windows backup software at your beck and call. But I was looking at this for my Mac so I decided that right out of the box, I would reformat the entire drive for my Mac. That way too, I could use it as a Time Machine drive.
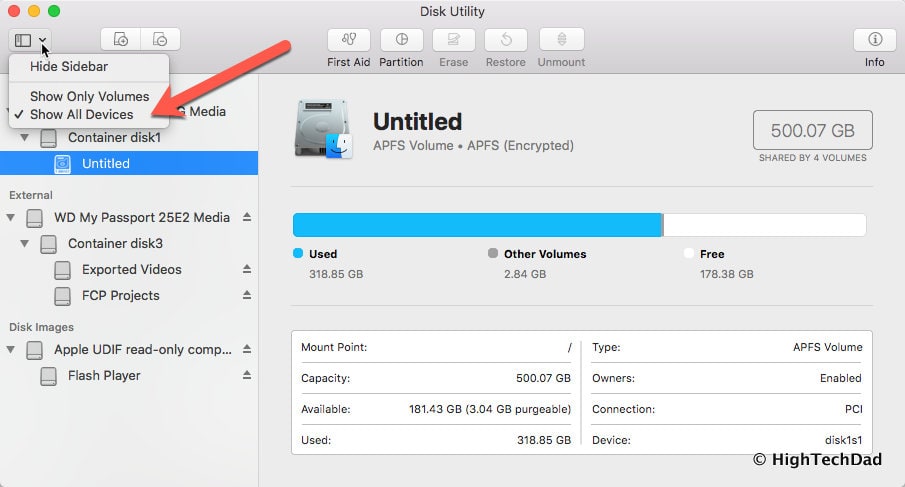
This is where my first lesson (and tip for you) comes in to play. I’m running High Sierra, the latest MacOS, and there is a subtle change that I didn’t know about that was done to the Disk Utility. Here’s what happened.
I went to erase (and later partition) the My Passport by attaching the My Passport via its USB 2.0/3.0 connector. It mounted as a Windows-formatted drive just fine so in Disk Utility I went to just format it. I clicked “Erase” and the process failed. I tried it again and it failed again. I ran First Aid and that couldn’t correct the issue. During the process, it became unmounted and I couldn’t remount it. So I disconnected it and tried again. The same thing happened. I tried attaching it to my wife’s PC and it mounted just fine or at least said that it attached.
At that point, I was ready to just give up on resolution #1 (and possibly #2). Then I figured it out.
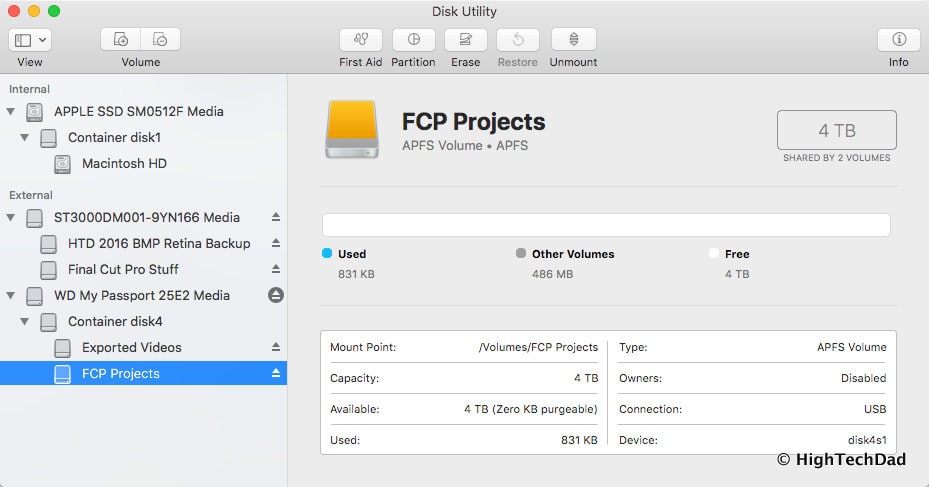
Within the new High Sierra version of Disk Utility, there is now a drop-down to select either Show Only Volumes or Show All Devices. I was doing all of the actions using the Show Only Volumes which basically meant that I was not at the “highest” level. I needed to be going to the device level. Once I did that, erasing and formatting went fine.
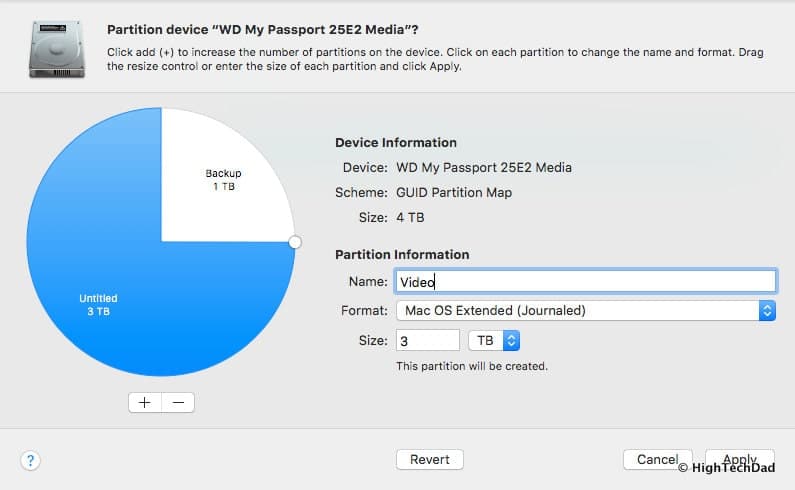
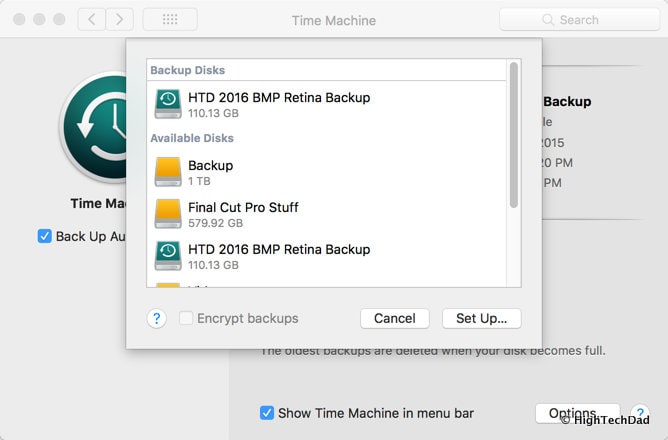
Once I had formatted to a Mac OS Extended volume, I decided to partition the drive, one for Time Machine backups and one for FCP. Once you have a Mac OS Extended volume created for Time Machine, you just select it in the Time Machine system panel. To complete your backup strategy, just leave the hard drive plugged in overnight with your computer on and it will backup automatically.
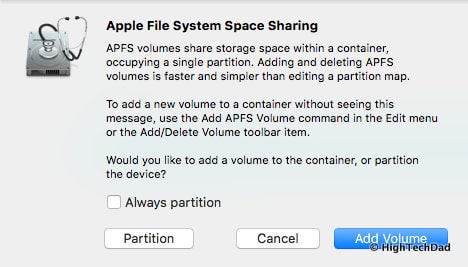
Another tip that I learned as part of this process, if you format your drive in the new Apple File System (APFS) format and try to create a partition, you will be asked if you want to create a new volume. There are some differences here. These APFS volumes are dynamic (you don’t partition them with a specific size). Also, it doesn’t look like these new volume types work with Time Machine…yet.
Resolution #2: Start Learning Final Cut Pro
So let’s move to my next resolution, teaching myself Final Cut Pro. Again, the WD My Passport doesn’t actually teach me, but it does enable me to learn a bit easier. And if will help once I start working on FCP projects in the long run. FCP projects are pretty much self-contained if you want them to me which means you can share them with others or put them on external hard drives for portability as well.
This is what I did for my training. I downloaded the source files for the training into the WD My Passport and then simply plugged in the My Passport to my computers that had FCP installed. No need to drag around different computers, just the tiny My Passport.
Here is another off-topic tip related to learning FCP. There are lots of free and pretty good video courses available online. I would recommend trying those out initially. There are plenty of paid video courses as well, which probably are of better quality and caliber.
You may also want to check out Lynda.com which was purchased a while back by LinkedIn. It’s a great site full of training videos and courses. It is a premium site meaning you pay a monthly subscription fee to access the content. There are two plans available: Basic (starts at $19.99/month) and Premium (starts at $29.99/mo). The Premium plan adds project files for practicing and offline viewing of the courses.
But here is another little tip on how you might be able to get a plan for free! First, check with your work to see if they might have corporate access to Lynda. In one of my previous jobs, this was one of the perks (and there are a lot of good business courses in the Lynda catalog). If you don’t have access through work, you might want to see if your local public library has access. To check if your work or your school or your local library has access, head over to the Sign In page and click on the “Sign in with your organization portal” and put in the URL of your work, school, or local library (take off the HTTP/S).
I did this with my local library (it was listed on their site as well) and all that I had to do was apply (online) for a library card account. I did this in minutes and was given full access to Lynda. So, how does this relate to the WD My Passport hard drive? Well, with my access to Lynda, I was able to download all of the project files in order to follow along with a 9+ hour course, AND, I stored these practice files on the My Passport so that I could learn at home and at work on different computers. The practice files are over 9 GB so it’s nice to NOT have them stored locally.
Once I have mastered the FCP basics, I can then use the My Passport for all of my FCP projects moving forward, all in a small, portable external storage device that I carry with me.
A Bit More About the Western Digital My Passport
Of course, you probably want to know a bit more about the My Passport.
Here are some specs:
- It comes in multiple size options: 1TB, 2TB, 3TB, and 4TB
- it comes in multiple colors: Black, Blue, Red, Orange, Yellow, and White
- It is USB 3.0 (and USB 2.0 compatible) and comes with a short cable
- It measures 3.21” wide by 4.33” long
- Depending on the capacity, it is either 0.64” thick (for 1TB version) or 0.85” thick (for 2, 3, or 4TB versions)
- Comes formatted for Windows (10, 8, or 7)
- Comes with auto-backup software for Windows (but if you follow my steps above, you will reformat it for the Mac)
- It is self-powered (through the USB connection)
The pricing depends on the capacity you choose, any of which is quite reasonable. (Current Amazon pricing is listed in parenthesis and may vary by color choice.)
- 1TB version – $59.99 (Amazon price – $53.99)
- 2TB – $79.99 ($67.99)
- 3TB – $109.99 ($95.99)
- 4TB – $119.99 ($109.99)
That is pretty inexpensive when you think about it, especially if it helps you knock off a few New Year’s Resolutions!
Shop on HighTechDad
The product shown below (and related products that have been reviewed on HighTechDad) is available within the HighTechDad Shop. This review has all of the details about this particular product and you can order it directly by clicking on the Buy button or clicking on the image/title to view more. Be sure to review other products available in the HighTechDad Shop.
Summary of Tips Learned from Using the My Passport Hard Drive
As this article wove in some tips that I discovered while using the My Passport, I thought I would quickly summarize them.
Tip #1 – MacOS High Sierra has some subtle changes to the Disk Utility. Be sure you choose “Show All Devices” when you go to Erase and Format.
Tip #2 – If you format the My Passport with APFS, you won’t be able to use Apple Time Machine.
Tip #3 – If you use APFS, you can set up containers instead of partitions which is faster.
Tip #4 – There are many good Final Cut Pro training videos available for free on YouTube and other places.
Tip #5 – You can possibly get a FREE Lynda.com through your work, school, or local public library (see info above)
Hope those tips helped! All of them were driven by my usage of the Western Digital My Passport external hard drive. So far, it’s really getting me down the path towards a very productive 2018!
Disclosure: I have a material connection because I received a sample of a product for consideration in preparing to review the product and write this content. I was/am not expected to return this item after my review period. All opinions within this article are my own and are typically not subject to editorial review from any 3rd party. Also, some of the links in the post above may be “affiliate” or “advertising” links. These may be automatically created or placed by me manually. This means if you click on the link and purchase the item (sometimes but not necessarily the product or service being reviewed), I will receive a small affiliate or advertising commission. More information can be found on my About page.
HTD says: It’s always good to have goals when you start a new year. And it’s even better when a little gadget like the WD My Passport external hard drive can help you accomplish those goals more productively and learn something in the process.
HighTechDad's Ratings
-
Ease-of-Use
-
Family-Friendly
-
Price Point
-
Features
Summary
It’s always good to have goals when you start a new year. And it’s even better when a little gadget like the WD My Passport external hard drive can help you accomplish those goals more productively and learn something in the process. Once I overcame the High Sierra hard drive formatting issues and made the My Passport fully Mac-specific, the usage was easy. Just plug it in and the volumes would mount. With my testing for Time Machine, assuming the volume was compatible (e.g., not APFS), the backups would run automatically. There is ample storage for all of my Final Cut Pro projects and the drive is light and small enough to just throw in my bag. And you simply can’t beat the price point for such large capacity. Since I fully reformatted the drive, I could not use any of the Windows-specific apps that came with the drive so honestly, there weren’t any “features” that I could review. Overall, this Western Digital drive is extremely useful in getting my New Year’s Resolutions resolved!
