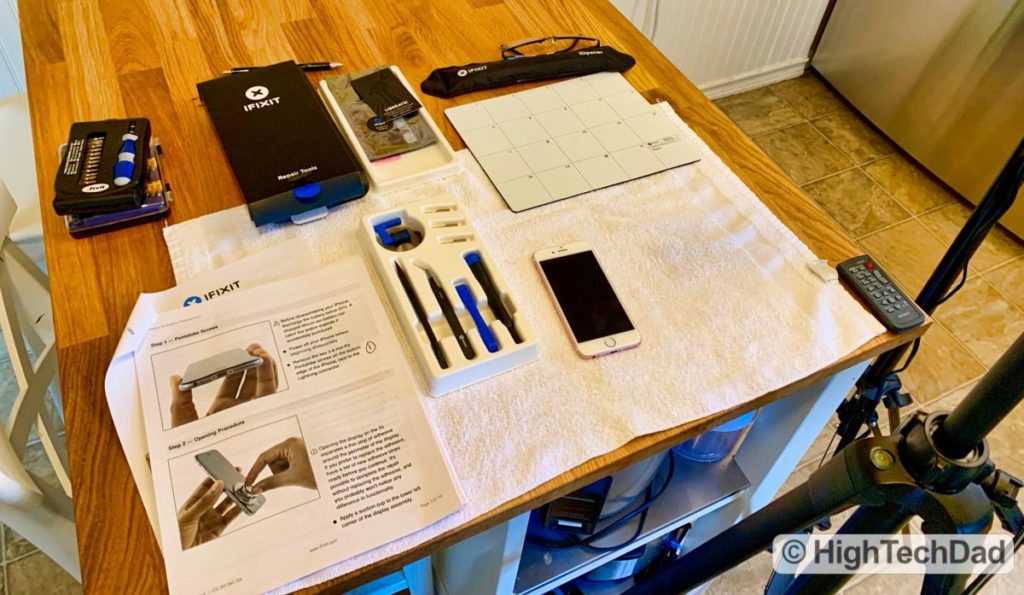
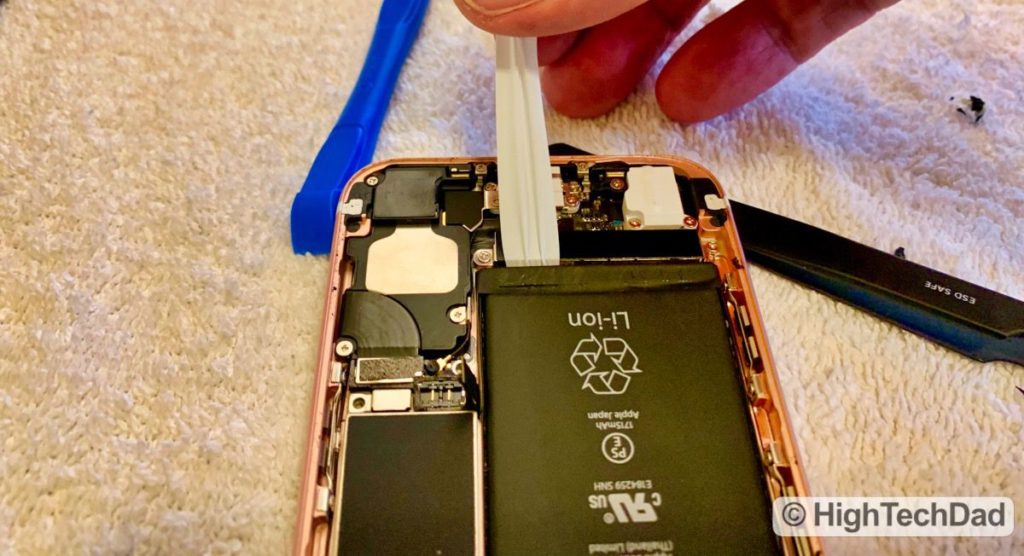
There is something empowering about doing things yourself as opposed to paying someone to do it for you. You can learn from mistakes, get a better understanding of how things work, and even get some bragging rights in the process. While I have replaced iPhone batteries many times before on all different types of models, as iPhones get more complicated, so does the process of replacing their batteries. My latest How To video provides detailed video instructions on how to replace the Apple iPhone 6S battery.
While people, myself included, love their iPhones, what they probably don’t love is the fact that over time the battery degrades. While this is normal and expected, the problem is, it really isn’t that easy to remove and replace the old battery with a new one. You either have to have Apple or an authorized service center do it for you for a fee, or you can attempt to do it yourself.
Apple did have a program for getting batteries replaced for a reduced fee, but I believe that expired at the end of 2018. So you are back to paying a premium for getting full power back on your iPhone. And, if you are having issues with battery performance, your iPhone may be running at a reduced capacity.
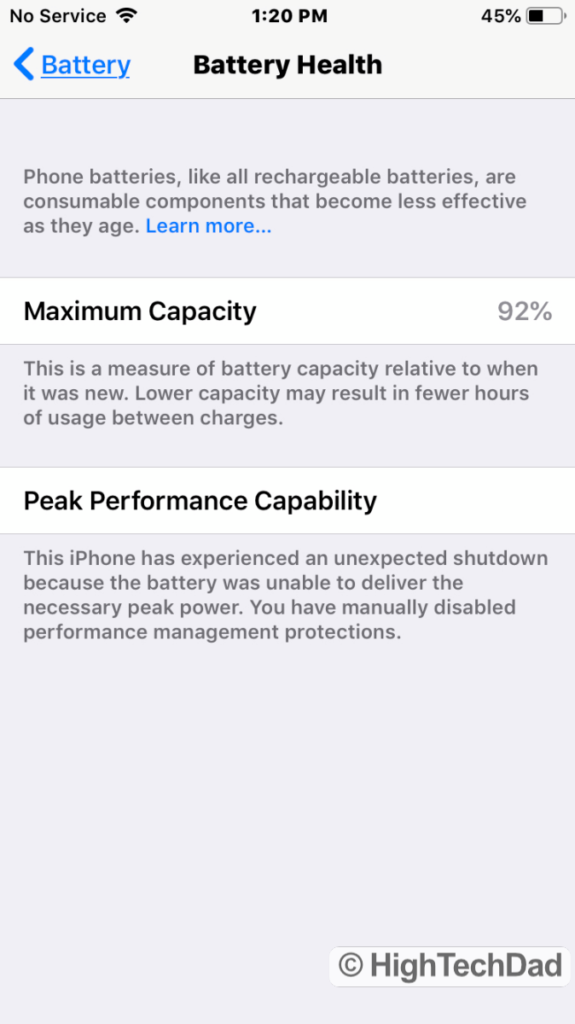
This is what was happening with my daughter’s iPhone 6S. The symptoms? Her iPhone’s battery percentage seemed to drop a percentage point a minute, sometimes even faster. And, on the Battery Health System Settings page, it showed the message:
“This iPhone has experienced an unexpected shutdown because the battery was unable to deliver the necessary peak power.”
– iPhone 6S
So I decided that I would remove and replace the iPhone 6S’s battery with a new one. And do a video of the entire process.
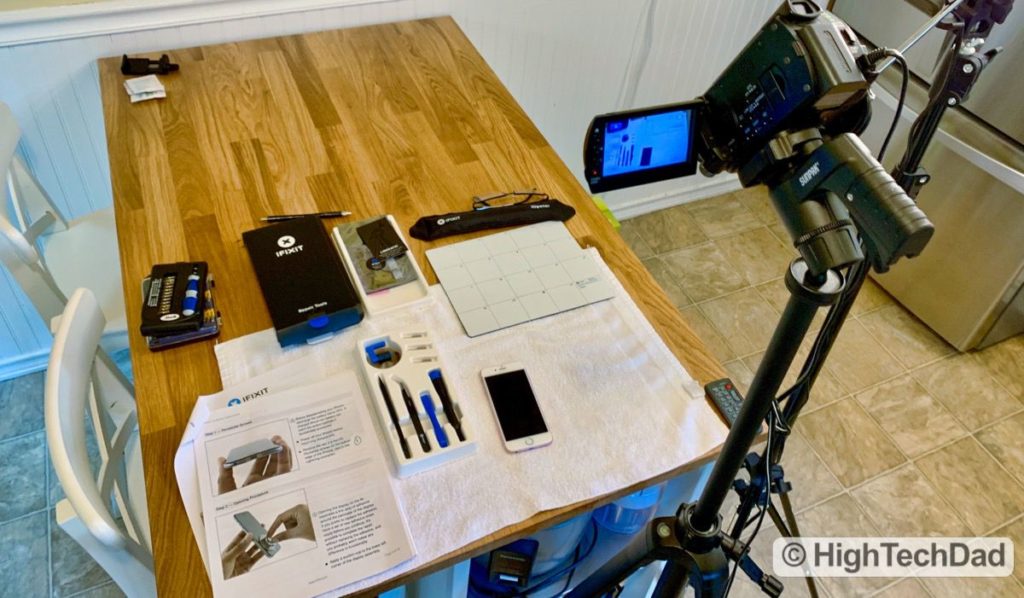
The nice thing about Apple products though is they do seem to last a long time. The iPhone 6S is quite a few generations old, but it is quite a capable device, especially for kids. And it still can run the latest version of iOS (iOS 13) quite well. So I felt it was worth resurrecting and restoring its battery capacity to its full capability.
Video: How To Replace the iPhone 6S Battery
As I mentioned previously, iPhones have become increasingly complex. This also means that the process of replacing the iPhone 6S’s battery now takes a bit longer to do. And you need to do the process carefully as the innards of the iPhone are increasingly smaller and more delicate.
I have replaced the batteries on many iPhones and have created videos of the process. You can see how I did it on the iPhone 3GS, iPhone 4, and iPhone 4S. I also have replaced the screen of the iPhone 5C, but unfortunately, I didn’t do a video of that process. And, I have replaced a keyboard (and battery) on a MacBook Pro, replacing the hard drive and battery on a 2010 MacBook Pro, and installing a new hard drive on a non-unibody MacBook Pro.
This latest iPhone battery replacement video is by far the longest one I have produced. Clocking in at 27 minutes (sorry, but I wanted to detail everything I did correctly and incorrectly), it’s essentially a 30-minute show that could maybe be on a tech version of the DIY Network. (Haha!)
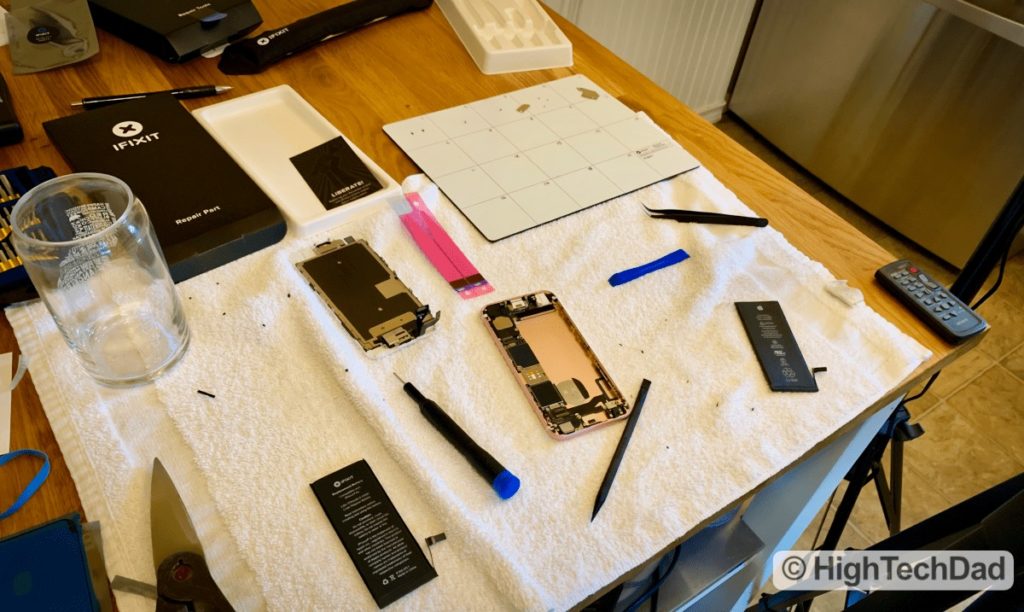
My video of the iPhone 6S battery replacement pretty much walks through each of the steps involved in replacing the battery. I didn’t want to leave anything out (but I did edit a little of it otherwise it would have been longer). But, depending on your technical skills, the process of replacing the battery should take anywhere from 15-30 minutes (perhaps a bit longer if you run into problems or if this is your first time).
Remember: doing repairs yourself will void your warranty. But if you are already out of warranty, what have you got to lose?
Anyway, my video is below. And I do hope it helps (please do leave a comment if you have questions).
Remember, it is always best to watch instructional videos like this fully before you attempt to do anything. If you are scared by the process, you may want to reconsider actually doing it. Also, take a look at the guides and tools required for this particular repair (in the section below).
Tools & Guides Needed to Replace iPhone 6S Battery
If you watched the video, you probably heard and saw that I mentioned iFixIt.com many times. Do note, they did NOT sponsor this video or article. In the past, they have provided me with tools and parts for free or at a discounted rate. But not this time.
That being said, I think their guides are fantastic. And, when you do a repair like this DO NOT get really cheap versions of the replacement parts. They might not work, might only work for a short time, or may actually do damage to your device. The parts (and tools) that you can get on iFixit are great, and if you have any issues, you can work with their support team. Lastly, iFixIt is all about empowering you to do it yourself and have the ability to make your own repairs.
So, here are the links to the various pages and tools I used for this repair (these are NOT affiliate links):
- iFixIt Repair Guide – includes instructions and part lists as well
- iFixIt Repair Guide (PDF) – this is just the PDF version of the install guide
- iFixIt iPhone Battery Adhesive Strips Replacement Guide – PDF version of the instructions to replace the adhesive on the battery
- iFixIt iPhone 6S Replacement Battery kit – get the kit version of this (unless you have the adhesive and tools)
- iFixIt Magnetic Project Mat – this is a fantastic way to save those tiny screws from being lost (of course, I have lost the pen that came with it already)
- iFixIt iOpener – this is the microwaveable gel pack that helps loosen the adhesive in your iPhone
Basically, for about $30 and an hour (or less) of your time, you can replace the iPhone 6S’s battery yourself!

Hopefully, the information in the video gives you the ability to attempt this repair on your own. It is tricky but not impossible. And, with the proper guidance, parts, and tools, anything is possible! Leave a comment and let me know how your repair went!
HTD says: Replacing an iPhone 6S battery is a great, techy, do it yourself project that can save you some money. And, since the iPhone 6S is still a pretty solid smartphone, you can breath new life into a gadget that is only a few years old!
