Now that Apple iOS 9 is here, and there are LOTS of little enhancements to learn about and potentially use, I found one that is a bit hidden but that I feel is critical to know how to use as it is incredibly useful for both work and home emails. It’s the ability to add attachments in iOS 9 email.
The one-time setup doesn’t take too long to do and once you do set it up, the process of how to add attachments in iOS 9 email is quite easy. So, once you install iOS 9, be sure to set up your attachments. Once you do, you will be able to add attachments from iCloud Drive (by default it should be enabled) but then later with file sharing apps like Dropbox, Google Drive, Microsoft OneDrive, Syncplicity and others.
How to Setup and Use the Add Attachments in iOS 9 Email
The easiest way to set up the add attachments in iOS 9 email is to create a new email message. The screenshots below are from an iPhone 6 Plus (with a few from an iPad Mini 2) but the process for setting up is the same. Here are the steps to set up.
1) Create a new email
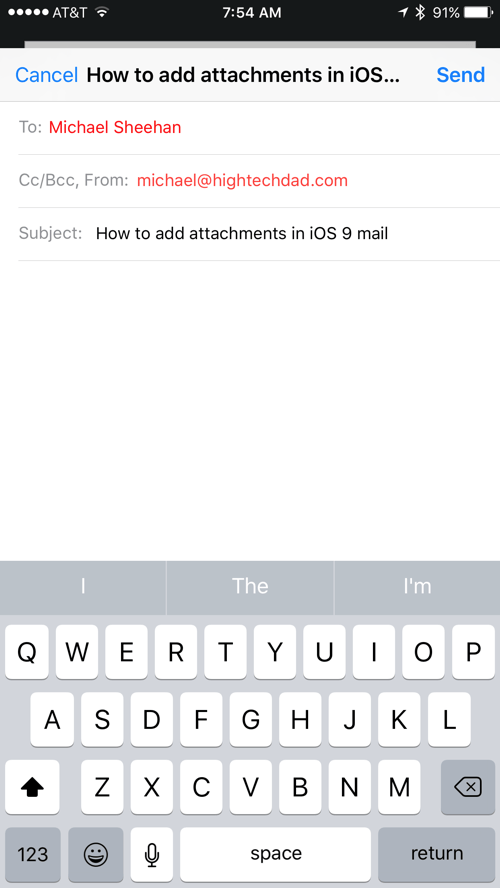
Simply create a new email. Then click on the message body.
On the iPhone:
2) Enable the Attachments menu
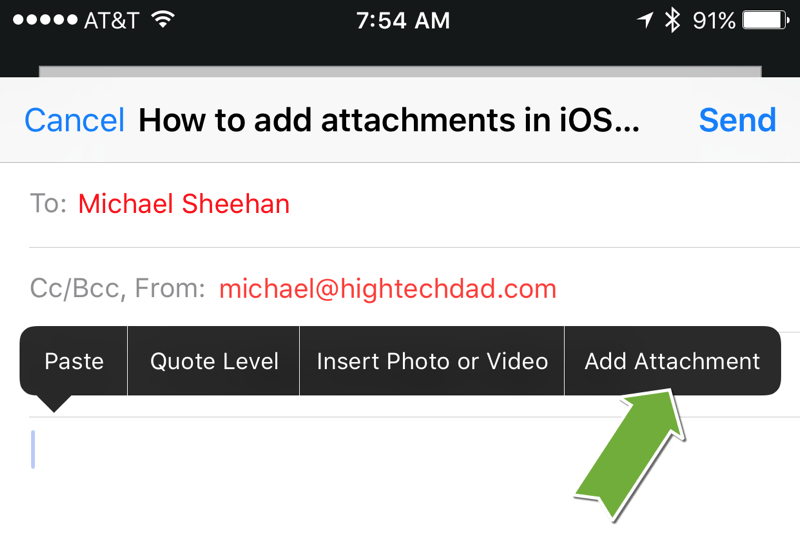
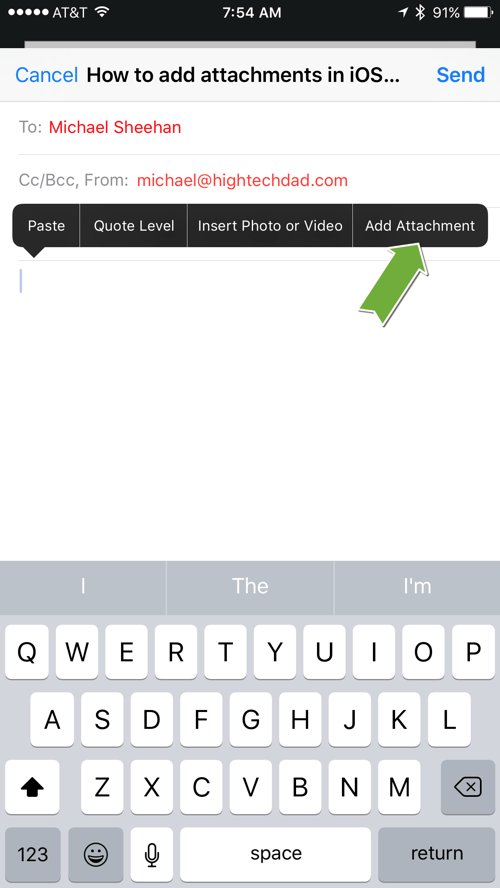
On the iPhone, you need to press and hold in the body to show the additional menu. you will see things like: Paste, Quote Level, Insert Photo or Video and either a “more” link (which you will need to click) or the words “Add Attachment”.
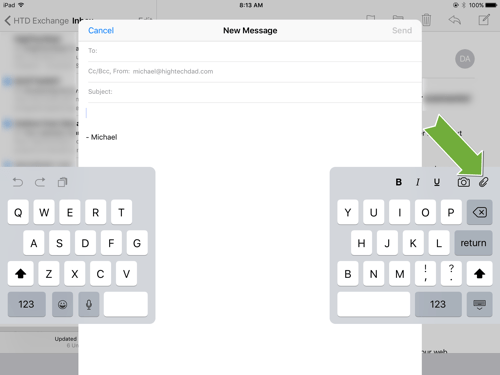
On the iPad, you merely need to be in the body of the email and look for the paperclip icon and click on it.
3) Enable additional locations
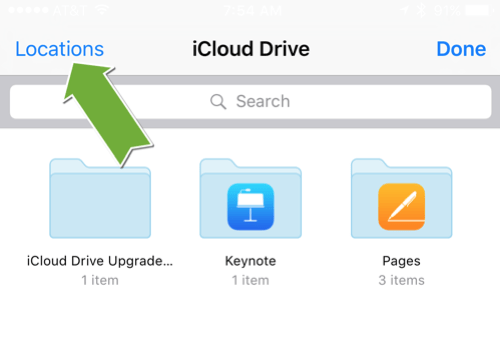
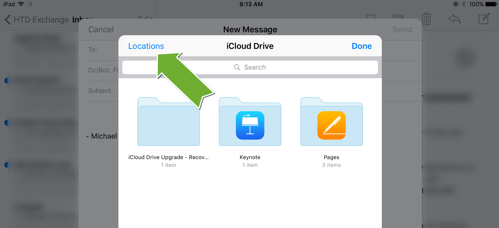
Once you launch the Add Attachment menu, you may be defaulted into Apple’s iCloud Drive (if you enabled it). Regardless, you need to then tap on the “Locations” menu to be able to add attachments in iOS 9 email.
On the iPhone it looks like this:
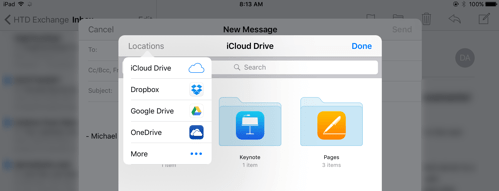
On the iPad it looks like this:
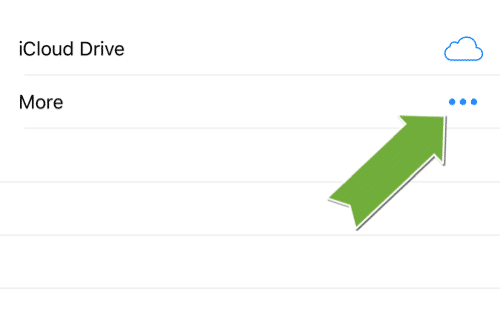
4) Click on “More” to add additional locations
Depending on what services you use and what apps you have installed for these services, you will need to click on the “More” menu to see those services. Remember, be sure to have those file sharing services apps already installed an enabled before doing this step otherwise they won’t show in the menu.
On the iPhone:
5) Enable the specific Locations
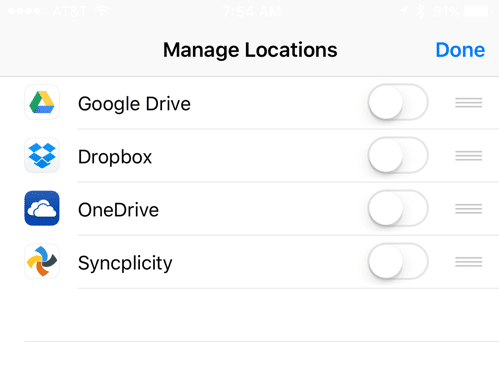
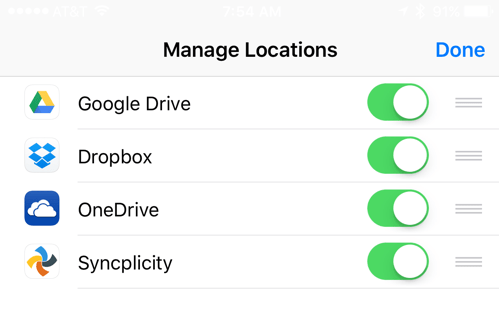
Once you click on the “More” menu, you will see a series of additional locations that you can enable. Just click on the toggle to enable these locations. And you can re-order the locations by dragging the three lines up or down in the list.
On the iPhone:
Toggle the locations “on.”
Click “Done” when you are finished adding locations.
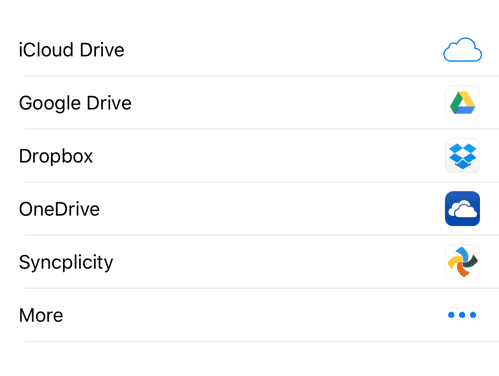
Once the locations are enabled, here is what they will look like. On the iPhone:
On the iPad:
6) Attaching files from additional locations
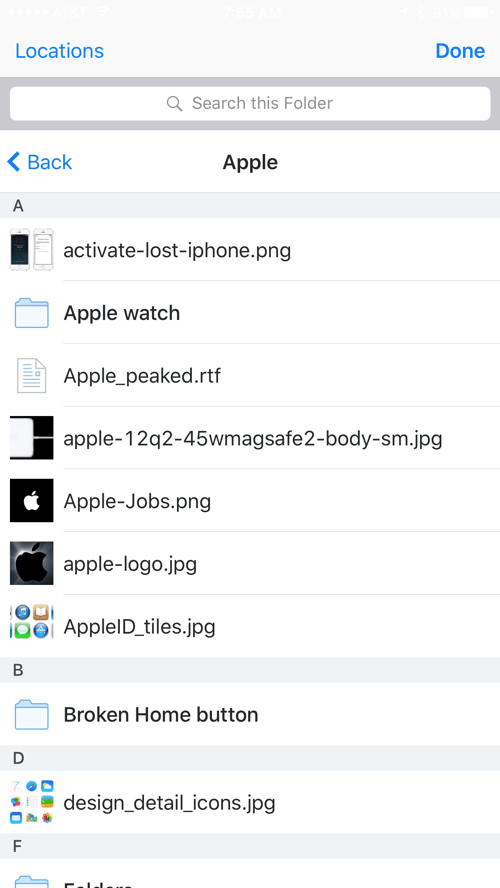
Once you have enabled the additional locations, they will appear in the possible options. By clicking on one, you can then browse your synced or stored files of those services and easily attach these files to the email you are drafting.
On the iPhone (showing my Dropbox folders and files):
7) Files attached to iOS 9 Email message
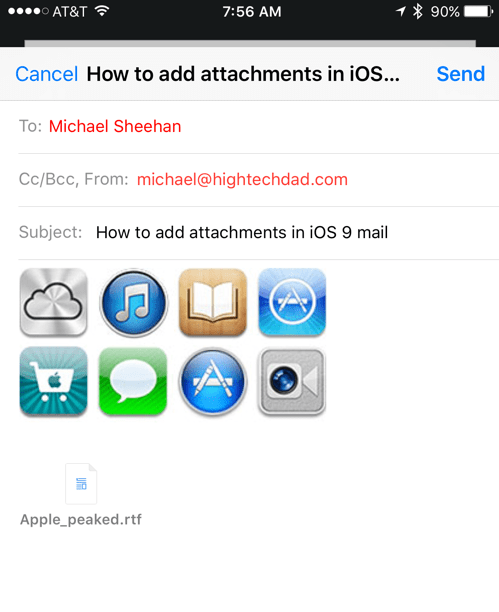
Depending on the type of file you attach, the attachment will appear in-line with a preview (for images for example) or as icons (for Office documents for example).
The image below shows an image that I inserted into an email (which shows the image) and an RTF (rich text format) document as just an icon and name. Both of these appear in-line.
That’s all there is to it! Once you set up the locations, the process to add attachments in iOS 9 email should be extremely easy and useful. And this is probably one of the better new features of Apple’s iOS 9.
[rps-paypal]
HTD says: Being able to add attachments in iOS 9 email is a critical feature to learn and use so be sure you set it up and share this tip!



1 comment
Brandon Baburam
Have you found a solution to this problem because I am experiencing the same one?