If you have ever come across a situation where you need to edit your Hosts file on your Mac or PC, I’m sure that you have discovered that it is a bit of a pain. For starters, on either platform, you need to have elevated privileges, namely that of the administrator. Then you have to actually get to the Hosts file and edit it as the administrator which frequently involves enabling the view of system files and folders. Then, when you edit and try to save the edits, you often have to save it as a different name and then rename it, authenticating again as an administrator. What you would think to be a quick tasks turns out to take a lot longer than anticipated.
Don’t know what a Hosts file is? Well you can head over to Wikipedia for a full rundown. But essentially it is a file that maps a hostname (like a domain) to an IP address. All domains or servers have an IP address. If for some reason, a domain name is not working, often, if you know the IP address of the site or server, you can just enter that. And, there is some malware that can change this mapping so while you think you are going to your banking site, you may be going to a completely different site who’s goal is to capture your personal information. So, it’s important to know a little bit about Host files for your own privacy and protection.
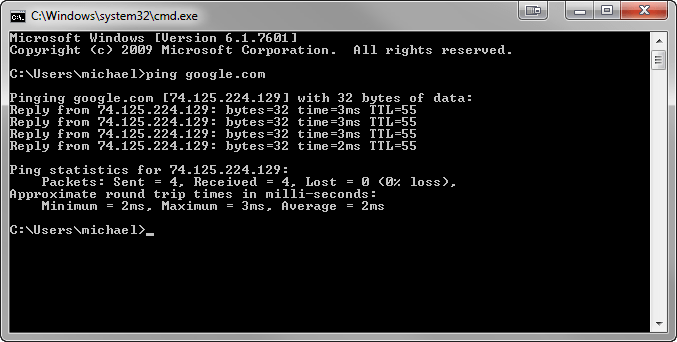
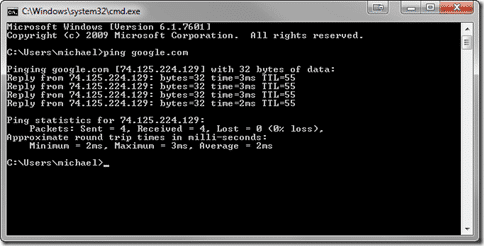
Also, you may want to edit a Hosts file to specifically direct your computer to a completely different site (oooh, there are great April Fools Day implications here). Let’s say you want to temporarily (and locally) have your computer go to Google every time you type in Bing.com. First, get Google’s IP address:
You would simply add the following lines your Hosts file (note: please be CAREFUL when editing your Hosts files – it can have all sorts of odd results!):
# Redirect bing.com to google.com’s IP address
74.125.224.129 bing.com
74.125.224.129 www.bing.com
The # is for comments. Once you save your edited Hosts file and you go to a browser (assuming your clear your DNS cache) and type in www.bing.com you will be redirected to www.google.com. Pretty cool! Anyway, I’m getting a bit sidetracked here. The point is, if you want to edit your Hosts file, it’s a bit of a pain. Luckily there are two great FREE solutions for the Mac and PC which makes editing your Hosts file easy.
Gas Mask (Macintosh)
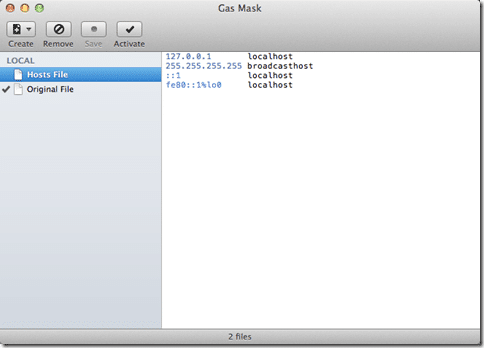
Gas Mask does one thing only, allows you to edit your Host file on the Mac. Traditionally your Host file is hidden away in /etc/hosts (which links to /private/etc/hosts). Really hard to get to unless you use a terminal editor with elevated permissions. Forget about that.
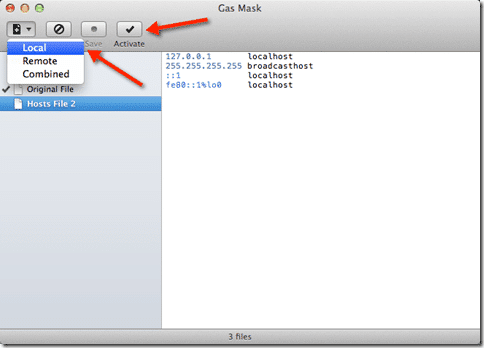
Just head over to: http://code.google.com/p/gmask/ and download their free app. Here’s what you get. You can have Remote or Local Hosts files (or even combined ones). Normally, you will just want to create or edit a local Hosts file. The nice thing is, you can have multiple Hosts files and then simply activate a particular one.
To create a new Hosts file, simply choose it from the Create menu. Then do all of your edits. Once you are done, click the Activate button and your newly edited Hosts file is live.
Super easy, right? I love it when a developer creates an app that doesn’t have a bunch of extra interface items or features that detract away from the primary function. Gas Mask does a great job with this.
HostsMan (for Windows)
While I like the simplicity of Gas Mask on the Mac, HostsMan for Windows adds a few really nice features.
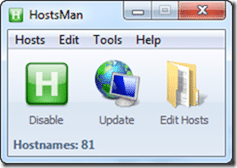
You can download HostsMan from here and learn a bit more about the program and the latest version.
HostsMan has the same editing capabilities like Gas Mask, but adds a layer of security to the features. As I mentioned earlier, there are viruses and malware that sometime try to hijack your computer to redirect to dangerous sites. HostsMan will notify you of potential hijacks and let you disable those entries in the Hosts file. Remember how I edited the Hosts file to redirect Bing to Google? HostsMan was smart enough to identify that as a possible hijack and highlights it in red:
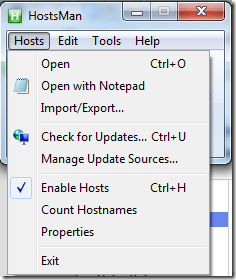
From the HostsMan “Hosts” menu, there are a variety of things that you can do. The one that you want most frequently is “Open” which will allow you to open your active Hosts file (which is located typically at: %SystemRoot%\system32\drivers\etc\hosts ).
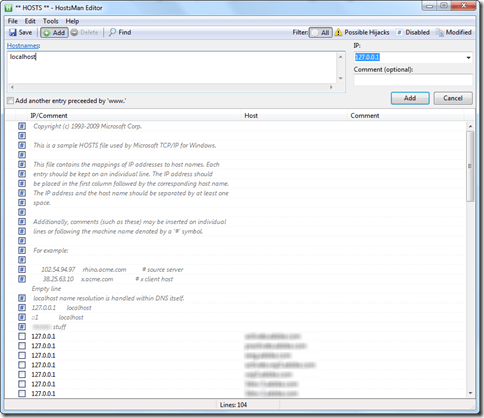
Once you have the editor open, you can do a lot with it. Below you can see me adding a “localhost” entry. You enter the “hostnames” and the “IP” address (and any “Comments” that you want). Also note at the top is the “Possible Hijacks” filter that lets you see if an entry is potentially wrong in your Hosts file.
New entries are highlighted. You can drag entry order throughout the list. Below you can see the “localhost” entry as well as comment that I added.
And you can edit comments in-line as well.
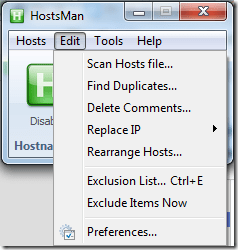
In the Edit menu, you can do a lot of useful actions like finding duplicates or replacing IP addresses.
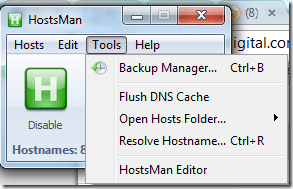
Within the Tools menu, you can back up your Hosts files, Flush your DNS cache and resolve hostnames.
There are quite a few other functions that you can do within HostsMan, however I find that the editing function to be core and it works well.
Both Gas Mas for the Mac and HostsMan for the PC are very useful tools to simply have installed on your computer. Should you need to edit your Hosts files quickly, they can save you quite a bit of time.
HTD says: Make editing your Hosts file a breeze by simply having either of these programs available to you.
