If you use wireless charging for your iPhone, then this How To Fix It article is probably NOT for you! However, if you use a lightning cable to charge or sync your iOS device and encounter charging issues, you may want to give this article a quick read. Personally, I am a big fan of wireless charging, but sometimes you need to use a cable to charge and or sync your iPhone. I recently ran into an issue where I plugged in my iPhone to charge, and it wouldn’t work unless I moved the connector around in the lightning plug of the iPhone, which I also thought was probably not good for the port. But after trying a variety of fixes (which I will briefly outline below), I realized there was actually a low tech solution I needed to try.
To set the stage, I carry my iPhone around in my pocket. I’m going to guess that this issue is probably more common with people who do that. But obviously, when my iPhone just wasn’t charging, or only happening periodically, I immediately pivoted towards it being a tech issue.
Many sites outline various tips and steps to use to fix your iPhone not charging problem. There is, of course, this Apple Support article which does talk to a technical solution. This iMore article walks through a few things you can test or attempt. And Digital Trends has some similar recommendations that you can try.
A Quick List of Technical Tips for iPhone Charging
To help you out a bit, I have summarized a few of the tips that I believe could help your troubleshooting. HOWEVER, you may want to skip this section as none of these items actually helped with what was causing my iPhone to not charge. Some of the recommendations I would only view as a nuclear option (the last resort).
- Change your cable – I highly recommend using only Apple lighting cables. Don’t skimp and buy something simply because it is cheap. A bad cable can actually fry your electronics of your iPhone. Regardless, test a different cable.
- Restart your iPhone – This is actually something I would do first. With any electronics (smartphones, computers, etc.), periodic restarts are critical. It helps free up memory, clears caches, and much more.
- Check your power source – If you restarted your iPhone and changed cables, you may want to try a different power source. Change plugs and change power adapters.
- Update your iOS version – I always recommend trying to stay close to the latest and greatest version of iOS (and apps). If you have an update, give it a test. Remember, have a backup before you do any updates.
Those are pretty basic tips you should do regardless. And I actually did these before I tried the non-technical solution below.
Duh! It’s iPhone Navel Lint!
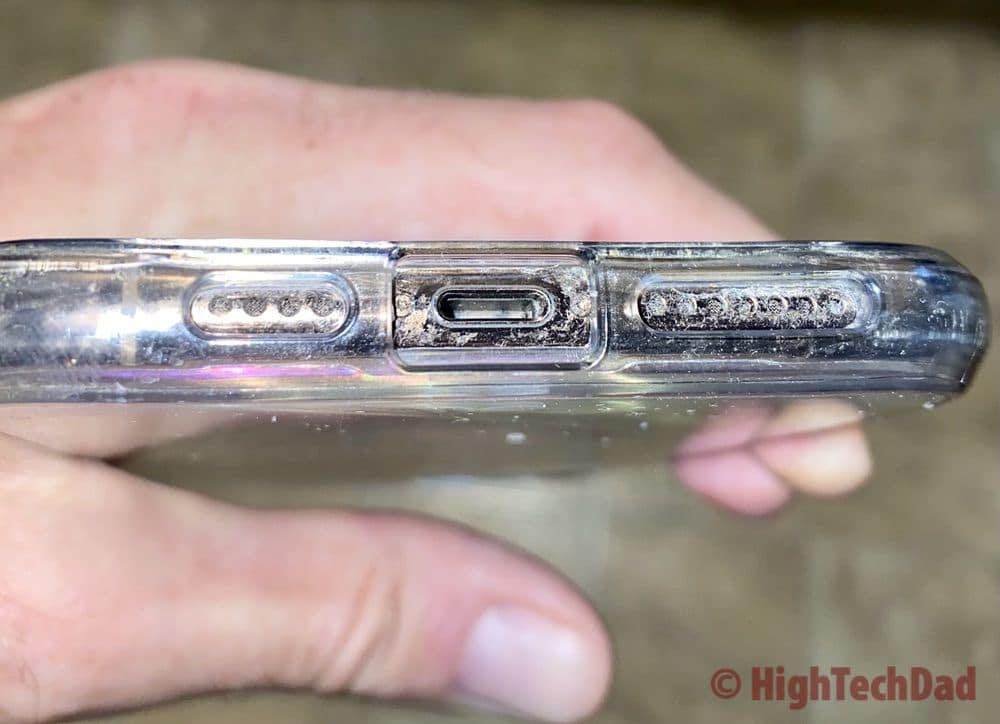
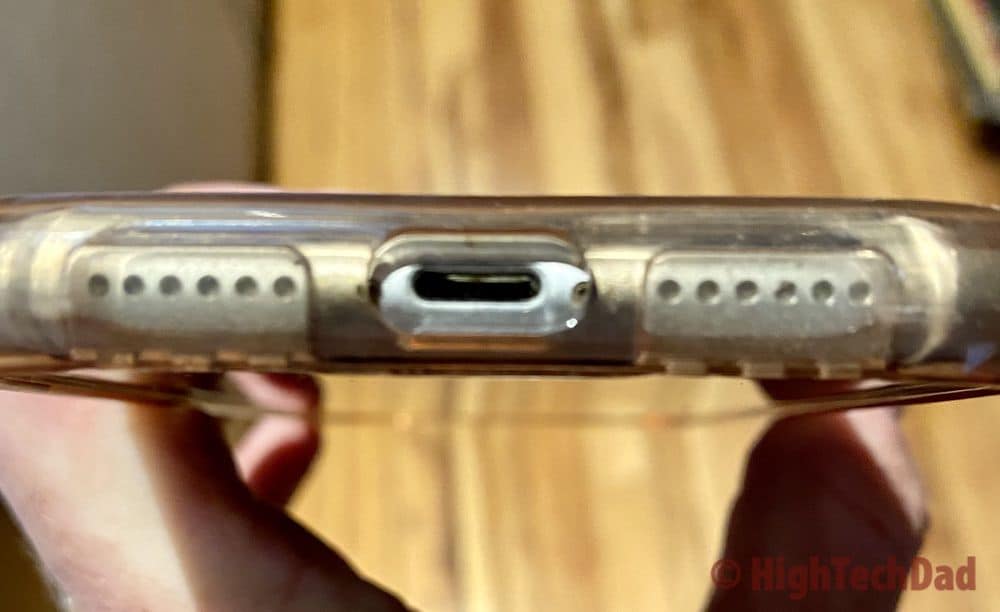
Honestly, I can’t believe how easy it was actually to fix my iPhone charging problem. It turns out that with months in my pocket, the lightning port actually has become full of lint and dust (bunnies). It’s an easy check to see if you have dust bunnies or lint balls in the lightning port. Simply get a good flashlight and take a peek into the port.
Unfortunately, I don’t have a good picture of the lint in my port, but it was significant (and embarrassing). In fact, all of the photos in this article show how dirty the iPhones around our house are even though we regularly clean the surfaces (but obviously NOT the charging ports). So, my apologies for the “ugly” photos in this article.
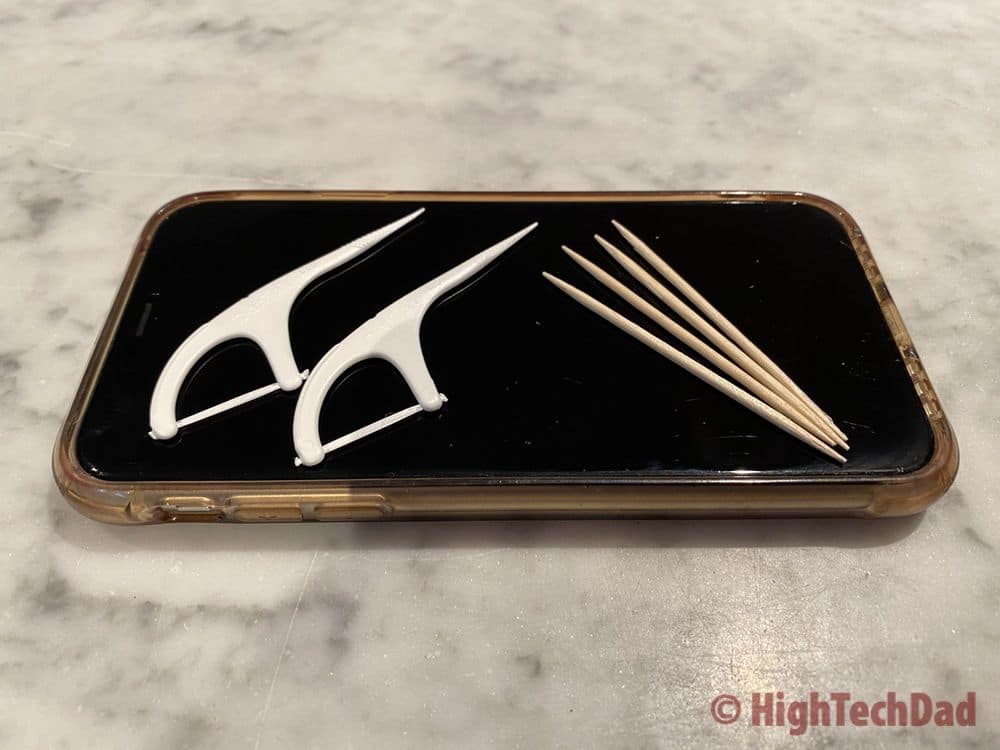
Here’s what you need to do the iPhone port cleaning fix:
- A flashlight
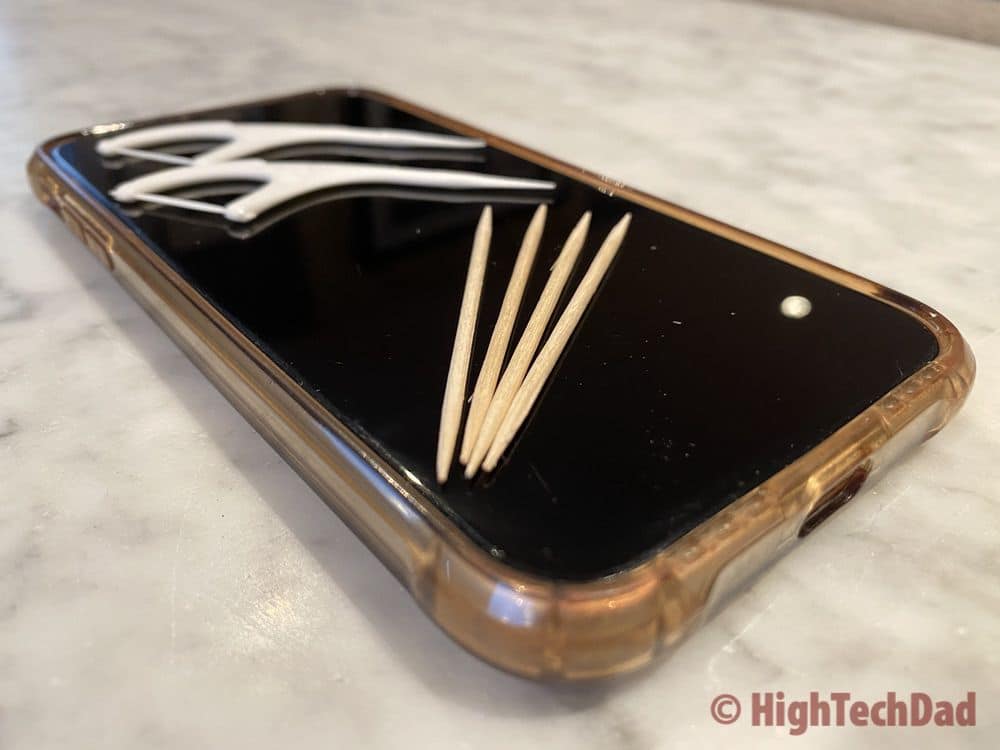
- A toothpick (plastic or wooden)
- Compressed air (optional)
So most of those items you probably have around your house. First though, NEVER use something metal (like a toothpick) to clean the port. That will DEFINITELY damage the port and could make you have to actually get service on your iPhone.
Just use the wooden toothpick (or even a plastic toothpick) while lighting up the lightning port (you might need three hands – haha) to remove any lint you see in the port. DON’T press too hard in the port as you don’t want to damage anything.
As you remove the iPhone navel lint and have some compressed air, you can blow out the port to ensure it is clean. Keep checking the port carefully as you clean and once you have removed all of the lint, try your lightning cable and see if your iPhone charges.
Success? Let Me Know!
As I mentioned, none of the earlier fixes worked to get my iPhone charging again. But once I cleaned the lightning port, the charging magically started working. Obviously, this is a maintenance item that you should probably periodically do.
Do you have iPhone charging problems? Did any of these fixes, including the iPhone navel lint cleaning work? Are you still having a charging issue? Do you have a different solution? Please leave a comment below to share with me and others. It’s always important to enable DIY fixes and share them with the community.
HTD says: Sometimes, there is a non-technical solution to fixing an issue. When my iPhone wouldn’t charge, it turns out that something in the physical world was preventing something in the electronic world from working properly!


