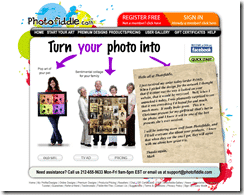
I got my Mother’s Day gift for my wife early, and it literally took me just a few minutes to do. The end result is something that can be cherished forever. Essentially, I took a favorite photo of ours and turned it into a painting and all that I did was have to upload a photo to Photofiddle.com, look through a variety of “filters” that can be applied, and then place my order. What I got back was the same photo, with the filter I chose, literally “painted” onto stretched canvas.
When you think about it, many people have hundreds if not thousands of digital photos filed away somewhere on a hard drive. Unless you have a digital photo frame or a photo screen saver running, you rarely get to see or even enjoy the really good ones. Perhaps once and a while you print them out to put in an album or scrapbook but who has the time to do any of that kind of stuff these days. This is where Photofiddle.com really comes into play. They can take your favorite digital photo and magically transform it into a cherish-able work of art in literally a few minutes (not including the printing/shipping time). But the creative process doesn’t simply stop with you uploading a photo and having it printed onto stretched canvas, you can also get “creative” with how the photo is displayed by applying different styles to your photo, rendering it modernistic, impressionistic, as a sketch or a painting full of brush strokes, you name it.
And hey Dads and Kids, this type of thing would really go over well as Mother’s Day Gifts. It’s really easy to do, won’t bust your budget and will really earn you some “bonus points”!
Creating a Photofiddle
The creation of a Photofiddle is pretty easy and consists of just a few steps:
- Choose a photo – this in my opinion is the hardest step and will take the longest
- Upload the photo to Photofiddle.com – very easy to do, but I do recommend choosing a high-resolution photo even if it takes a bit longer to upload
- Choose the Filter or Style – this is probably the second longest process as there are many different options available.
- Crop/Edit your Photo – get it sized right
- Preview the Final Result – here you can see what the Style will look like. Be sure to zoom in to look at it
- Finalize & Place Order – probably the third longest process is choosing how you want your photo to appear on the actual material (e.g., just stretched canvas, framed, panels, etc.)
While I didn’t follow the typical end-user process, mainly because (full disclosure) I was contacted by Photofiddle to test out their service for free and they produced a bunch of Preview versions of my photo, I did go through the process again later on my own to see exactly how easy it actually was. Here is what you can expect:
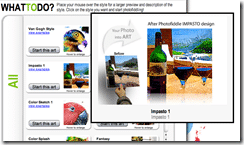
You can preview some of the Styles even before you start using your own artwork:
The steps are easy, you simple start with a high-resolution photo (this is the one that I used):
Then you choose from a huge assortment of filters or “styles”. The most popular ones are:
- Contour Brush
- 13 Picture Collage Square
- Heart Collage Colored Background
- Pop Art
- Light Pegz
- Impasto
- Deep Sponge Painting Style
- B&W Thick Sketch
The one that we chose was called “Water Color High Detail”. But before we get into that, let’s step through the process of creating your art.
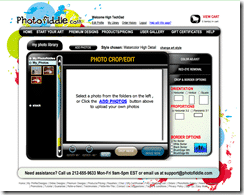
First, you choose a photo to be uploaded:
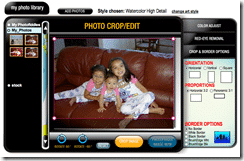
Once you upload your photo, it appears ready to be Edited or Cropped:
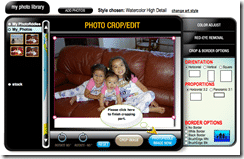
There are a few helpful tips that pop up as you go as well:
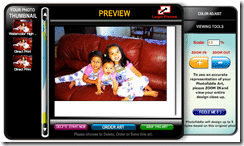
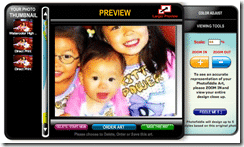
Once it is edited and cropped, you can Preview what the artwork will look like:
You can zoom in pretty close:
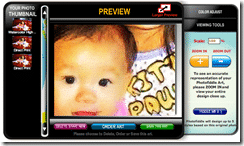
And even closer:
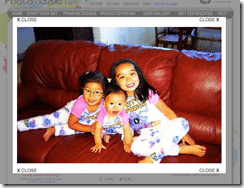
And do a full larger preview:
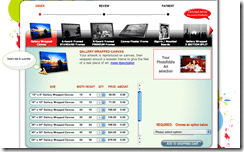
Once you are happy with the Style and Edit/Cropping, you choose how you want your Photofiddle to be printed:
And that’s it!
The Final Result
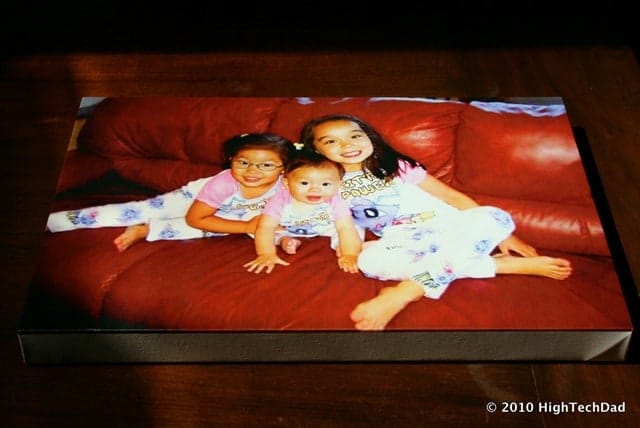
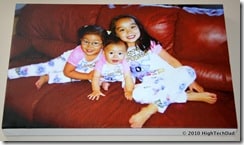
I was excited to receive the final artwork once all of the online stuff was completed. It only takes about a week or so to complete (times may vary based on the options you choose and the demand). Below is the final result (already hanging on our wall for everyone to enjoy):
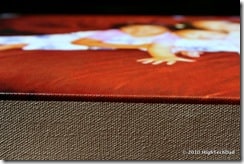
Close-up of the fabric stretched over the frame:
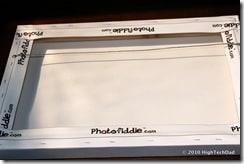
The back has some branding but is ready to be hung immediately:
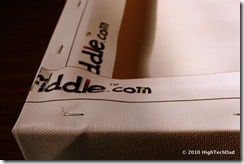
Close up of the back of the frame and canvas:
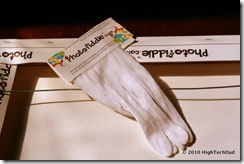
The package I received even comes with some gloves that you can use when hanging to as not to get oily finger prints on the canvas and to protect the artwork:
While the end result is great for the receiver, it is something that everyone can enjoy!
Summary
I found the Photofiddle creation process to be fairly intuitive, however, I was a bit overwhelmed with all of the Style selections that are available. It would have been nice to be able to upload my photo and then check off a variety of Styles and then be able to do quick and easy lightbox previews of those styles. The process is a bit different however. You need to choose your Style first and then add the photo you want and then your image is created. Also, I found that the large preview of the final artwork was not quite big enough. Essentially, I would have liked to have uploaded my photograph, checked off the Styles and then see a grid of the final artwork as a preview which I could then simply click to quickly and easily view larger (zoomable) displays of the individual final art.
However, the artwork creation process (despite the minor shortcomings I mentioned above) is quite easy to do, so much so that even a child could do it (they just would need to get a credit card from a parent to finish it up). It would be a good project for kids and dads (or parents) to do together as a family, especially in the Style decision process which is a lot of fun.
Also, remember that when you apply some Styles, you may change how your original picture looks quite dramatically. And the screen preview really doesn’t truly represent the final output. Printing on canvas gives texture and different character to the artwork. And when you choose some of the very abstract or painterly styles, you can really transform the look and feel of your original photograph. It really is fun to experiment!
Pricing starts at around $30 and can go up to several hundred dollars depending on how you want your artwork displayed, the materials, the framing option and the size of the print. Framing options include:
- Gallery Wrapped Canvas
- Standard Framed Artwork
- Premium Framed Artwork
- Canvas Floater Frames
- Sign-in/Mounted Boards
- Gallery Wrapped 3-Section or 4-Section Splits
- Standard Framed Canvas
- Premium Framed Canvas
- Gallery Wrapped 4 Panel Quarters
- Artist Canvas Unframed
- Frameless Acrylic Floating Artwork
- Art Print Unframed
- Overstock Black Frame with Canvas
You can see all of the size, materials and pricing options on the Photofiddle.com Products and Pricing page.
Preserving your photos in an elegant and unique manner is something that every family really must do. Sure, you can print out photographs and pictures on glossy paper and stick them in a frame or album, but for some photographs, you really aren’t doing them justice. Some pictures simply need to be displayed prominently and elegantly. They become conversation pieces and works of art, and one way to accomplish that is to use Photofiddle to create them.
Disclosure Text : I have a material connection because I received a gift or sample of a product for consideration in preparing to write this content. I was/am not expected to return this item or gift after my review period. More information can be found in my About page as well as here.
HTD says: Photofiddle is a simple and easy way to turn snapshots into works of art with just a click of the mouse!



1 comment
Jimhead555
Just had my first photofiddle, and it was a hit at my mom's birthday party. This is deifnitely the gift to give people. definitely unique.