If you have an older car like me, you have probably noticed that your headlights are not as bright as they used to be. This is because, over years of driving, particles have hit the plastic cover of the headlight cover, making them much more cloudy, yellowed, foggy, or even opaque. While this is a bit of a safety concern, if you have an hour or so and the QUIXX Headlight Restoration Kit, you can clean and polish them up to almost new. At least, that is the promise. I tested it out on two of my older cars, and in this review, walk through the process, give some tips, and show the results. (*Disclosure below.)
I wanted to test the QUIXX Headlight Restoration Kit on two cars: my 2010 Nissan Rogue and my 2013 Hyundai Elantra. I had an older car whose headlights actually looked pretty good, so I decided to hold off on that one. The Rogue was the one with the worst yellowing. Many, many miles of driving had made the plastic headlight covers quite “dirty,” but it wasn’t dirt that you could easily just wash off. With the QUIXX kit, there is a process for highly scratched or yellowed headlights.
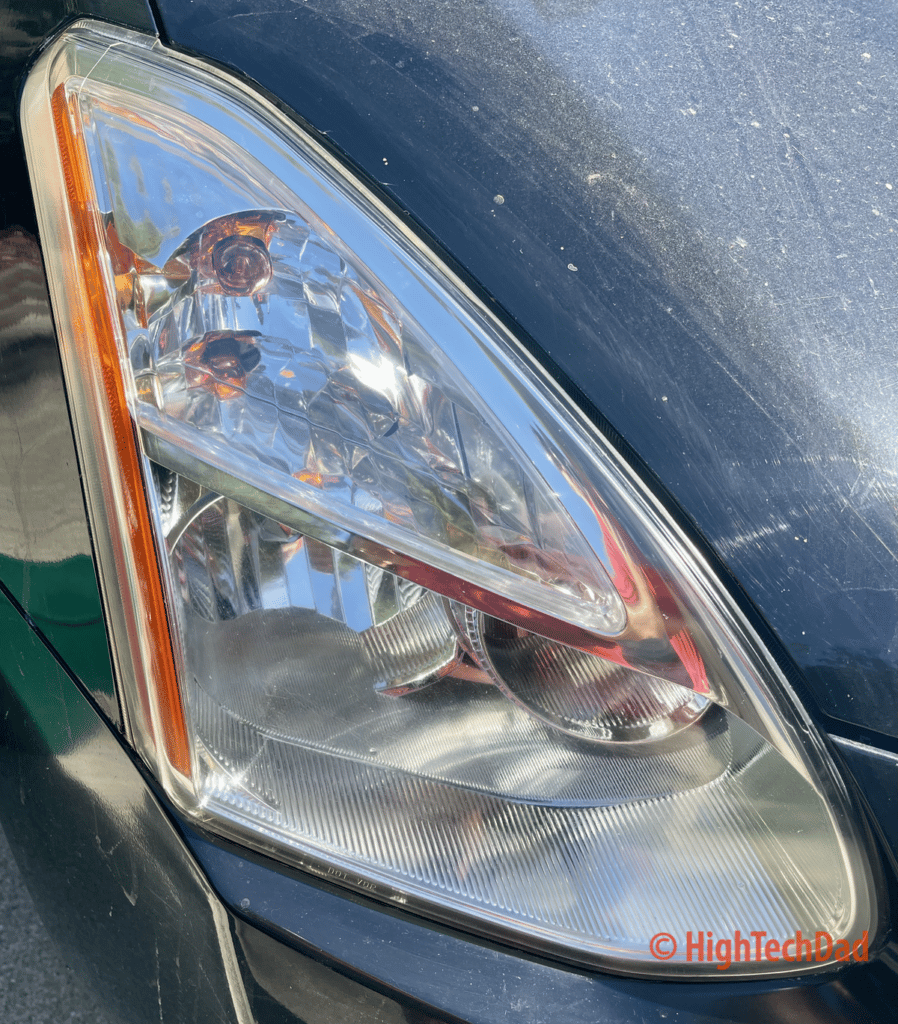
The polishing process for restoring your headlights is this (as outlined in the QUIXX instructions and with my thoughts after): wash and dry the headlights > tape around the headlights > sand down the headlight covers > apply the polish and buff in > clean again > apply and buff in the lens sealer. This process does take a bit of time, an hour or so, depending on how bad your headlights are and how strong your arm is (grin).
What’s in the QUIXX Headlight Restoration Kit
The QUIXX kit has everything that you need pretty much to restore your headlights to almost new. However, depending on how bad your headlights are, I have some recommendations on how to make the process even better, but it does mean that you will have to buy a few inexpensive extras.
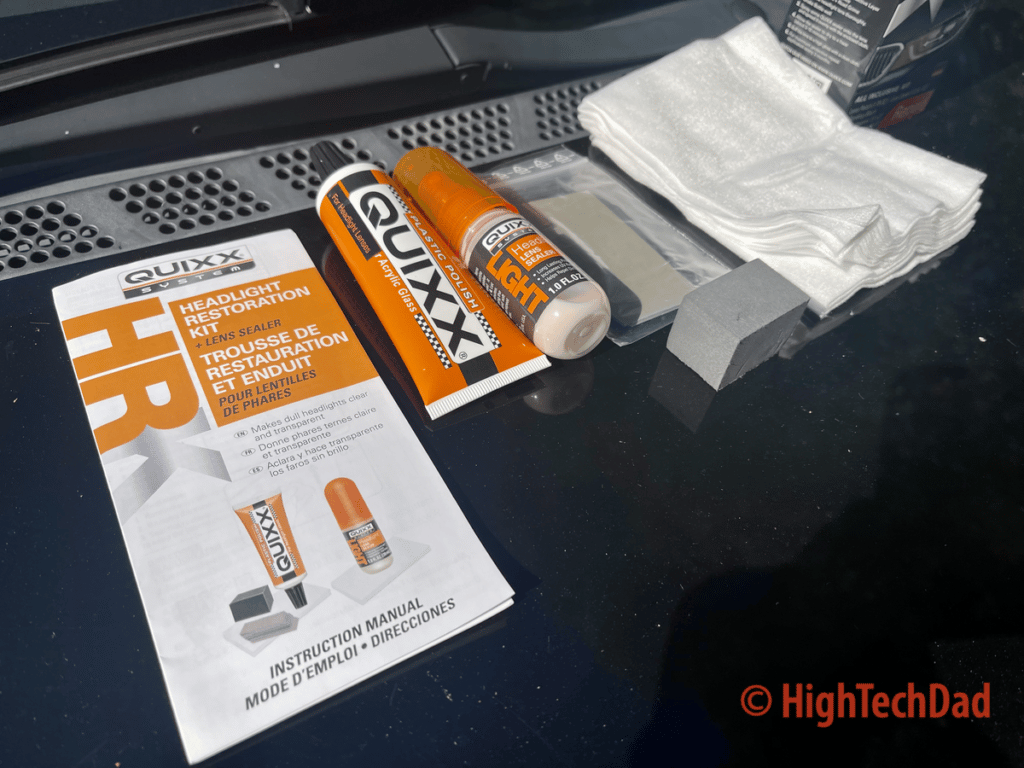
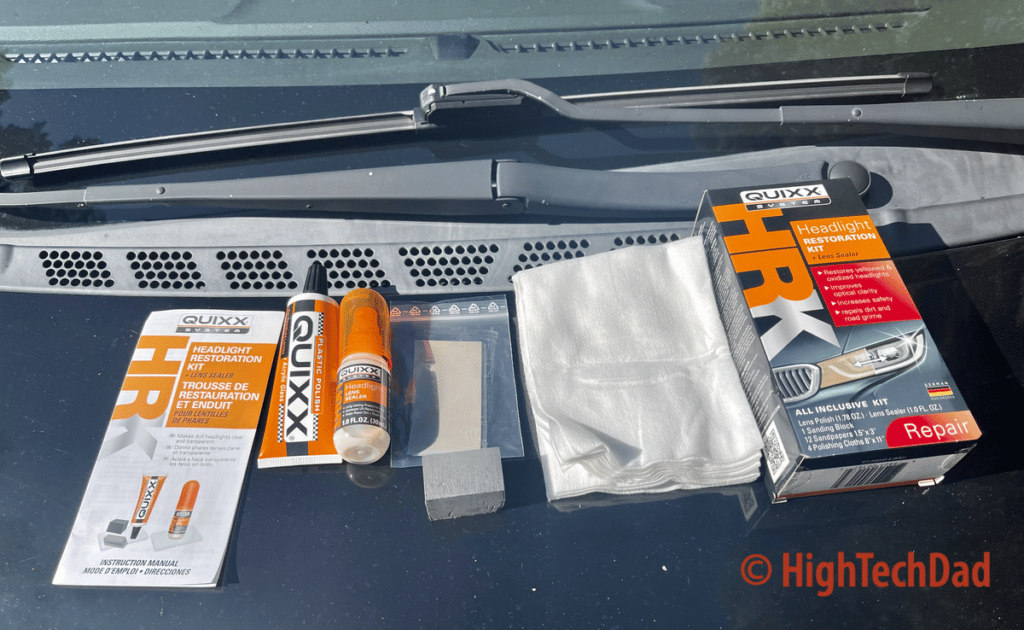
Here is what is included in the QUIXX Headlight Restoration Kit:
- Lens Polish (1.78 oz)
- Lens Sealer (1.0 oz)
- Sandpaper (3 different ultra-fine grades – 4 small pieces for each grade)
- Sanding/Polishing blog (rigid foam)
- Polishing cloth (2 each)
- Special Application cloth (2 each)
- Instructions
While you can probably get by with what comes in the Kit itself, I do have some recommendations. If your headlight lenses are particularly scratched up, you will want to get additional sandpaper because the tiny little pieces provided in the Kit get used up pretty quickly.
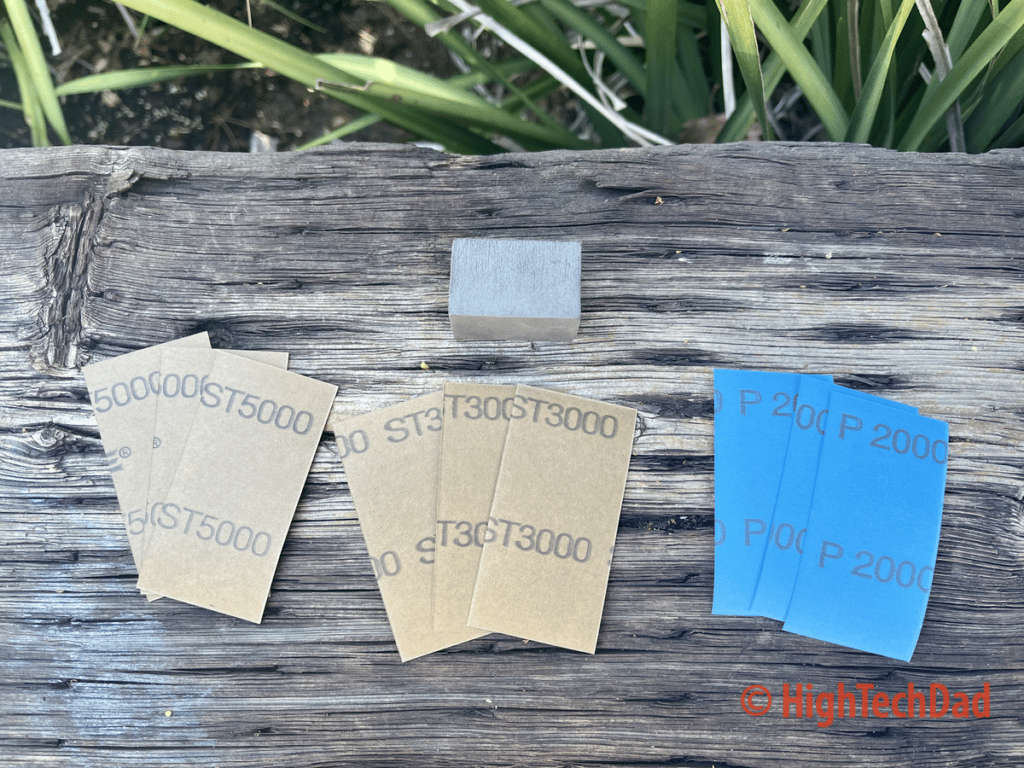
I would recommend going to your local hardware store and getting some larger pieces of 2000, 3000, and 5000 grit sandpaper. And, if there is a sanding block made out of rigid foam, I would recommend getting a larger one for the larger pieces of sandpaper. Trust me, to get the best smoothing of the headlight lenses, you will want to do a really good job sanding it down before putting on the polish. The included pieces just wear out a bit too quickly.
The QUIXX Cleaning and Polishing Process
As I mentioned, the process of cleaning your headlights with QUIXX is very straightforward. It does take some time to do, and your arms will be a bit sore in the end from the sanding and polishing. But, for the most part, you will be happy with the result. It does depend on the plastic lens cover, though – some results will be better than others.
The first step is to wash your headlights. And, apologies, all of the photos in this review show my cars being quite dirty. I didn’t wash them for the photos, just the headlights. Be sure to dry the headlights well and the area around them (as you will need to tape around there).
Another quick tip – while the QUIXX kit does include cloth or rags for polishing and applying the polish and sealer, I would recommend getting some soft cloth as well. The ones provided are made of paper, so you will probably get better results if you have your own soft cloth or rags.
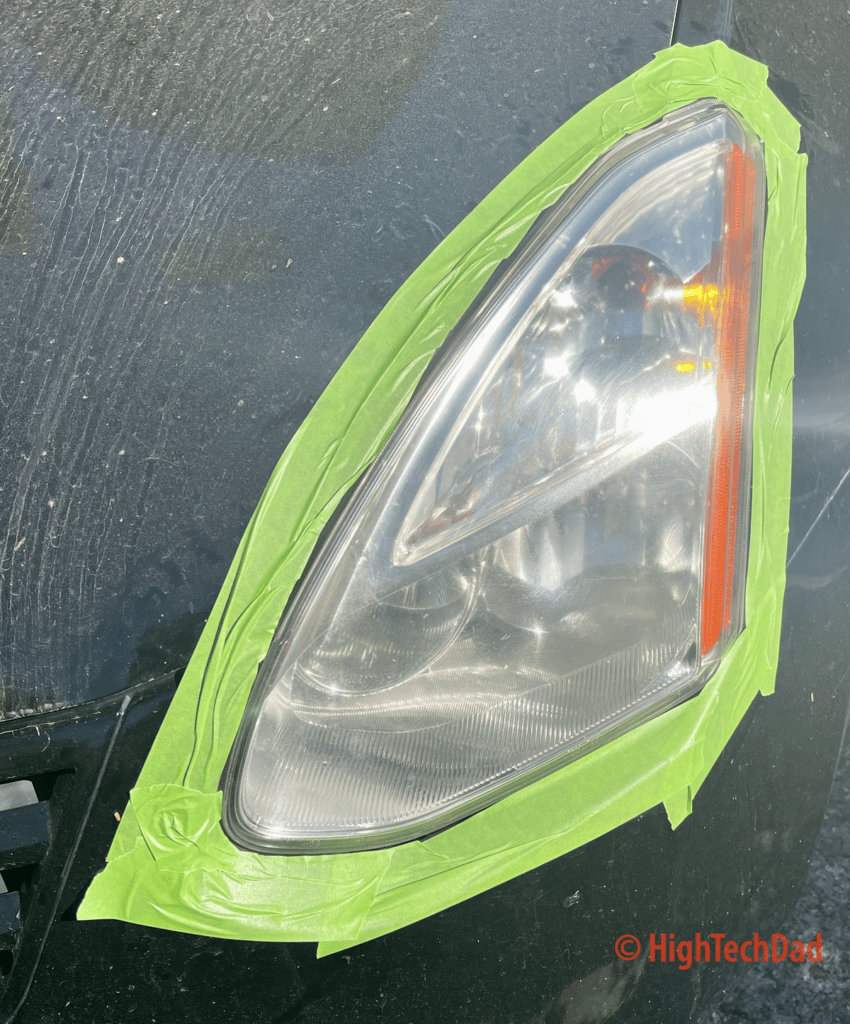
Once you have cleaned the headlights and surrounding area, you will want to tape around the headlights. This is to prevent you from scratching the paint as well as having polish spill onto the paint. I simply used painter’s tape (this is NOT included with the QUIXX kit, so you will have to have some handy).
After you have cleaned and taped off the headlights, you start the sanding process. You will begin with the “roughest” grain (the 2000 grit). You should wet the sandpaper with a bit of water. Then use horizontal motions to start sanding the entire lens. At this point, the lens will look quite dirty.
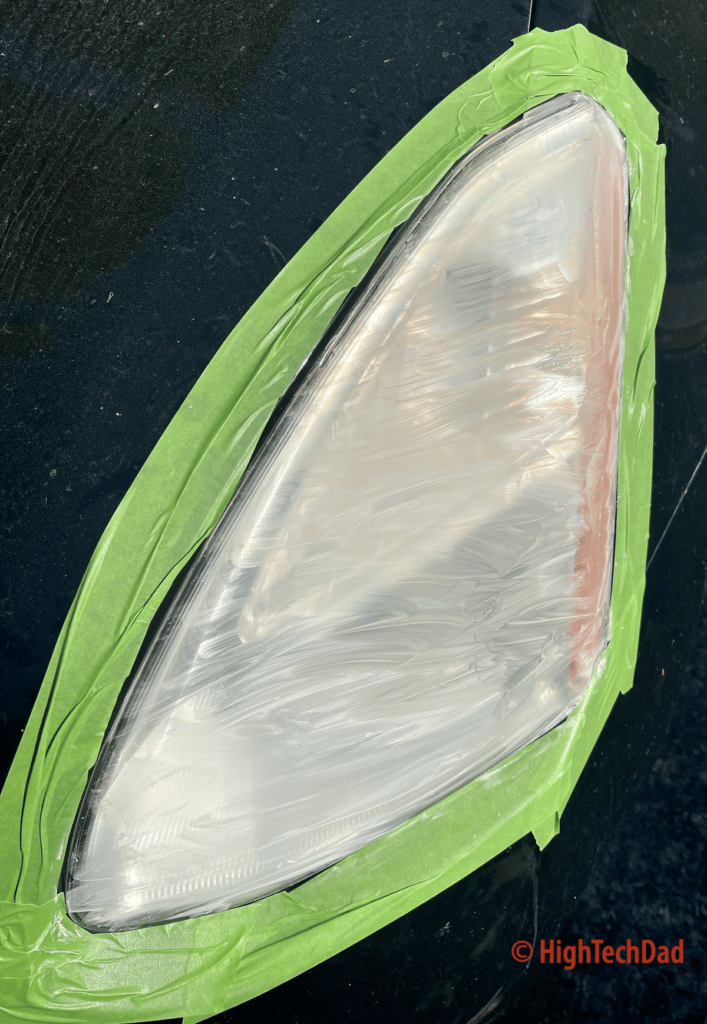
Once you finish with the 2000 grit sandpaper, you will want to take a damp cloth to wipe off any residue from your sanding. Then you will repeat the process with the 3000 grit and the 5000 grit sandpaper.
With the 3000 grit, you will want to make vertical motions as part of the sanding. And then, with the final 5000 grit (ultra fine), you will go back to horizontal motions. Be sure to clean the headlights each time with a damp cloth. AND this is where having larger pieces of sandpaper and a larger sanding block much better for your process!
It is vital to make sure you sand everything well. I found that some headlights had more “plastic erosion” than others which is why you want to have extra sandpaper handy. If you don’t ensure that everything is well sanded, the polish won’t make things much better.
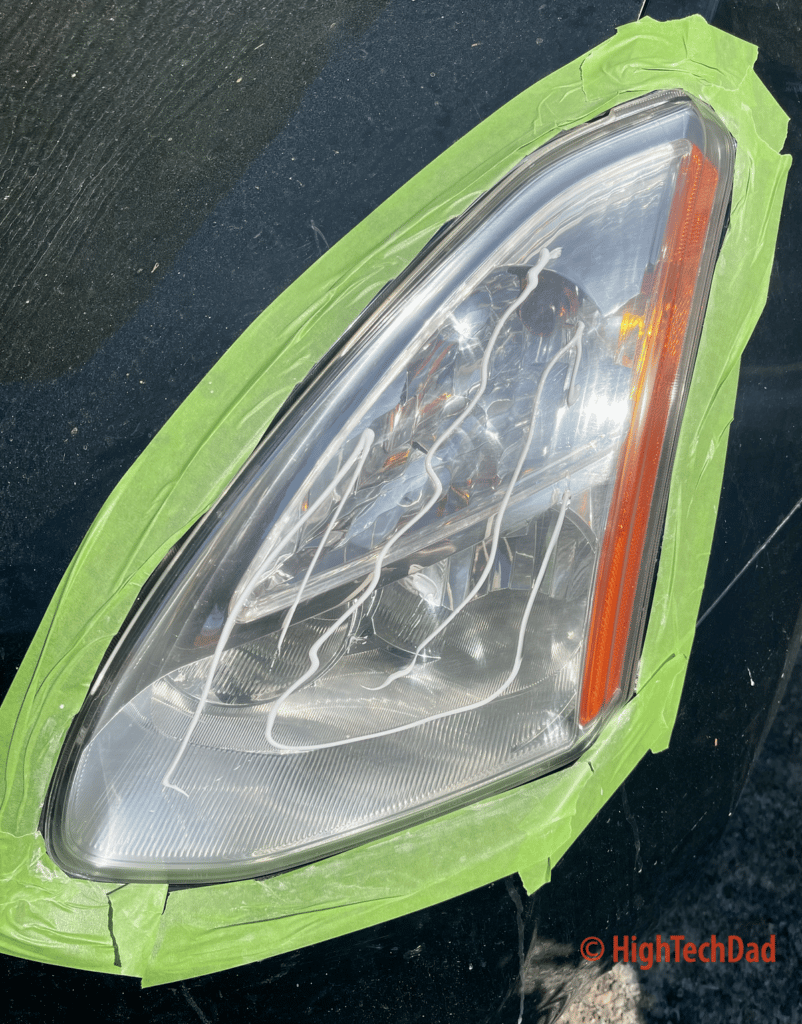
After sanding, you will apply the polish and then buff it in very well. You don’t need too much polish, but once you apply it, there is quite a bit of effort working it into the lens.
And once the polish is completely buffed into the headlight lens and you are happy with the results, you then need to apply the lens sealer. This is supposed to protect the lens even more. QUIXX recommends that you reapply this every few months. They also say you need to allow the sealer to dry for at least 45 minutes. (Unfortunately, I didn’t see the “45 minutes” part and thought I was done more quickly.)
After the sealer is dry, you will again need to buff it all out with a clean cotton cloth. And that’s it! Just peel off the tape and admire your work!
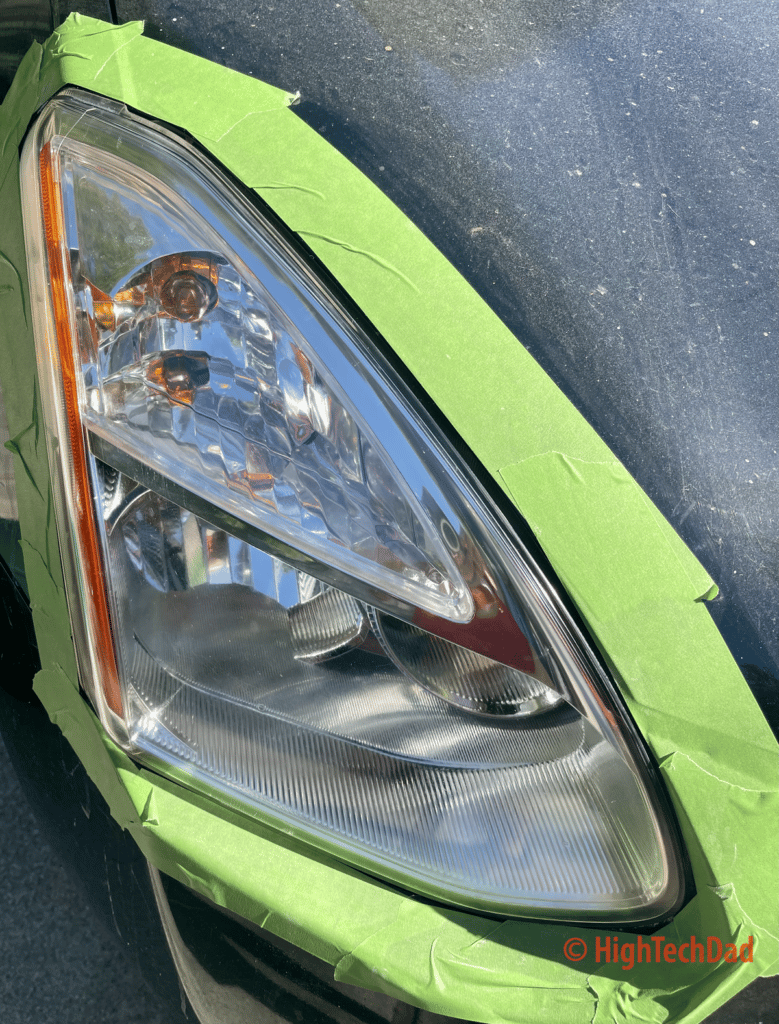
I did the same process on my newer car, and the results were almost as good. But, I wish I had had the additional sandpaper to work a bit harder on the sanding stage with this car. The results are still good, but I have high standards. I may try the process again later.
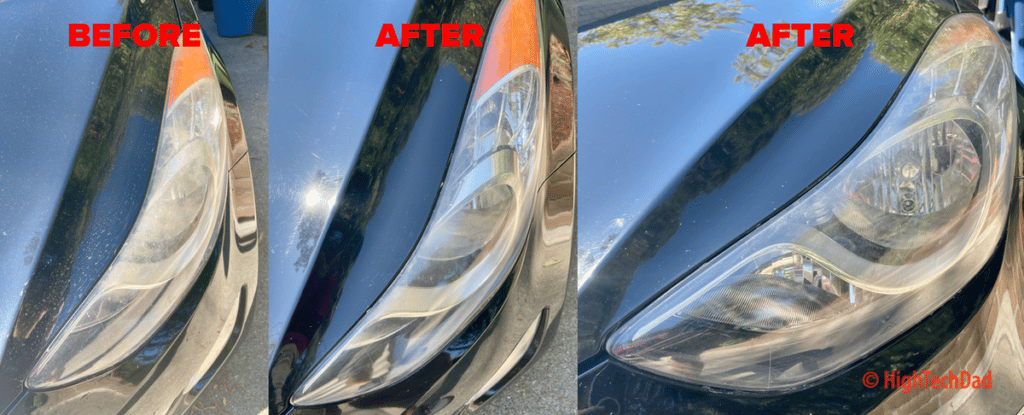
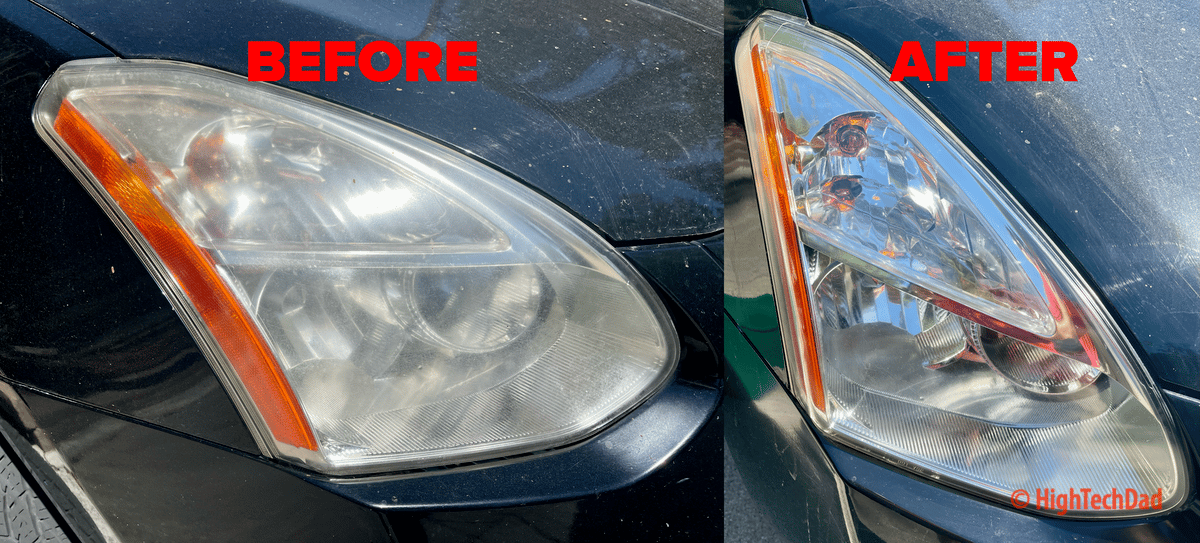
The results on the Nissan Rogue are pretty darn good, and I do notice a difference when driving at night.
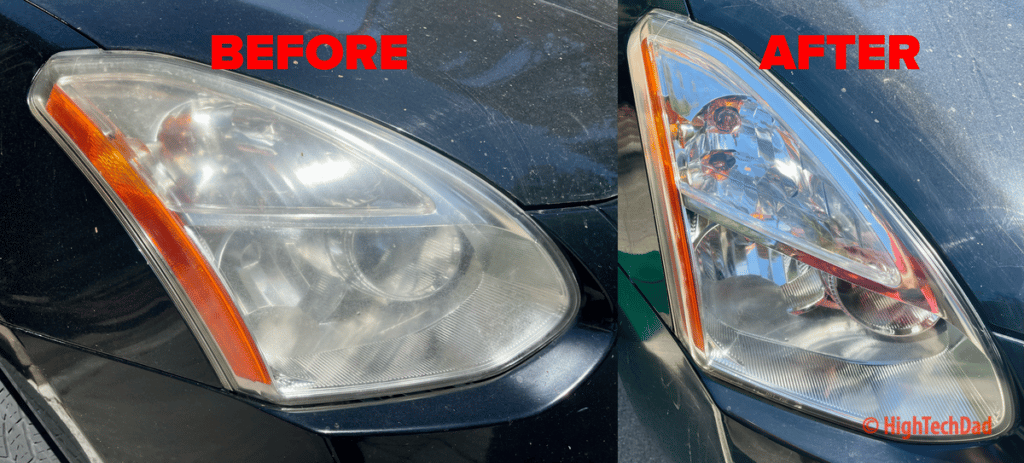
Good, inexpensive results with a little bit of work
Hopefully, the photos and the process outlined above give you an idea about this headlight restoration process. You will need a couple of hours to do it well, and I recommend getting additional sandpaper, a larger sanding block, and some more cloth or rags. There isn’t too much included in the Kit itself (but enough to do it – I didn’t have the additional supplies).
The QUIXX Headlight Restoration Kit is currently available on Amazon for $14.99. Honestly, the more expensive item is your time and effort. However, if you do embark on this project, do get the extra sandpaper and sanding block – I believe that will make the process much QUIXXer…er…quicker.
The QUIXX store on Amazon also has a variety of other products for doing repairs to your vehicle (scratch remover, windshield repair, black tire paint, trim restorer, and more).
Buy on HighTechDad.com
The product shown below (and related products that have been reviewed on HighTechDad) is available within the HighTechDad Shop. This review has all of the details about this particular product and you can order it directly by clicking on the Buy button or clicking on the image/title to view more. Be sure to review other products available in the HighTechDad Shop.
From a safety perspective, as well as simply wanting to make your older car look a bit better, taking a few hours to clean, sand, and polish your headlights makes a world of difference from curb appeal to driving at night. The QUIXX Headlight Restoration Kit does a good job, coupled with some work on your end.
Disclosure: I have a material connection because I received a sample of a product for consideration in preparing to review the product and write this content. I was/am not expected to return this item after my review period. All opinions within this article are my own and are typically not subject to editorial review from any 3rd party. Also, some of the links in the post above may be “affiliate” or “advertising” links. These may be automatically created or placed by me manually. This means if you click on the link and purchase the item (sometimes but not necessarily the product or service being reviewed), I will receive a small affiliate or advertising commission. More information can be found on my About page.
HTD says: Restoring your car’s headlights to a clearer shine is a good safety practice to make you more visible on the road at night as well as see better down the road. The QUIXX Headlight Restoration Kit provides an easy way to restore your headlights to almost new!
HighTechDad Rating
-
Ease-of-Use
-
Family-Friendly
-
Price Point
-
Features
Summary
Restoring your car’s headlights to a clearer shine is a good safety practice to make you more visible on the road at night as well as see better down the road. The QUIXX Headlight Restoration Kit provides an easy way to restore your headlights to almost new! While the process of cleaning, sanding, and polishing your yellowed, foggy, or opaque headlights does take a bit of time (an hour or so) as well as a lot of arm effort, the end result of having brighter and clearer headlights is quite good. The process is straightforward and hard to mess up, assuming you carefully follow the directions. I do wish that more or larger-sized sandpaper was provided as well as a larger sanding block. That would have made the process a bit shorter and, I think, produced a slightly better end result. But, as tested, the results were great and my headlights are much better than before.
Pros
- Easy process
- Good result clearing up foggy headlights
Cons
- Not enough supplied sandpaper to do a really good job
- Sanding block is a bit small


2 comments
Mark S.
Thank you for your review Michael, we appreciate the kind words about our product. I just wanted to let you know the reason we use the small sanding block is so the user can get into the tightest areas of the light. We found the smaller block much easier to manipulate that a larger version. We’re glad you liked the product. Your lenses look fantastic!!!!
Michael Sheehan
Hey Mark, I agree that you do need a small set of sandpaper for the smaller areas. I just recommend that for the bigger lens areas, you use something a bit larger to do a more thorough job. All looks great though!