With the age of the Smart Home upon us, I’m going to guess that you have at least a couple of home automation devices already active in your home. And, probably, you decided to follow one particular vendor for most of the integrations, perhaps using a smart hub of some sort. Or, if you are like me, you have a chaotic mixture of smart devices and hubs scattered throughout your home. When I talk about smart devices, I thinking about things like locks, lights, speakers, thermostats, and digital assistants. The thing is, it’s often hard to find a place to have a smart hub or to integrate and control everything together. And that is exactly what Brilliant (smart switch) is trying to solve. Forget the hub, the Brilliant smart switch has it all baked inside. And to use an overused phrase for these guys… “it’s brilliant!” Updated 1/8/19: Apple HomeKit coming in Spring 2019! Updated 7/14/2020: Brilliant is finally on Amazon! (*Disclosure below.)
I recently came across Brilliant at a holiday technology showcase for media. And they were the first company that I spent a long amount of time with at the show. And, I ended up giving them my “Best of Show” award for many good reasons. It’s been about a month since the PepCom show, and I now have two Brilliant switches installed and up and running in my home, one in the kitchen and one in the bathroom. And it now controls or hooks into five of my already existing smart home devices.
Don’t get me wrong, I do like smart hubs. But they aren’t for everyone. An advantage of having a smart hub is that there are many different types of integrations that are handled. And it is nice to have it all controlled in one place instead of having to get to the device’s app individually. But I feel that I’m a bit of an edge case with all of the smart devices in my home. Many people either have a couple of the popular smart devices or are thinking about adding some intelligence to their home. And many people start with smart lighting.
Brilliant looked at many of the smart devices out there and decided to wrap their smart switch and controller around those. And they are adding new integrations on a regular basis. For example, they just added the August lock to the mix. When I was talking to Brilliant at the show, I saw their list of integrations and realized that I had many of the devices they could control already installed in my house.
So for me, installing a Brilliant switch or two was a no-brainer!
What the Brilliant Smart Switch and Controller Can Do
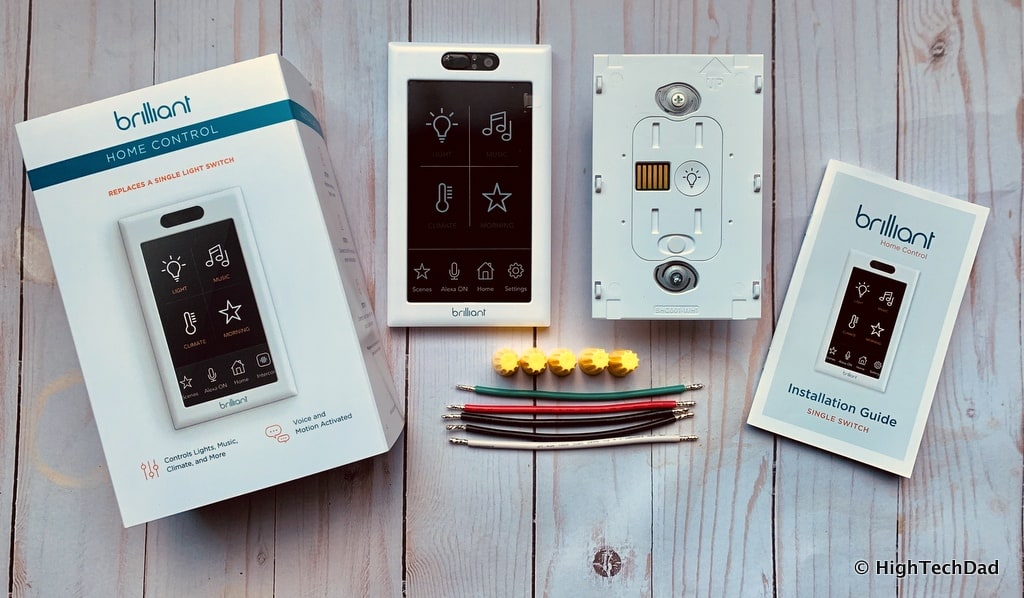
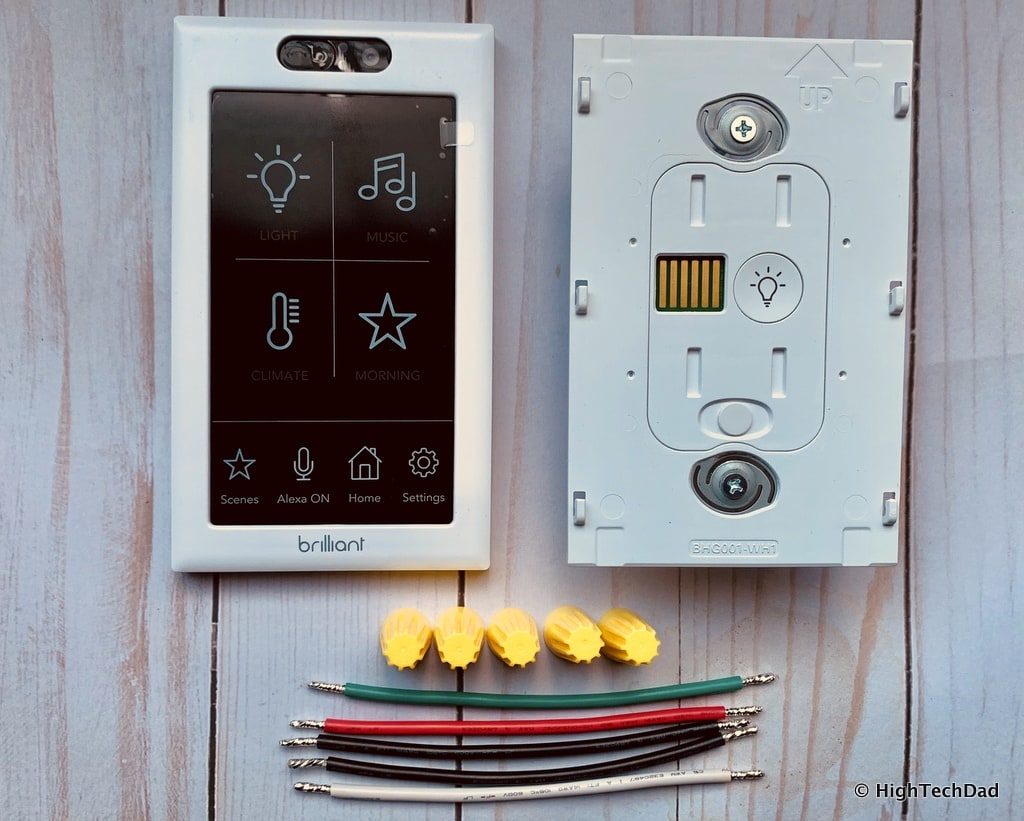
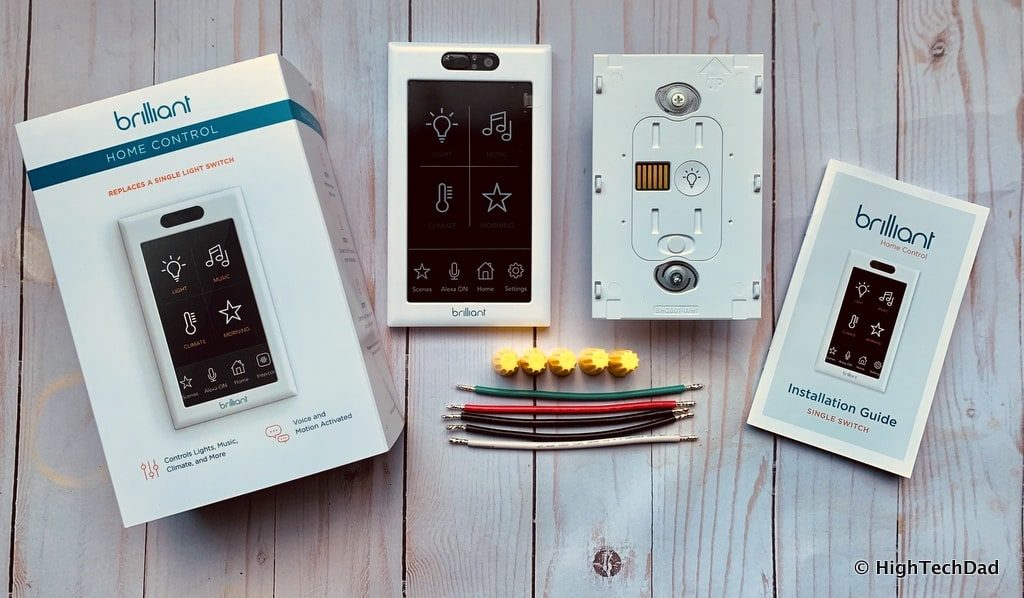
Let’s start with the basics here. Brilliant is, at its most elementary level, a light switch. If you have some lights that are controlled by a switch that you want to make “smart,” you can just install their smart switch into the same “dumb” light switch wiring that you already have. You are just replacing a wall switch. If you have modern wiring that is up-to-code (you have neutral, line, load, and ground wires), you can literally install the Brilliant switch in just a few minutes. More about that later.
But Brilliant is NOT just a smart switch that can control your lights physically or remotely. It obviously can do that, but that is just the beginning.
Remember how I said hubs aren’t for everyone? Well, I lied a bit. Brilliant basically embeds a smart home hub directly within the light switch controller. And, while you can do some interaction on the Brilliant smartphone app, most of the control of 3rd party devices takes place on the switches touchscreen itself.
Yes, the Brilliant switch has a touchscreen, and it’s really beautiful.
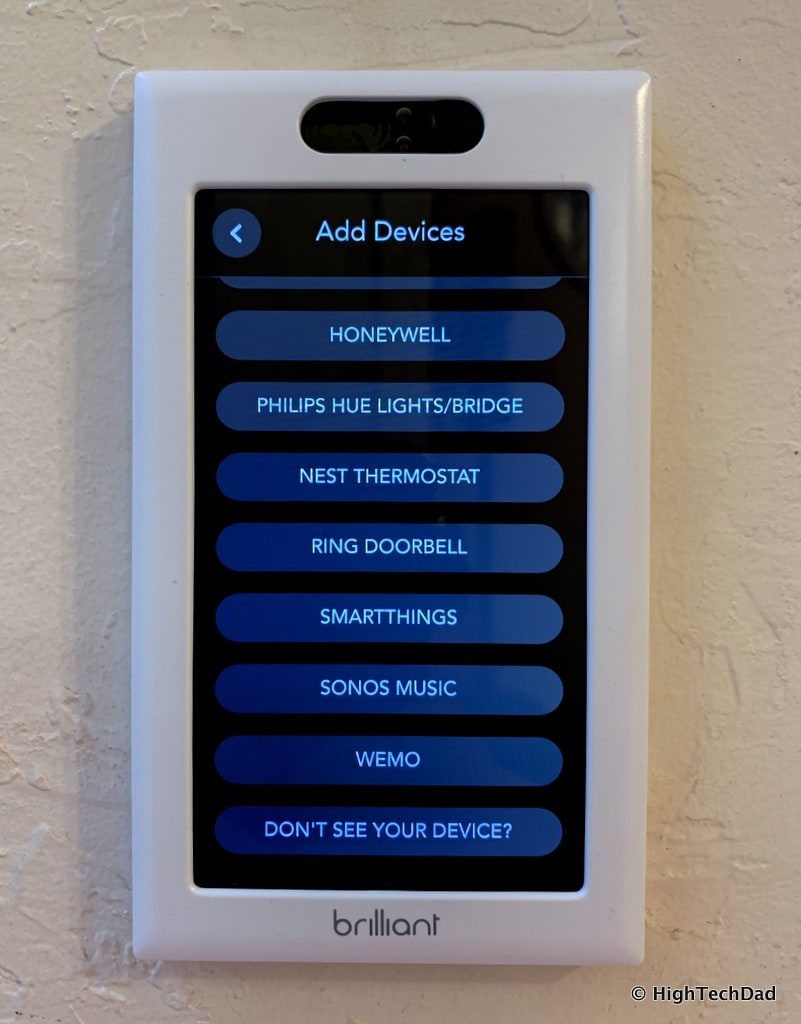
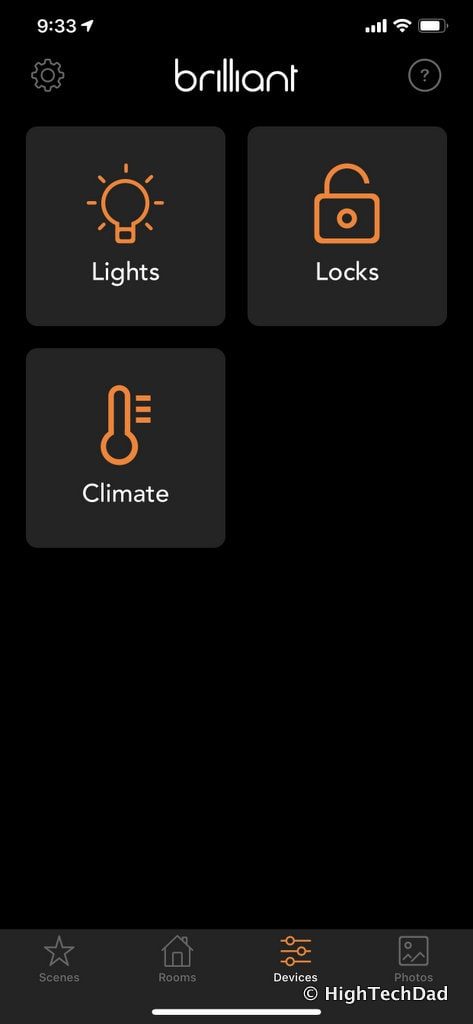
Before I talk about the physical switch itself, let me explain the current integrations that Brilliant supports. (And their list continues to grow!) As of this writing, they can currently control:
- Climate – nest, Honeywell, and ecobee are supported
- Lighting – Wemo and Philips hue are supported (apart from Brilliant’s own lighting control)
- Sound – Sonos is supported
- Security – August Locks and Ring Doorbell are supported
- Smart Assistants – integrate with Amazon Alexa (which is also built-in to the switch) or Google Assistant (Google is coming soon)
- Hubs – Z-Wave or Zigbee products that are connected to a SmartThings hub
Those integration partners are among the top and extremely common. Of that list, I currently have ecobee (thermostat), Sonos (sound), August Locks (security), Ring Doorbell (security), and Amazon (via Skills and Amazon Echo/Dot). With that list, I felt I could pretty much test all of the available integrations.
But there are some other features unique to the Brilliant.
Regardless if you get a Brilliant switch that controls one, two, three, or four switches, each switch comes with a “brilliant” touchscreen display. For my review purposes, I received two, single-switch controls. The LCD touchscreen is 5 inches in diagonal. And, it has a 720×1280 resolution. Think of it almost as if you had a smartphone mounted to your wall. For the switches that have more than one switch controls, to the right of the screen are touch sliders.
All of the switches are WiFi connected using 2.4 GHz 802.11 b/g/n. They also use Bluetooth for the initial setup as well as for connecting Brilliant Controls lights without Wi-Fi.
From an electrical perspective, they are rated at 120V AC 60Hz and can handle 300W incandescent and 150W LED and CFL lighting. They also are dimmable capable. During the setup of the lighting, you will be asked if the lights are flickering at low dim levels and will adjust their dimming capabilities as appropriate.
Built into the front of the Brilliant faceplate is a motion detector. This is a great feature to have as you can control if you want the faceplate to light up when you come into a room and then shut off when there is no activity. This helps with energy-savings. Also, a recent update now lets you control the lights of the connected room based on the motion. So, for example, if your kids tend to leave the lights on after they leave a room, you can programmatically have the lights of that room turn off if no motion is detected. Yay!
Lastly, there is a camera and microphone built into the faceplate. There is a physical camera privacy shutter if you want to block the outgoing video. (We actually have the video blocked in our bathroom for obvious reasons.) You use the mic/camera to do voice/video calls between two Brilliant switches. It acts sort of like a walkie-talkie as you have to press a soft button to enable the voice communication.
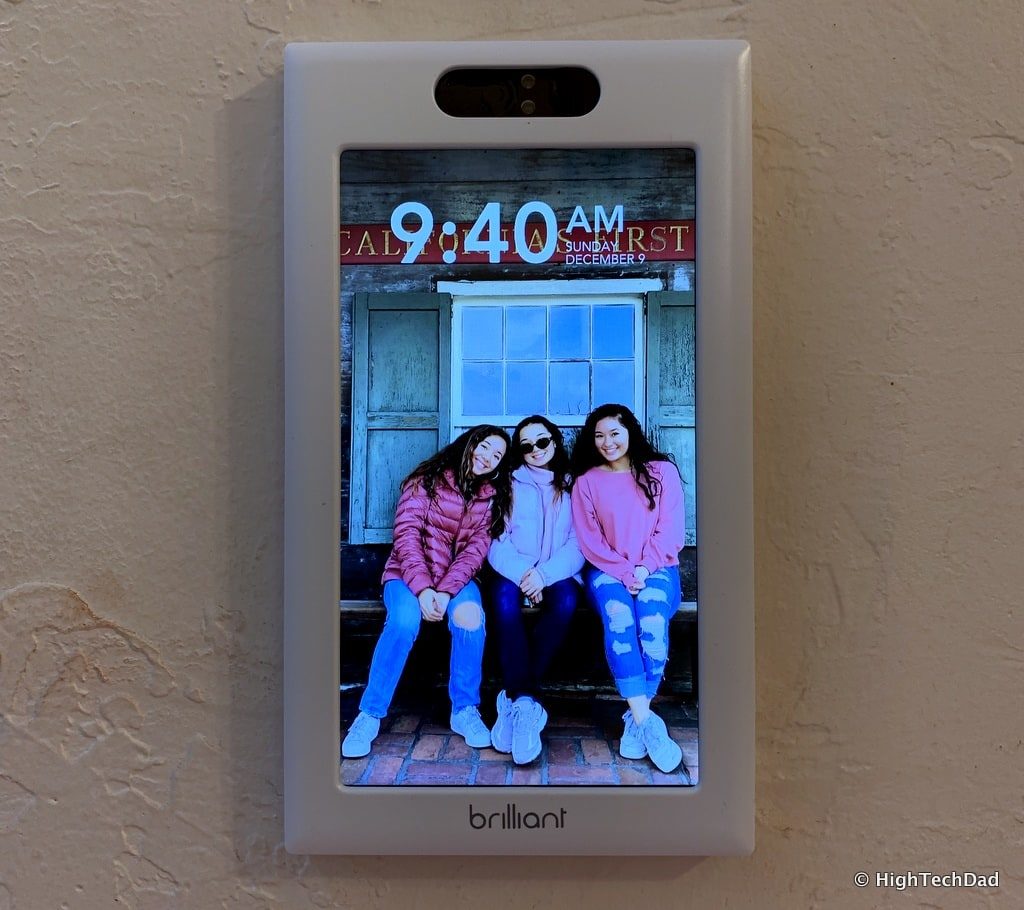
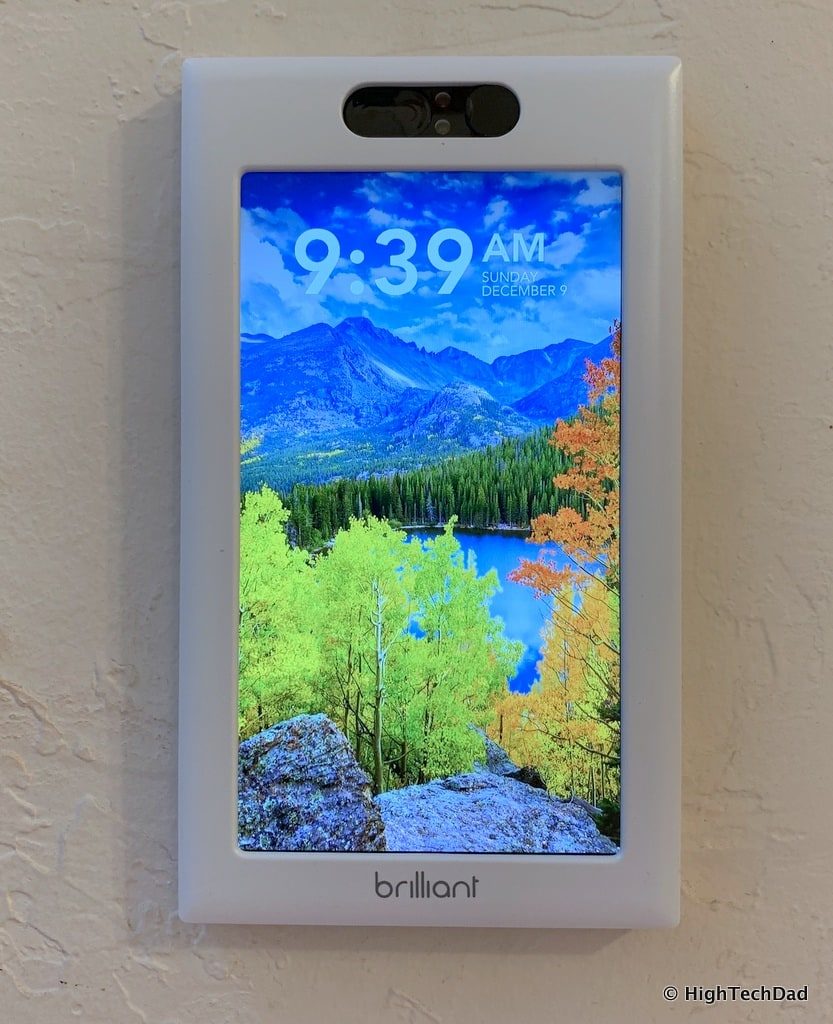
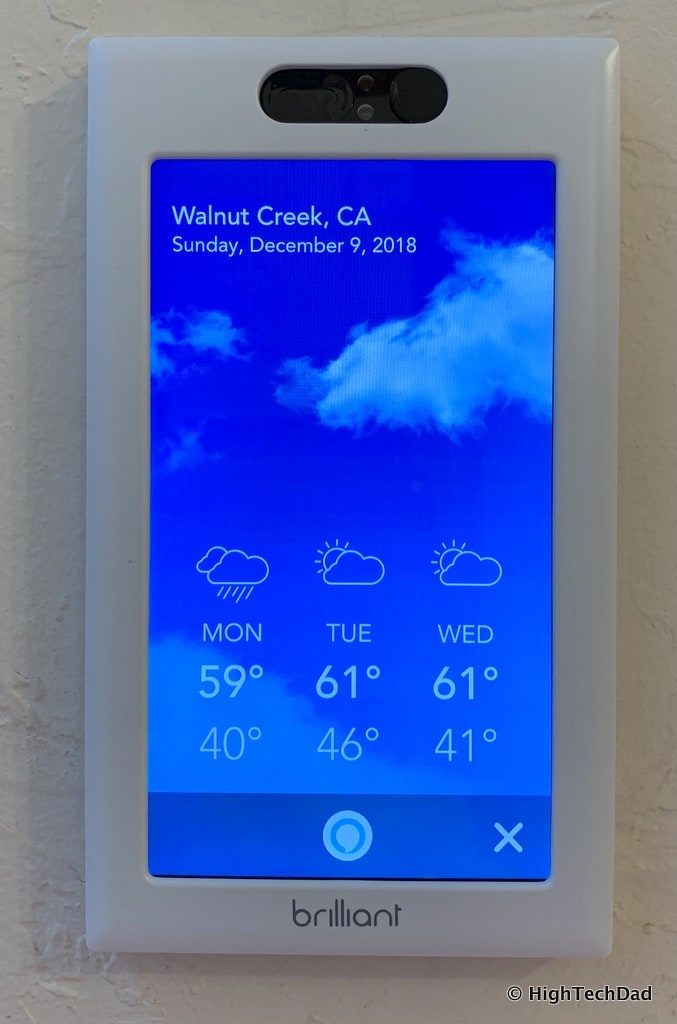
And the touchscreen is customizable. You can use some of the beautiful stock photos that come with the switch, or you can upload your own photos to appear on the faceplate using the smartphone app (iOS or Android).
Let’s look at the install and setup process briefly.
Installing & Setting Up the Brilliant Switch
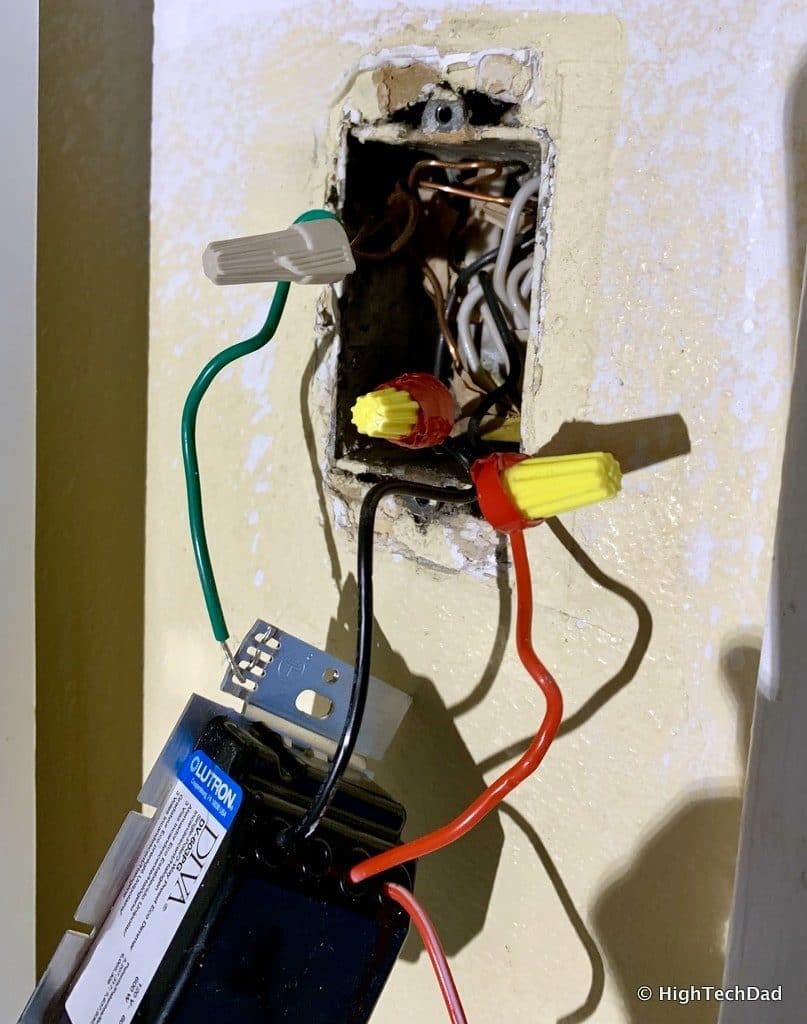
There are two parts to the install and setup process, the physical installation and then configuring your Brilliant switch. (I guess I’m stating the obvious here.) I have installed many light switches in my days of homeownership, some of them smart and some dumb. The premise is the same, you turn off the power at the circuit breaker, you properly connect the wires, you screw the faceplate back on, and you turn the power on (and hope there aren’t any sparks flying).
I cannot emphasize this more. While installing the Brilliant switch is very well documented and straightforward, IF your wiring is old(er), OR, you aren’t comfortable doing the electrical work yourself, DO get a professional to help do it (or at least someone who has some electrical knowledge). AND, be sure you cut the power to the switch you are working on!
Our house was recently completely rewired for electrical, so I knew that the wiring was done correctly. (But, we haven’t gotten around to repainting our home so you probably can see some of the unpainted plaster and patchwork in some of the photos – ugh.)
I had the easiest of installs. Both of my switches were single-gang switching, meaning, they only controlled one set of lights. And both were 1-way switches, meaning there wasn’t another switch somewhere else that controlled the same set of lights. As I said, Brilliant can handle up to a 4-gang switch (meaning 4 sets of lights). Brilliant does support multi-way switches. Just be sure you carefully review their great documentation.
Also as I mentioned, you need to be sure you have the proper wiring: ground, neutral, line, and load. It is really helpful to take a photo of your current switch wiring once you remove it from the wall. If you don’t have that wiring, you might not be able to install the Brilliant switch.
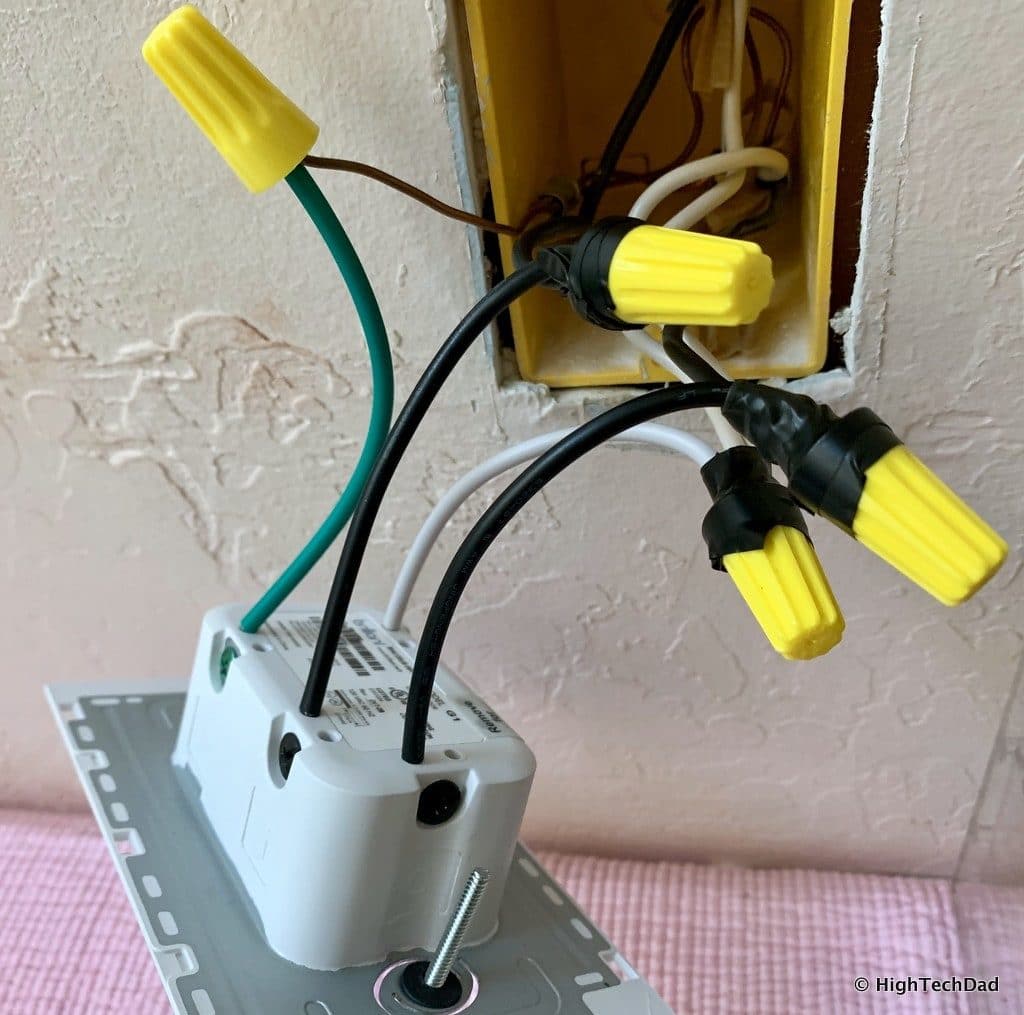
With the power off (have I said that enough?), just disconnect your old switch and then attach the Brilliant switch in the same way. The documentation is your savior here. It’s very clear based on the type of install that you are doing.
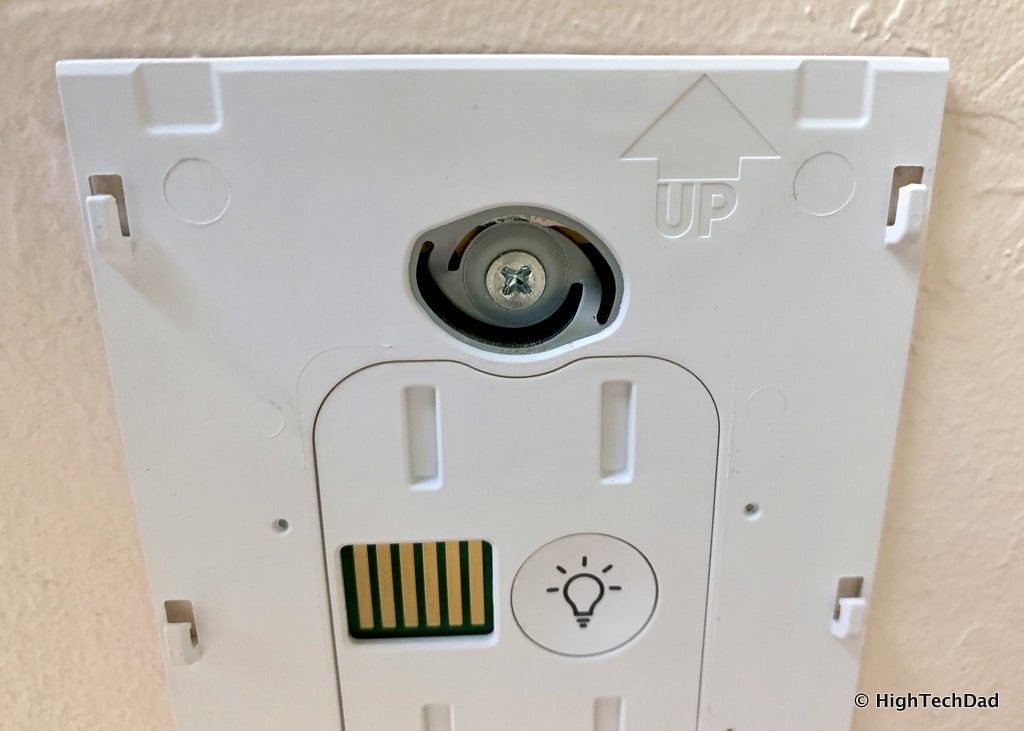
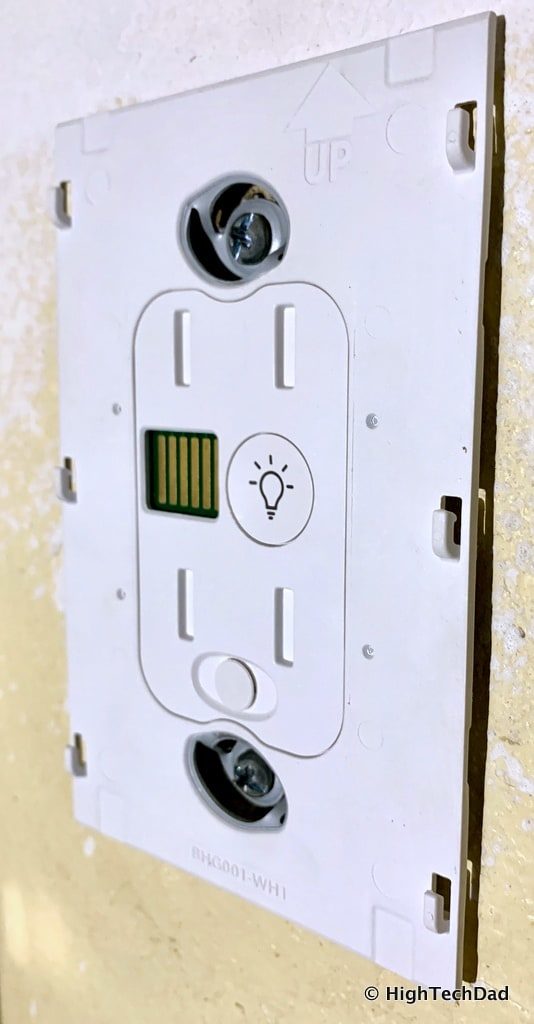
A quick note here. When you are screwing in the Brilliant faceplate into the wall housing, there is an innovative screw holder that will sink into the wall to tighten up the connection. I didn’t realize this at first, but as I kept screwing in the wall, the screw holders started bending into the wall’s switch box. This is by design. Just keep tightening up things until you can’t screw it in further.
Another quick note. I did use electrical tape to secure the wire nut further. This is important particularly when you are trying to shove all of the wires back into the switch box. Connections can come loose, and wires could cross during this process. The electrical tape can help prevent that.
Once you get the Brilliant switch screwed in, you can turn the power back on. And you need to test the light before you snap on the faceplate. There is a physical button that you press. If the lights go on and off when you have the power back on, you can then attach the Brilliant faceplate and go through the rest of the setup process.
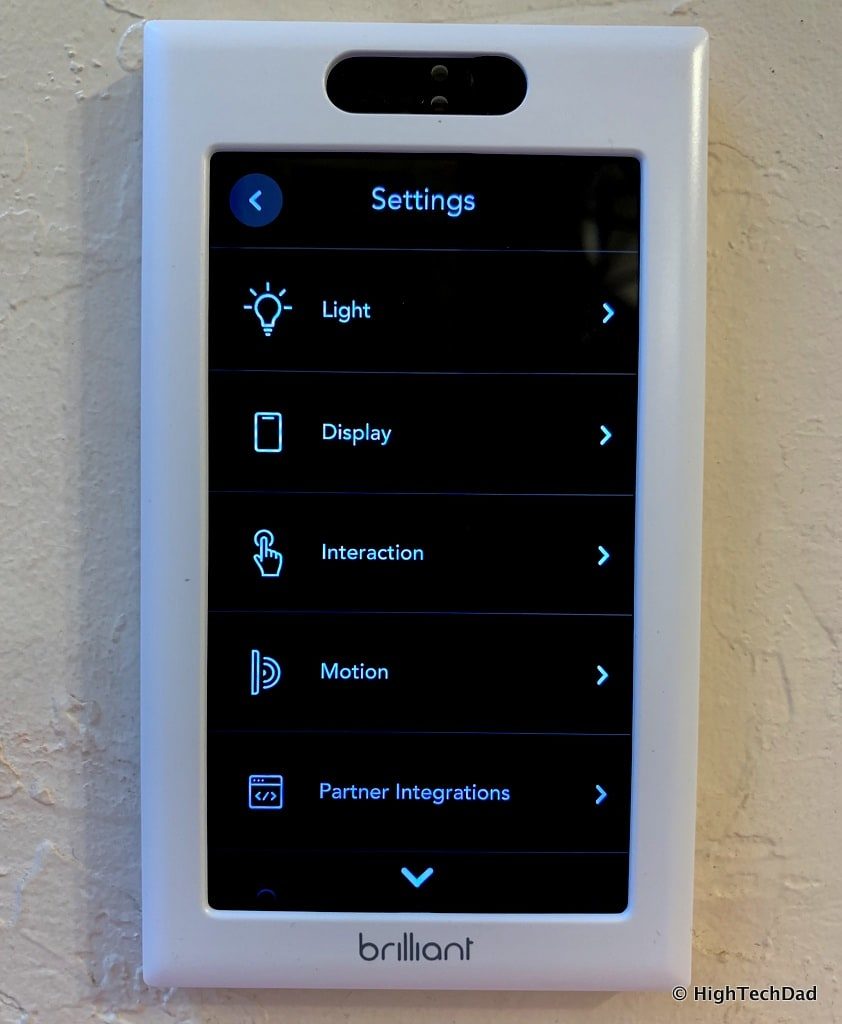
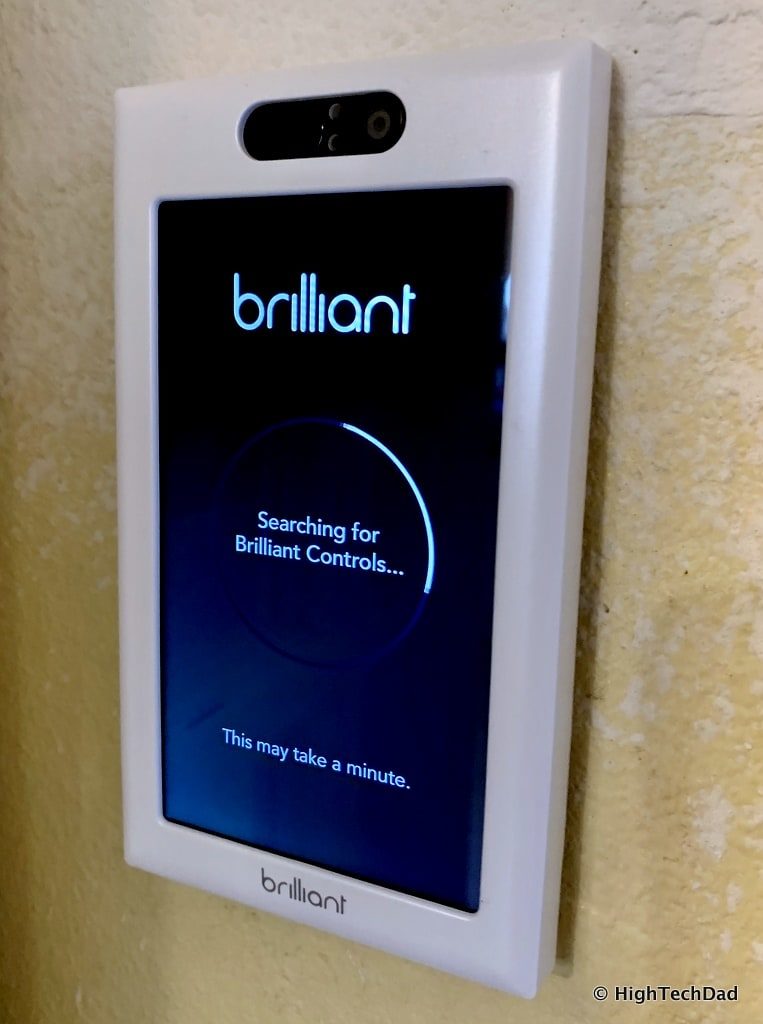
Now the fun begins, doing the setup and configuration of the Brilliant switch. A lot of this setup depends on your environment, what type of switches you have, how many switches, what type of integrations you will do, etc. While I will talk about my setup and integrations briefly, yours will be different most likely.
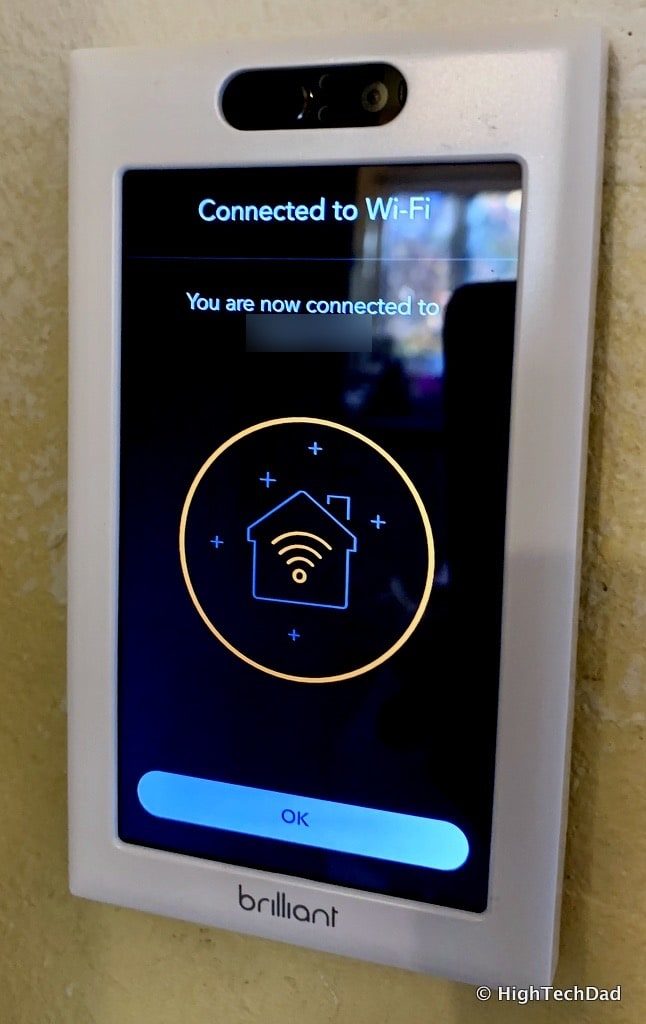
One thing that I have mixed feelings about but that actually makes some sense to me is that most of the setup is done on the face panel itself. While I would have loved to use the Brilliant smartphone app for all configurations (it’s a heck of a lot easier to type in information on my smartphone than it is to enter it on the faceplate), I do understand why most of the configuration must be physically on your Brilliant switch. The switch needs to ensure that it can connect to the lights (obviously they are physically wired in) as well as your WiFi from the location that the switch is.
There is some Bluetooth connectivity between the switch and your smartphone during the setup process, but again, most of the setup is on the switch itself. Think of it this way, the smartphone app is more used for controlling, and the switch is used for setup AND controlling.
The Brilliant switch will search for other Controllers on your network. If it finds other ones, they will be integrated in (after an authentication process).
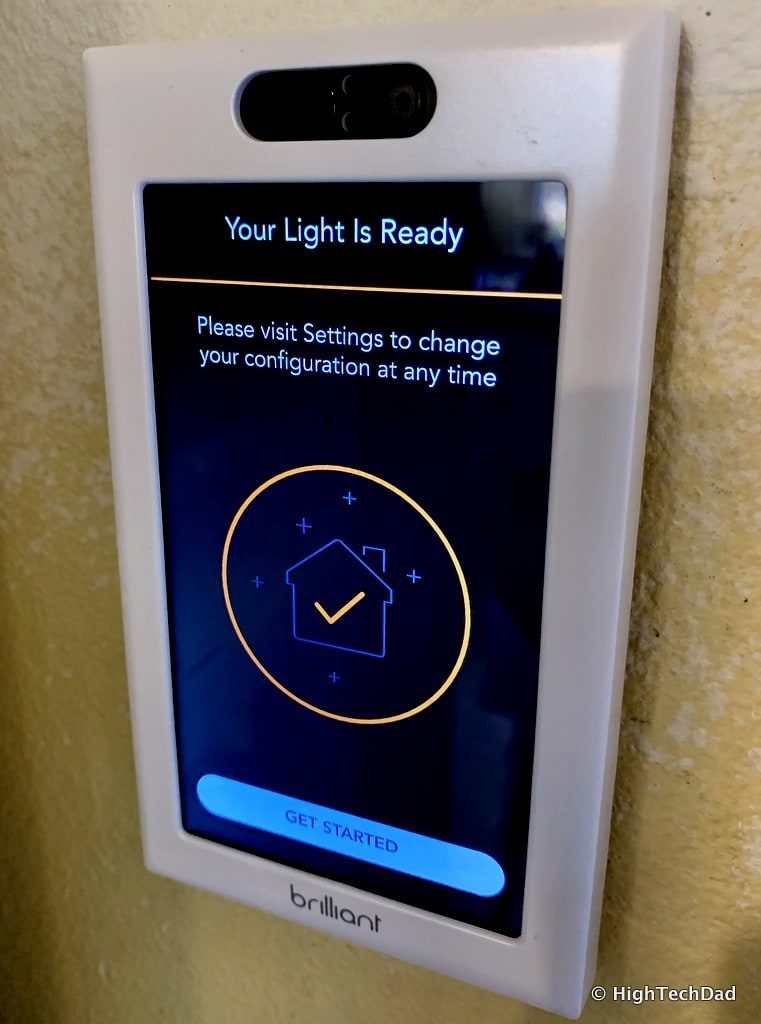
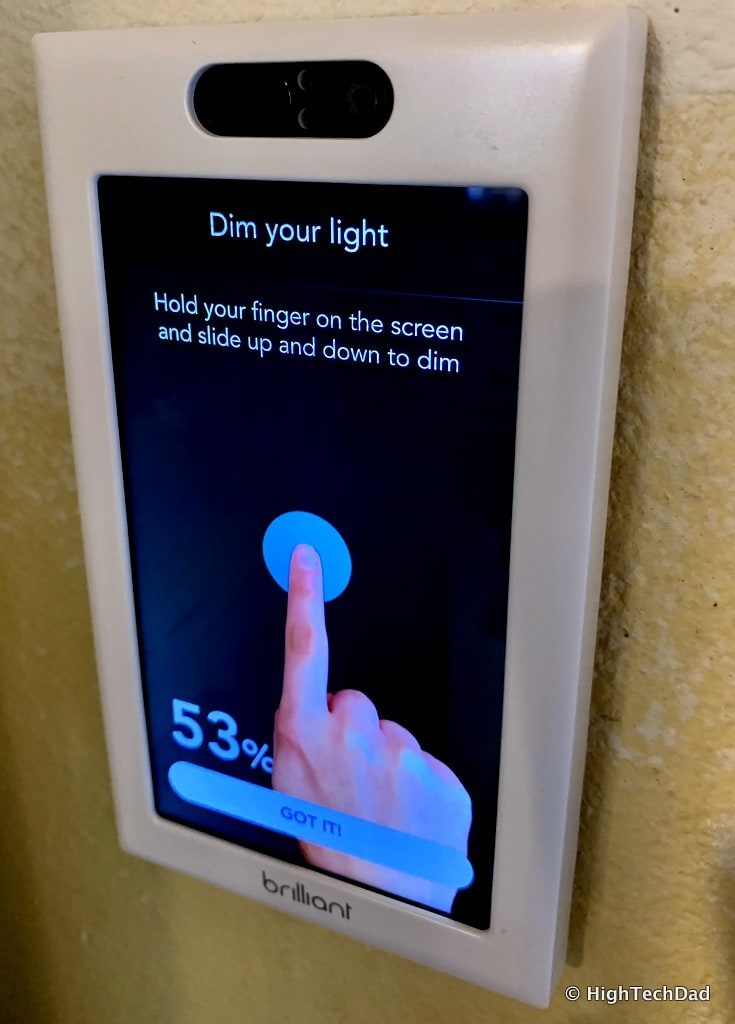
Once you go through all of the setup and integrations, you are good to go! Initially, you will also get some on-screen videos to teach you how to use the switch.
Whew. I guess that if you made it this far into this review, you must be really interested in the Brilliant Switch! Let’s briefly take a look at some of my integrations.
Using the Brilliant Switch (Built-in & Integrated Tech)
The brilliance of the Brilliant switch comes with the integrations it has. I can only talk to the ones that I personally can test, but if other integrations are as seamless as mine, I’m sure they are equally solid.
But before I do that, I should talk about a few more of the Brilliant-specific functions.
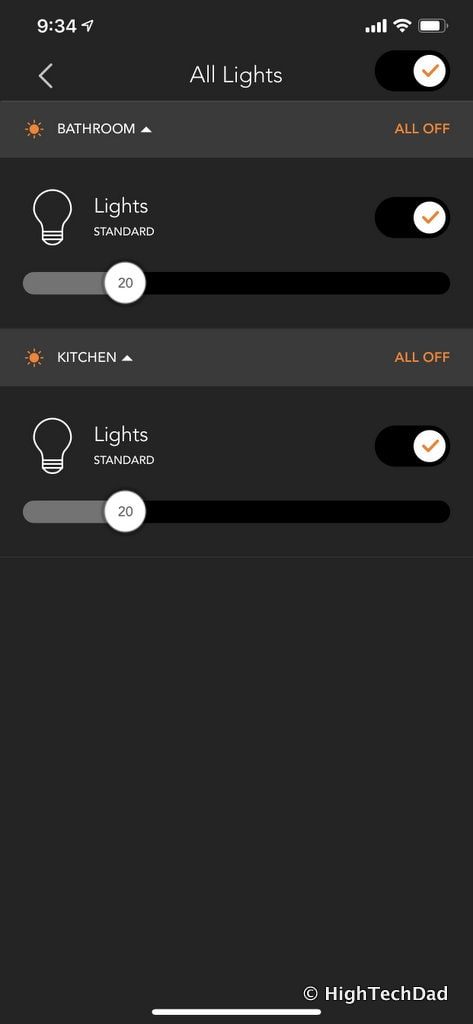
Light turning on/off and dimming is easy. Flick (or slide) your finger up on the screen to turn your lights on. Do the same but downward and you turn the lights off. To dim, press and hold your finger and slide it up or down to do the dimming. And you can use the smartphone app to control the dimming and on/off functions remotely. There are also controls built into the switch controller as well.
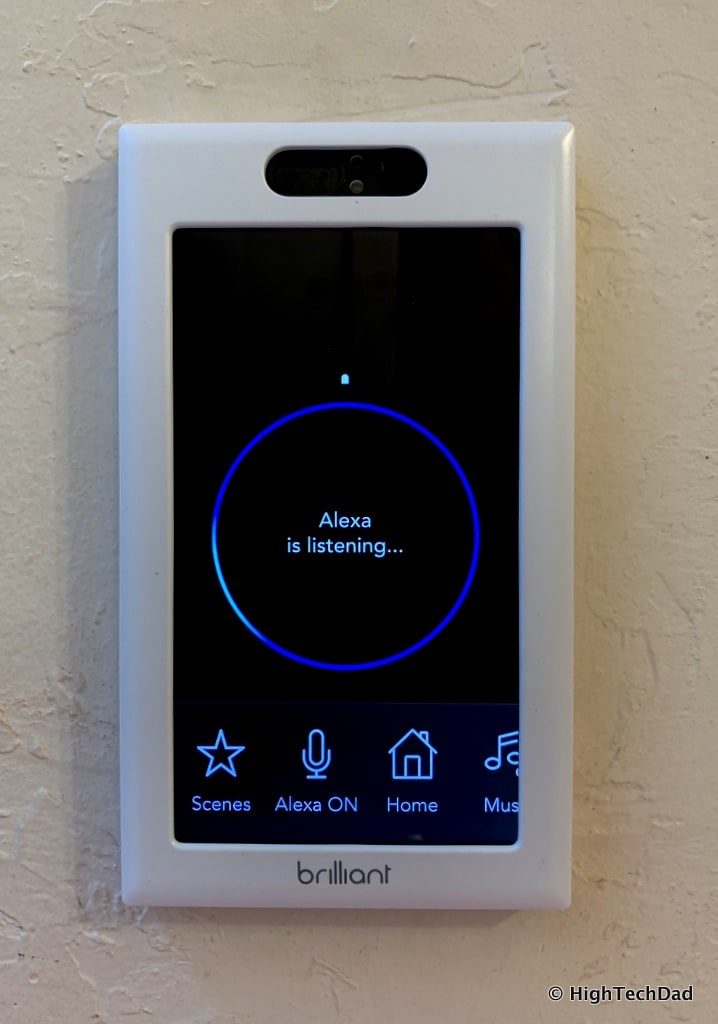
Oh, and you can use Amazon Alexa to turn on or off your switch as well as control dimming. And, Alexa is built into the switch itself. So if you don’t already have an Echo or Alexa device, you can do most Alexa skills and items using the Brilliant switch itself.
The mic on the Brilliant switch is really, really strong. We have an Alexa-enabled speaker in our bedroom, and often, when we issued Alexa commands, it was actually the Brilliant switch in our master bathroom that picked up the command. So much so, that I actually disabled the Alexa in the bathroom Brilliant switch. You can do that right on the screen of the switch. Our Brilliant switch in the kitchen, however, still has Alexa turned on. And we can control anything Alexa currently controls from there.
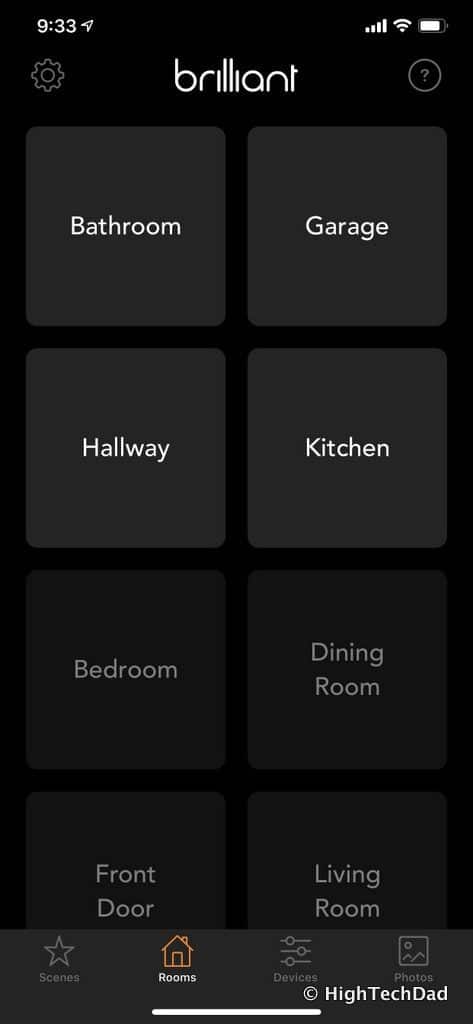
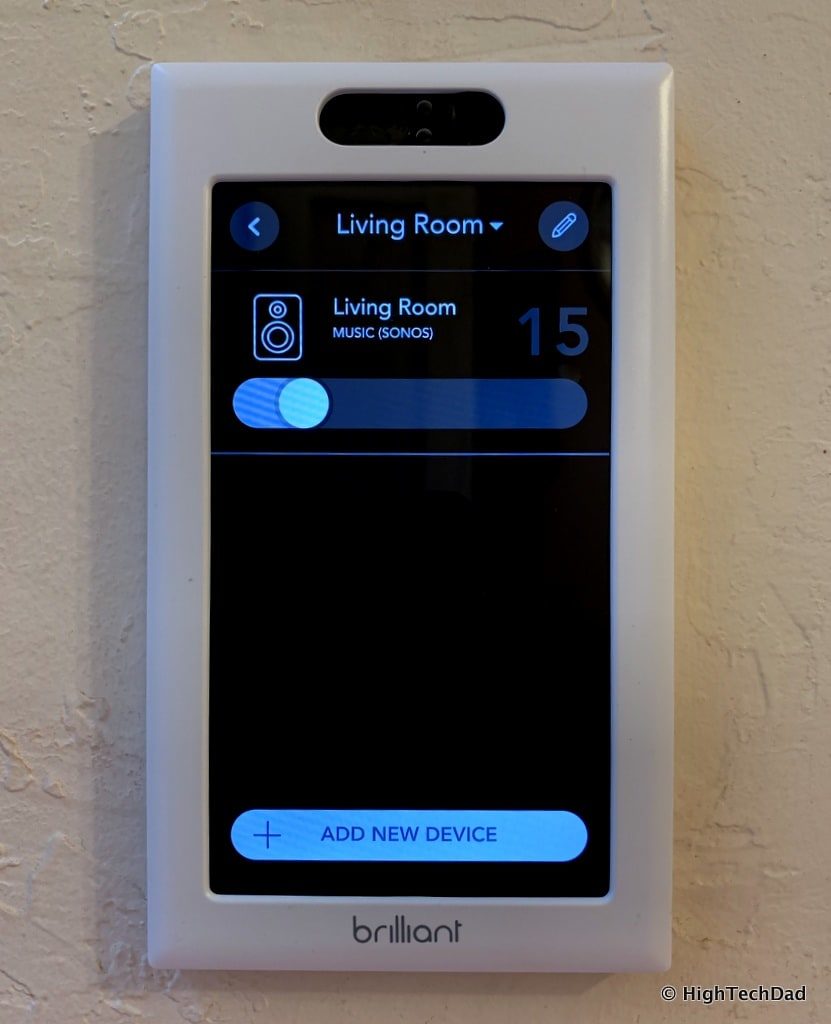
When you configure devices (or lights) on the switch, you assign them to rooms. The Brilliant comes with some already named rooms, but then you can add other ones as you add your devices. (I haven’t figured out how to delete un-used rooms yet but I’m probably just missing something.) So, from the wall plate, you can tape on Home and then see the room you want and tap on that. Then, any devices you have assigned to that room, you can control. You can do this from the smartphone app as well.
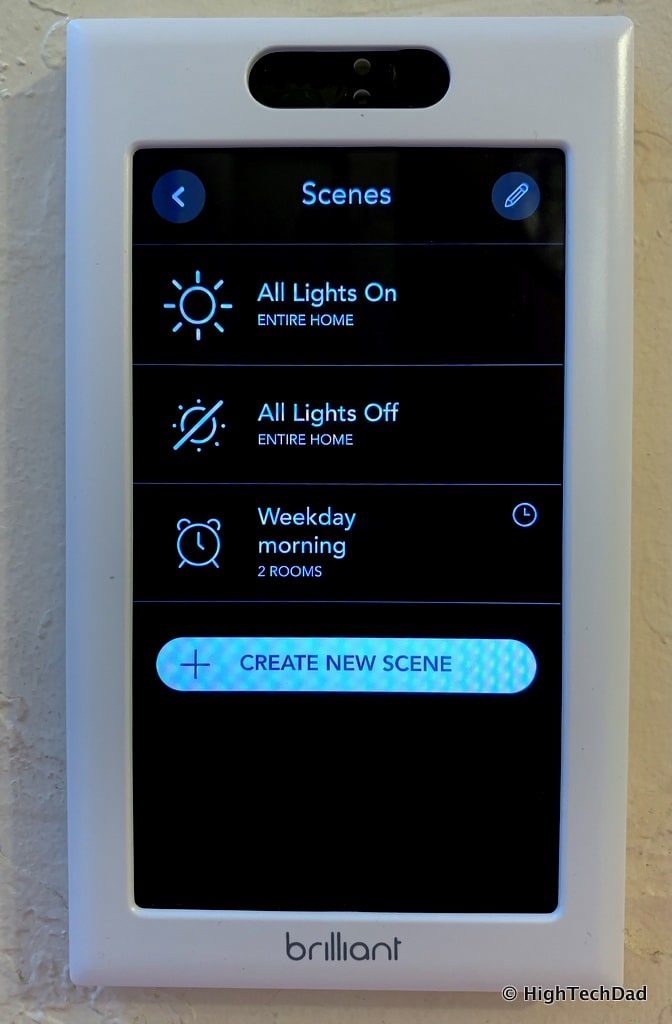
Another nice feature is the ability to set up Scenes. Scenes control various items and assign them a timing. For example, I have my Weekday Morning scene set up to turn on the lights in our Kitchen and Master Bathroom at 50% dimmed at a certain time. You can, for example, as a nighttime scene, have all of your lights go off and your front door lock. You can change the image on the Brilliant screen as well.
I think it would be really great to have Alexa show the weather forecast on the screen, but I don’t think I can do that (yet). Note: when you ask for the weather using Alexa, it DOES show on the screen briefly!
One of the main reasons I wanted to have two Brilliant switches was to test out the video and voice intercom system. We don’t have a large home, and most of the time, our “intercom” is just my family yelling out from room to room. We are kind of a noisy household. But now, we can do video (or audio) chats from the kitchen to our master bathroom. The video quality is decent enough. It’s not high-def and does have to negotiate through our various WiFi networks. But it works fine. And, as I mentioned earlier, you do have to use the “push to talk” button to actually communicate with voice. If you have multiple Brilliant Switches around the house, you can also broadcast via voice to all of them (e.g., “Dinner is ready!”).
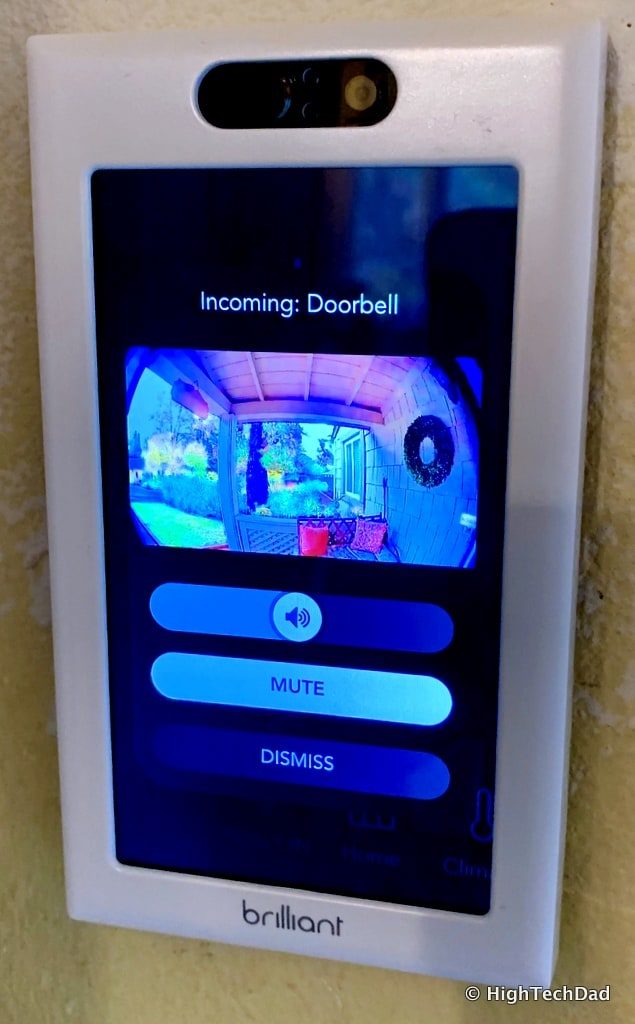
Since I’m talking about video here, another great 3rd party integration is that with the Ring Doorbell. Once you integrate Ring with Brilliant (you need to authenticate and give Brilliant permission to access Ring), you can then answer Ring doorbell rings and see who is at the door and chat with them right from the Brilliant screen. This is one of the main reasons why we wanted a Brilliant switch in our bathroom as it is on the other side of the house. For the most part, this works pretty well. The video and audio are, at times, a bit laggy or stutters, but that is understandable since both devices are streaming video via WiFi to and through various services. It’s pretty close to equivalent to using a smartphone. I do have a Ring Floodlight, but there is no integration on that (yet). That would be awesome!
And while I’m on the topic of security, I recently installed an August lock on my garage door (I will be reviewing August separately). Again, after integrating the two services together, I can now lock or unlock my August lock via either the Brilliant switch or via the smartphone app. And I can see the status of the lock from either device. You can also integrate the lock with a Scene as I mentioned before.
Another nice integration is that of thermostats. Brilliant supports 3 of them, and I use ecobee for my home. The integration and authentication process is just like the other services. And once you assign the ecobee to a room, you can then control it via the Brilliant screen. You can set temperatures, see what the temp is, and turn your HVAC on or off directly from the screen (or smartphone app).
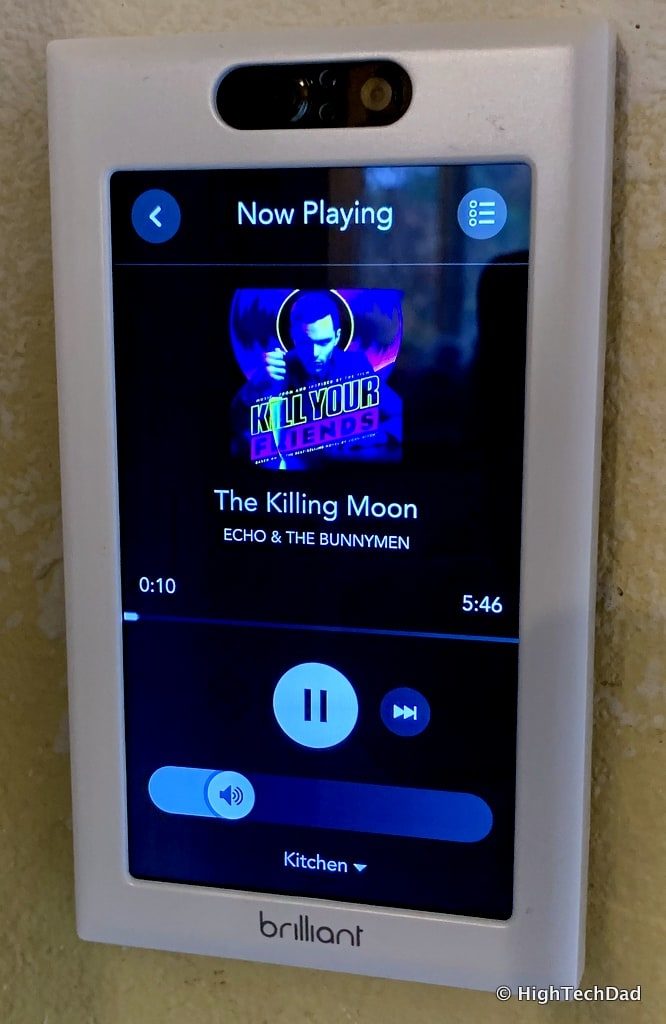
Last but not least of my integrations is that of Sonos. You assign Sonos speakers to particular rooms (I couldn’t figure out how to do grouped speakers the way you can in the Sonos app), and then you can choose, play, and pause music directly from the Brilliant touchscreen. A big note here, you can only play items that you have stored as “Favorites” on your Sonos app first, otherwise, they will not show on Brilliant.
And a neat thing about this functionality, if album art is available (e.g., you are streaming from Pandora via Sonos), the album art will display on the Brilliant screen. So be sure if you use this functionality, have your Sonos favorites already set up. (You can add to favorites later, of course.)
I know that more integrations are coming, and Brilliant continues to push out new functionality to the app as well as to the wall switch panel.
It’s Brilliant, Right?
I do hope that this review of the Brilliant smart switch shed some light on what a great device this is. It doesn’t need a hub to work mainly because it has a hub built inside. When you couple the connectivity and integrations with the power of a colorful touchscreen, you can see why I would recommend this device to people who already have some smart home devices as well as to people who are thinking about making their home smart for the first time. It’s a great stepping stone for newbies and a nice way for more seasoned home automation folks to get further integration with existing smart devices.
There are currently four versions of the Brilliant switch available:
- One Switch Control – $299 (now on Amazon for – $299)
- Two Switch Control – $349 (on Amazon – $349)
- Three Switch Control – $399 (on Amazon – $399)
- Four Switch Control – $449 (on Amazon – $449)
Update 7/20/2020: Yes, Brilliant has finally made it onto the Amazon store. Pricing is the same (but perhaps in the coming months, things will drop). Regardless, still really loving this integrated solution from Brilliant, even after 1.5 years! They keep adding features.
Shop on HighTechDad
The product shown below (and related products that have been reviewed on HighTechDad) is available within the HighTechDad Shop. This review has all of the details about this particular product and you can order it directly by clicking on the Buy button or clicking on the image/title to view more. Be sure to review other products available in the HighTechDad Shop.
While not inexpensive, a simple smart switch typically is around $75+, and a smart hub runs you at least $100+. With the Brilliant smart switch, you get a built-in hub and integrations as well as a lot of other great functions. If you are starting out with your smart home, Brilliant should be on your list of items to evaluate. With an easy install and lots of functionality, Brilliant will continue to make your home smarter and smarter over the years to come.
Update 1/8/19: At CES 2019, Brilliant has announced that existing and new Brilliant customers will get a free, automatic, over-the-air firmware update to enable support for Apple HomeKit. Using Apple HomeKit, users will be able to configure scenes, enable Brilliant lighting controls via HomeKit, and connect other Brilliant-controlled devices within HomeKit. This is a great update, in my opinion!
Disclosure: I have a material connection because I received a sample of a product for consideration in preparing to review the product and write this content. I was/am not expected to return this item after my review period. All opinions within this article are my own and are typically not subject to editorial review from any 3rd party. Also, some of the links in the post above may be “affiliate” or “advertising” links. These may be automatically created or placed by me manually. This means if you click on the link and purchase the item (sometimes but not necessarily the product or service being reviewed), I will receive a small affiliate or advertising commission. More information can be found on my About page.
HTD says: Whether you are creating a smart home for the first time or enhancing your existing smart home, the Brilliant Control smart switch integrates with leading smart devices, provides remote control to lighting and more, and has an elegant touch screen display to bring your wall switch to life…in a brilliant way!
HighTechDad Ratings
-
Ease-of-Use
-
Family-Friendly
-
Price Point
-
Features
Summary
Whether you are creating a smart home for the first time or enhancing your existing smart home, the Brilliant Control smart switch integrates with leading smart devices, provides remote control to lighting and more, and has an elegant touch screen display to bring your wall switch to life…in a brilliant way! If you know how to safely wire a light switch, you can easily install the Brilliant smart switch. And, if you have any of their integrated partner products, you can control them from the 5″ touch screen. Configuration is easy via the Brilliant touchscreen, and usage is equally as easy. Install two or more Brilliant switches and you have room-to-room video conferencing as well. Brilliant integrates a smart hub into its design, and all of that fits into a traditional wall switch box. It’s an easy way to make your home smart and integrate other devices into a single controller.
Pros
- 5″ Touchscreen Display
- Integrations with leading smart devices
- Easy to install and configure
- Elegant way to control your smart home
Cons
- Alexa mic is super-sensitive
- No Ring Floodlight integration (only Doorbell)
- Video stutters a bit (perhaps due to connection)
