I have to admit, Halloween is one of my favorite holidays. I absolutely love putting up decorations and trying to scare the trick or treaters of all ages that are daring enough to come to our front door. Each year I try a different theme using whatever props or inspiration I find in my many boxes of decorations. Last year, it was all about scary clowns, and I have to admit, many little kids were a bit traumatized…sorry little ones (and your parents). This year, I’m reducing the number of physical decorations and instead relying on digital effects, all thanks to some incredible props and digital videos from AtmosFX. This article is a How-to of sorts, as I outline the process for easily setting up a scary environment. (*Disclosure below.)
Also, this year I’m going to make sure that my wife buys candy that I really like because I’m going to guess (hope?) that kids will be just a bit too scared to make their way up to our house. More leftover candy for me, right? But seriously, Halloween can be great for all ages. I remember dressing my girls as ladybugs or princesses and parading around the neighborhood with them. Now they are teens and tend to fly the coop to other neighborhoods. What that means is that I can stick around my home and hand out candy to the kids who come by…and scare them in the process.
AtmosFX has been producing all types of digital decorations, not just for Halloween. They do Thanksgiving, Christmas, New Year’s, and other digital decorations for the entire year. But when they reached out to me to ask if I wanted to write about them for Halloween, I could hit the Reply button faster! They also have gear you can purchase. Things like hidden Bluetooth speakers, projectors, materials to project their scary videos on, and more. But they are more famous for their digital decorations.
I think the hardest part of setting up decoration is deciding on a theme. Yes, last year for me was easy. We had pictures and props of clowns everywhere.
I did take off the mask for the little trick or treaters. I’m not THAT evil.
Halloween 2018 – Scary Digital Projections
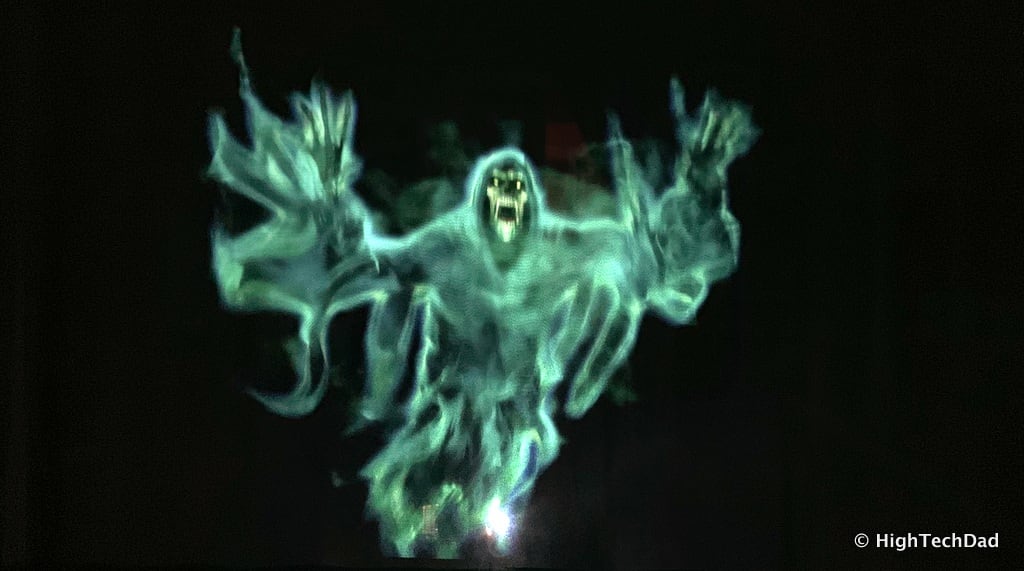
This year, however, I’m doing something more like what you might see at Disneyland. My home has a large front window that is easily seen from the street. So, it’s the perfect environment to do a digital projection of some handpicked AtmosFX movies. There are many to choose from. And on their site, you can get previews of each of the digital decorations. I elected to pick some that were a bit more on the “scary” side. Specifically:
You can get each of these effects as either DVDs, SD Card, or digital downloads (some might not be available in all formats). And the pricing ranges anywhere from about $10 to $40 depending on the video and the format.
I decided I wanted to have digital downloads because I wanted to create a longer movie that mixed the different themes. Each video comes in a variety of display formats. There are some for projecting on a wall while others are better shown on a sheer curtain, doorway, or window. Also, with many of the movies, you can choose if you want a horizontal or vertical treatment. And you can download individual movies instead of an entire set.
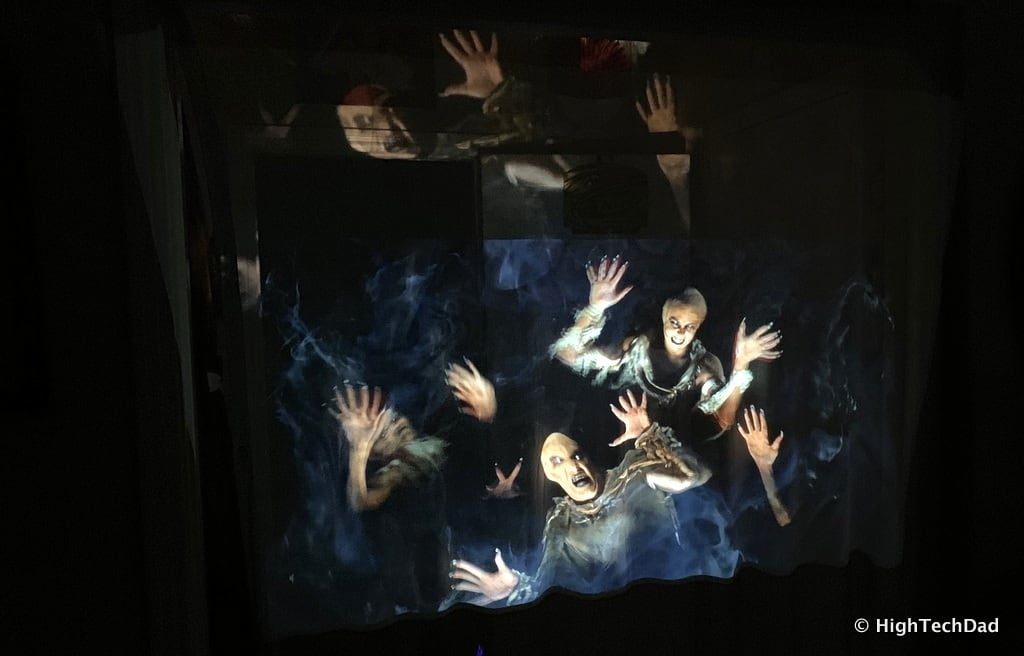
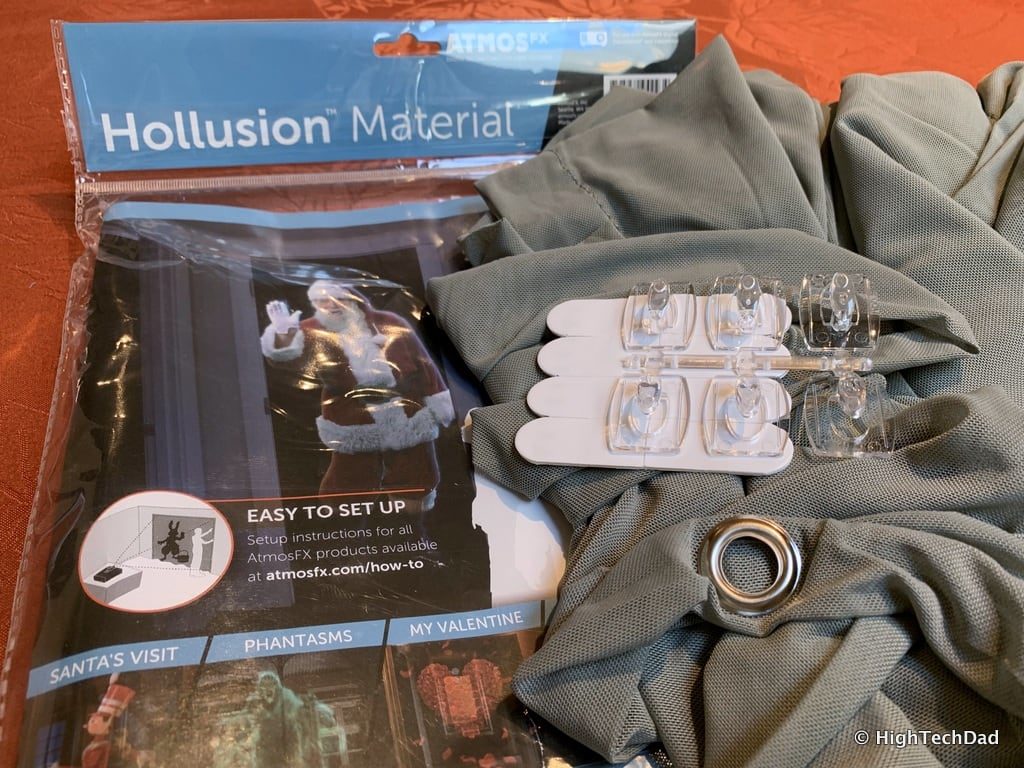
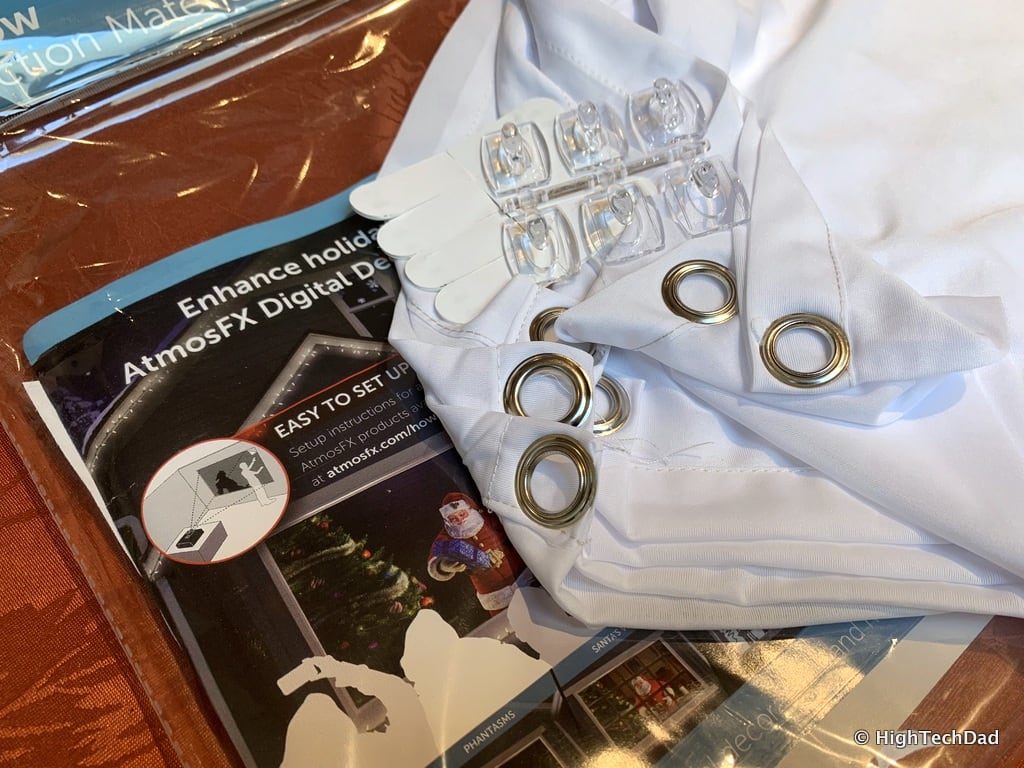
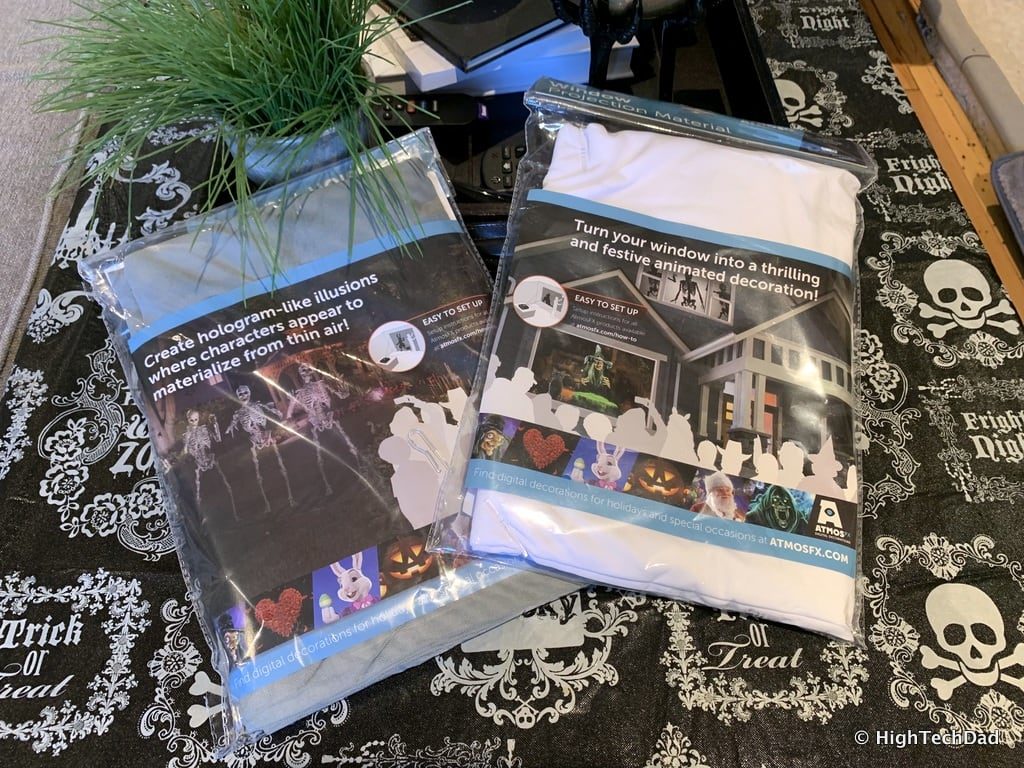
There is also a format called Hollusion. The Hollusion effect is a bit different than projecting on a wall or window. Using a special type of transparent fabric, the effects seem to float in mid-air. AtmosFX sells the fabric, which comes complete with ringlets (grommets) for hooks or rope to help hang it. The color of the fabric is slightly off-grey so that it melts into the background, making it virtually invisible.
To test everything out before actually setting up my Halloween decorations, I hung the Hollusion Projection Material in my house. All of the photos you see in this How-To article is using that material.
I plan on using the sheer curtain I have in our front window. If you don’t already have a sheer curtain over your window, you can also use AtmosFX’s Window Projection Material as the screen for your projections. This curtain also has the grommets and self-adhesive hooks for easy hanging.
Let’s take a look at how I set up my scary Halloween environment.
How To Set Up a Scary Digital Projection Decoration
Setting up Halloween decorations is very personal. No decoration is the same because the environments, styles, and preference differ from house to house and person to person. Some homes may not have a big window to project on and may have to use walls or other types of displays. Other homes might have lots of different scene environments available. You basically make use of whatever you have available.
For my initial testing, I wanted to create something that was easy and quick to set up as well as portable so that I could potentially put in different locations. Here are the materials and gadgets I used:
- Multiple digital decoration downloads from AtmosFX (not DVD)
- Sheer or semi-sheer curtain (I used regular sheer curtain as well as the Hollusion material)
- Projector – I used a BenQ TH671ST because it had high lumens (3000) and was 1080p
- iMovie – used to create the longer movie, you can also use Windows Movie Maker or a similar movie editing software
- iPad – this is where I stored the final movie. You could also use a laptop or other source.
- Lightning Digital AV Adapter – Has an HDMI port to connect to projector
- 3.5mm audio cable – to connect the projector to a speaker
- Speaker – I used a JBL Boombox because I wanted something that was battery powered, had good bass, and was LOUD
- Extension cords
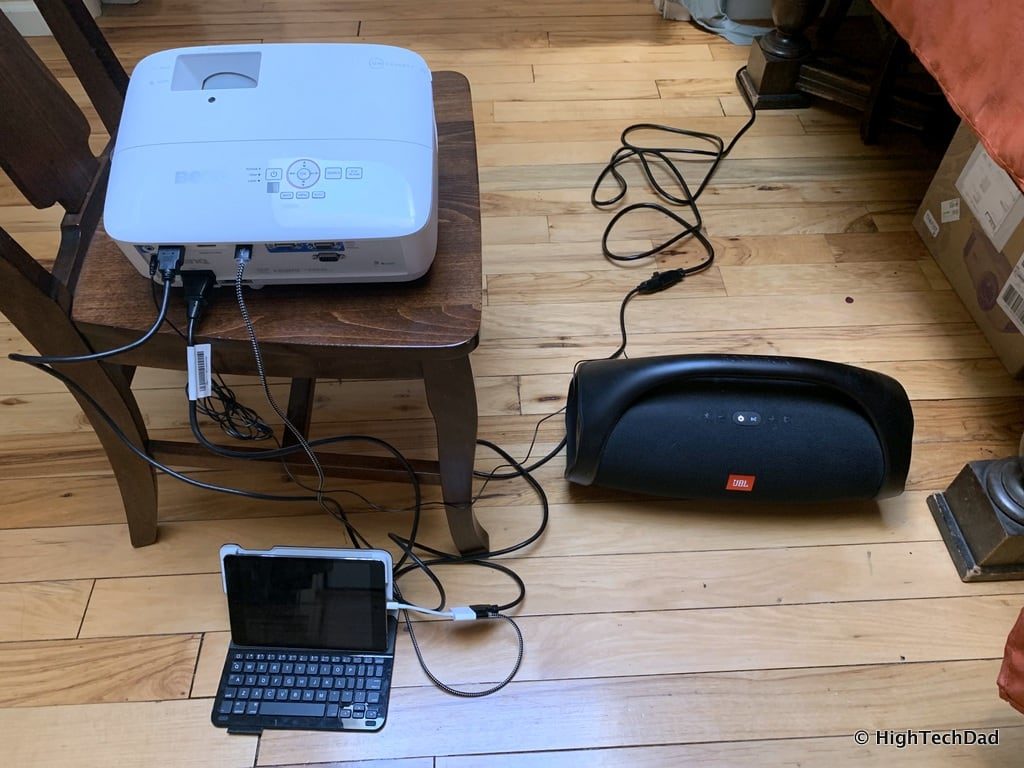
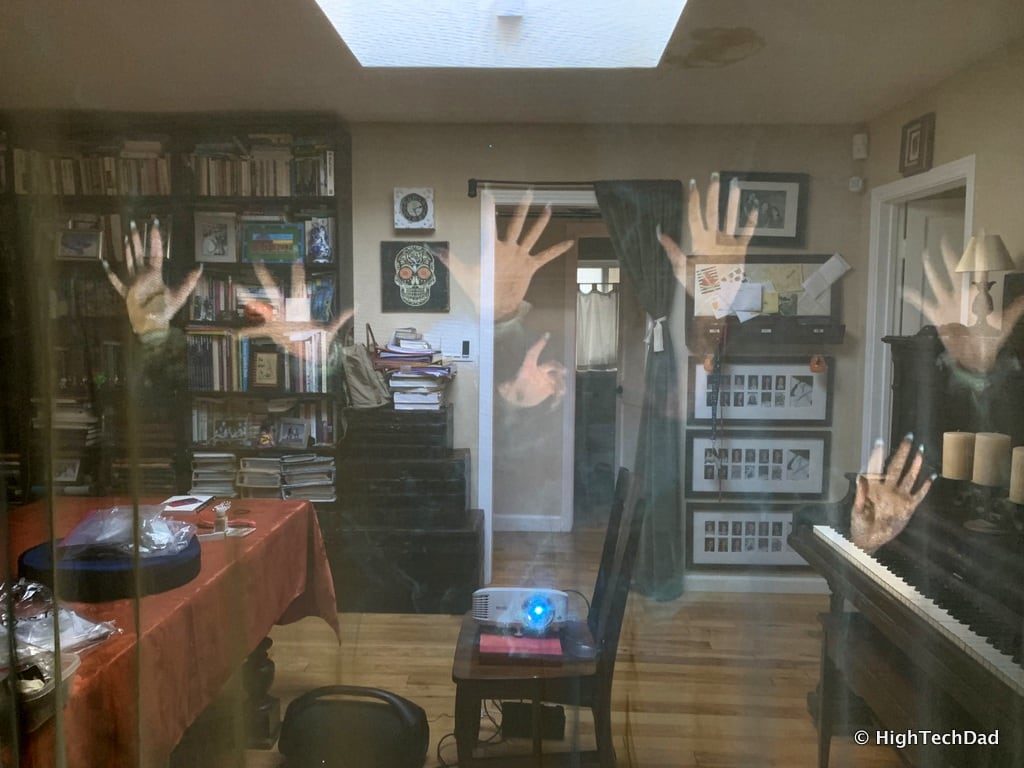
Here’s what my test environment looked like.
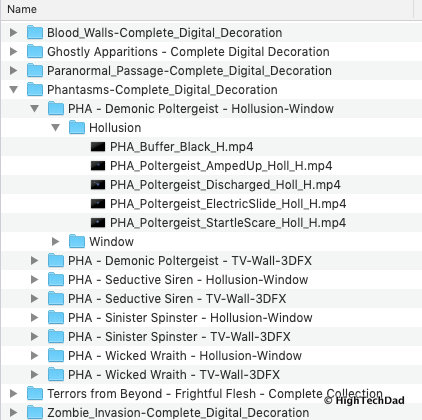
Setting up the movie was quite easy. First I had all of my digital downloads from AtmosFX. The digital movies are clearly labeled by the format (horizontal, vertical, window, door, TV, etc.) and as well as for digital movies that are for the Hollusion effect.
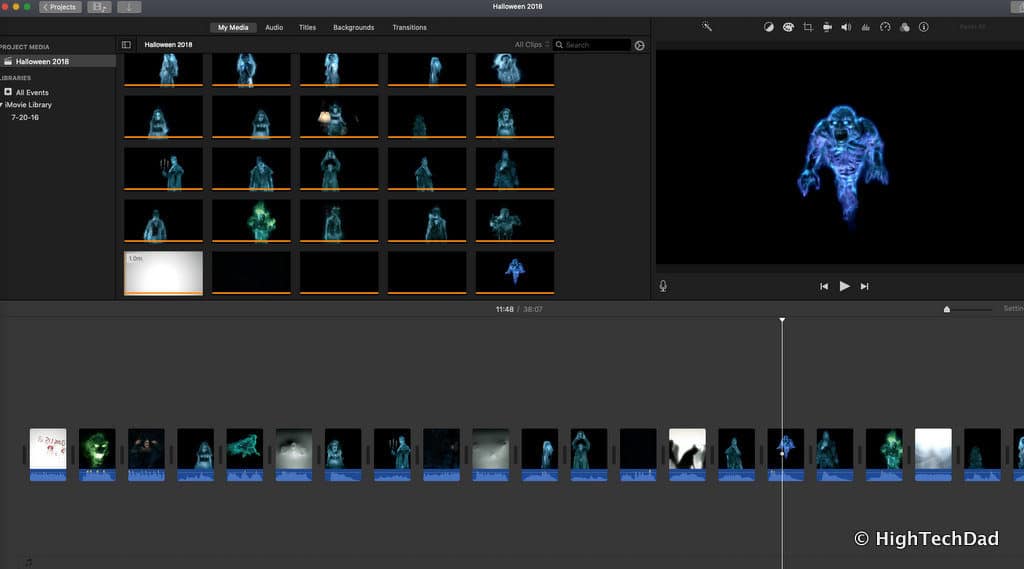
In iMove, I just created a new movie and simply dragged the AtmosFX digital files into iMovie. From there, it was just a matter of moving the movies around to break up the sequences out of the sets. This was purely a personal option. You may want to have all of the Phantasms together, for example, or broken up with Zombies or Ghostly Apparitions. It’s up to you.
Then I just exported the movie of all of the scary clips from iMovie into a single movie file. In total, the one that I had was about 38 minutes, so I don’t have to be constantly restarting the video all of the time. You could create your own DVD in much the same way, but I wanted it just to be a file. It’s a bit more portable.
From there, I wanted to get the movie onto my iPad. Again, this is a personal preference. But I felt that the iPad was portable and really didn’t need a power supply available all of the time (just remember to charge your iPad prior fully). You simply need to add the scary movie you created to iTunes and then transfer the movie over to your iPad or iOS device. Just remember, the size of the scary movie might be large so be sure you have enough space on your iOS device.
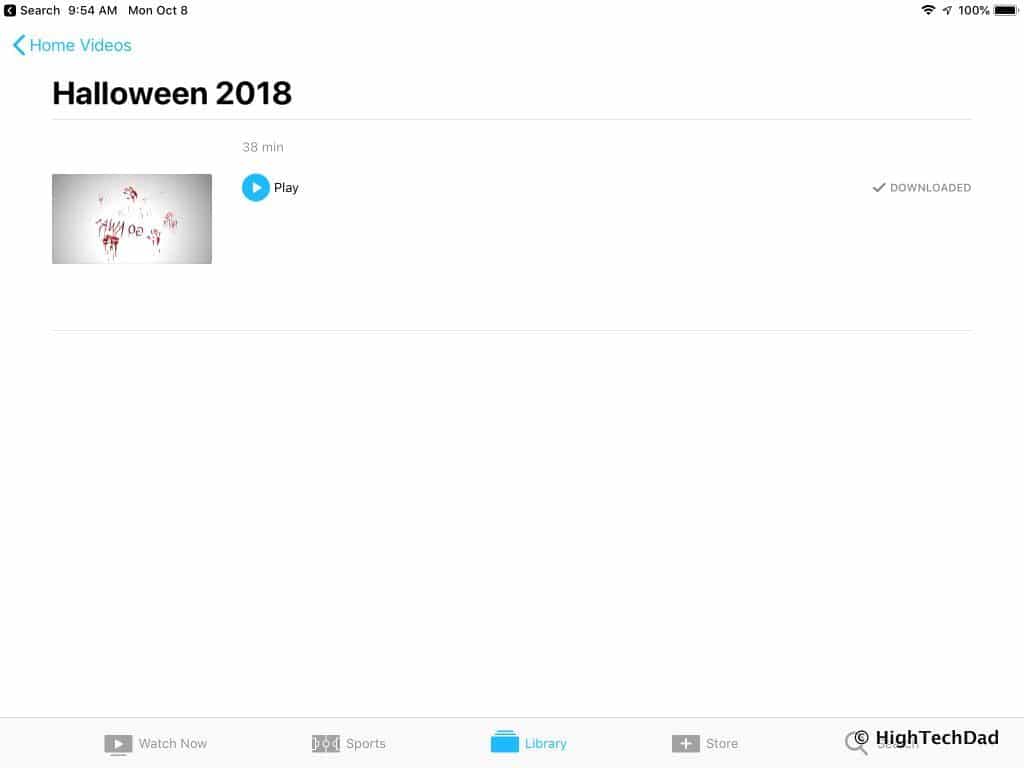
Apple has made some changes to how Movies that you create show up. Once I was sure that the movie was on my iPad, you need to launch the “TV” app.
From there, go to the Library and choose “Home Videos.” Your new scary movie will appear there.
Once you have your movie on your iPad, you need to set up the projection environment. Again, I used my own projector (the BenQ TH671ST because it has excellent brightness). I also thought about using a smaller, battery-power projector (not as bright but quite portable) to do another scary movie environment on the outside of my house. I will see if I’m inspired.
Using the Lightning Digital AV Adapter, I connected my iPad to the BenQ projector, and I was instantly able to show the movie onto the Hollusion material I had hung in my house for testing.
Lastly, to round out the environment, I connected the audio out from the BenQ projector over to the JBL Boombox’s audio in. I had a very long 3.5mm audio cable to allow for better placement of the speaker. Alternatively, and I may try this, I can connect the speaker via Bluetooth, but I have a feeling that since audio is passed via the HDMI cable to the projector, I won’t be able to split out the audio.
One important thing to remember once you do run your scary movie on Halloween. If you are using a laptop or iPad, be sure to turn off notifications or put in Do Not Disturb mode. There is nothing worse than having a silly text message pop up on what is supposed to be a scary, ghostly apparition!
The Results of My Scary Halloween Tests
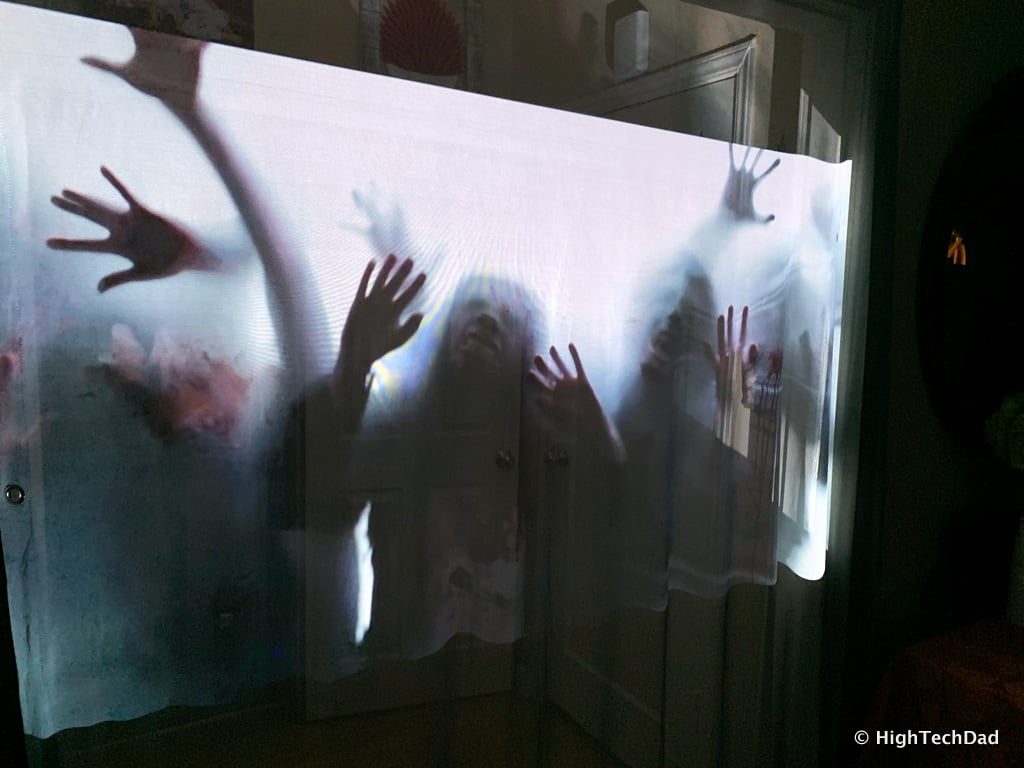
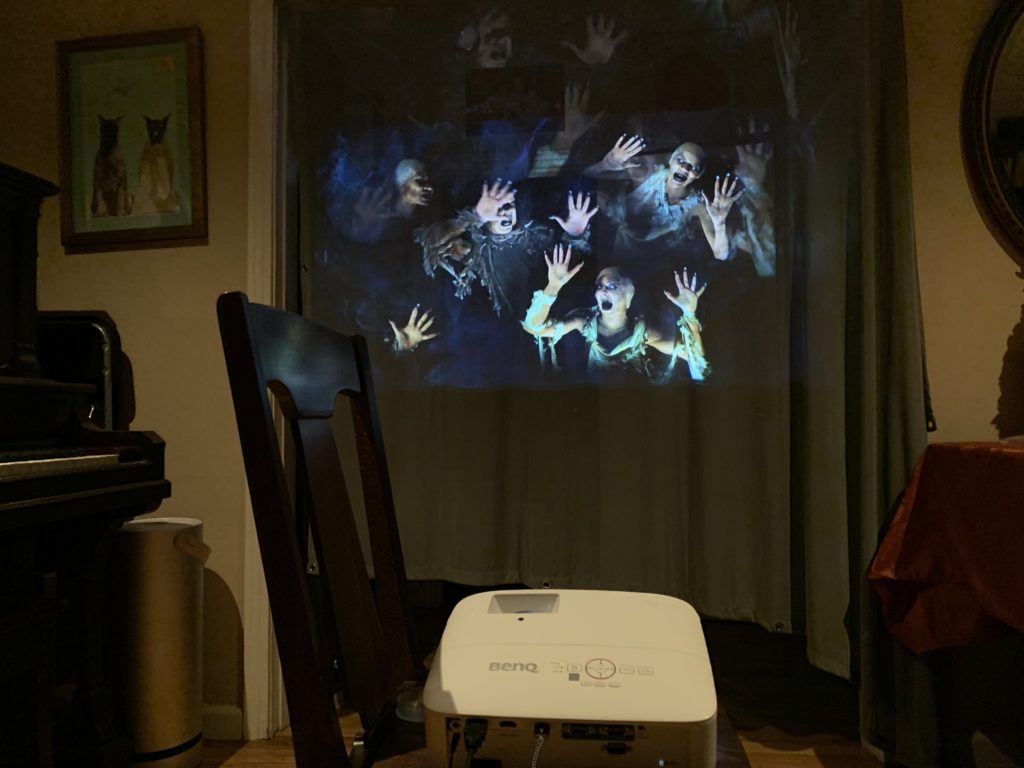
Here are a few very short videos and photos of some of my tests inside my house. My daughters seem to love them (one even screamed at a jump scare).
First, here is my environment in action. Note, I have the lights on so that you can see my set up. All of the others are shot in with no lights on to showcase the digital display.
I put together a short compilation of some of the tests that I did. Enjoy!
And there you have it! Remember, having a good projector makes everything look a bit better and as “realistic” as it can be. With lower lumen projectors, you are going to need a fairly dark environment to get the effects you really desire. And choosing the best environment will make or break your effects. This year, I’m going fairly simple and based on the results, I may expand the scary digital theaters to include more of my house. I feel you can’t be scary enough!
You can buy all of the digital decorations and other equipment (like projection materials, speakers, and even projectors) from AtmosFX directly on their website. This is particularly great for the digital versions of the movies as you can download them immediately and start creating your Halloween movie.
You can also get DVDs, projection materials, and other items on Amazon. Here are a few links to get you going!
- Phantasms DVD
- Ghostly Apparitions DVD
- Zombie Invasion DVD
- Halloween Kit with Projector
- Projection Materials – Hollusion material & Window Projection material
Hope that everyone has a safe yet scary Halloween! Be sure not to run out of candy! But, remember, if your house is REALLY SCARY, you may be left with a lot of leftover candy because people are just too scared to come to the door.
Disclosure: I have a material connection because I received a sample of a product for consideration in preparing to review the product and write this content. I was/am not expected to return this item after my review period. All opinions within this article are my own and are typically not subject to editorial review from any 3rd party. Also, some of the links in the post above may be “affiliate” or “advertising” links. These may be automatically created or placed by me manually. This means if you click on the link and purchase the item (sometimes but not necessarily the product or service being reviewed), I will receive a small affiliate or advertising commission. More information can be found on my About page.
HTD says: I find that Halloween allows me to be a kid again, especially when it comes to costumes and Halloween decorations. Now, I’m upping the output of the scary meter with my home decorations using the fantastic (or “phantasmic”) digital videos from AtmosFX!
