Being a homeowner, I often have a “honey-do” list that endlessly extends. I tend to start projects and then get distracted by the next item on my list and often leave things somewhat completed. It’s bad, I know. This ADOS (Attention Deficit…Ooooh Shiny) is a fault. So, I love it when I find a project that is easy, one that I can say that I hit the 100% completion mark on. Recently, I wanted to add a nightlight into our master bathroom. Sure, that is easy, right? But I didn’t want to just plug one in. In my tech-filled home, plugs are scarce, a luxury almost. So when the folks at SnapPower contacted me to see if I wanted to test out their SnapPower Guidelight product, it got my interest.
I have done plenty of electrical projects in my home. Anything from running new electrical for an overhead fan to putting up dimmable lights in my garage to replacing most of my light switches with dimmers. Electrical work is actually pretty easy, provided you turn off the main power to whatever circuit you are working on to following code as close as you can. Of course, I have done fairly basic projects. Putting in the SnapPower Guidelight was probably the EASIEST electrical project I have done. And there was no wiring/re-wiring involved.
The team at SnapPower has developed a technology and design that lets you simply replace your plug cover by snapping their solution into place. Once you cut the power to the circuit, it literally is just a matter of unscrewing the plug cover and then screwing in the new one. This process can take literally seconds.
Installing the SnapPower Guidelight
The first thing you need to do when installing the SnapPower Guidelight is to decide on the proper outlet cover plate. There are a few things to consider, whether you need the Duplex design (with two distinct holes for the plugs) or the Decor design (which has a rectangular hole for two more modern plugs). Then you need to decide on the best color to match the environment where the SnapPower Guidelight cover plate will be: white, light almond or yellow.
The next step is to cut the power to the outlet. THIS IS CRITICAL! You can either cut the power at the circuit breaker or do what I did. I was replacing the cover plate in our bathroom for a plug near the sinks. The plug is required to be part of a GFCI circuit so that if you drop a plugged-in electrical device into water, for example, the circuit will be tripped so that you don’t get electrocuted.
An important thing to note about the SnapPower solutions, there are some plugs that are NOT supported, GFCI plugs are one of these. Be sure to check their list of un-supported plugs before trying this. Luckily, the plug I wanted to install the SnapPower Guidelight was NOT a GFCI plug but one that was tied into one. This meant that I could throw the test circuit breaker on the GFCI plug and it effectively cut the power to the plug where I was going to install the SnapPower Guidelight.
Be sure, if you use this GFCI method, that the power IS actually off on the plug you are working with. You can do this by plugging something into the plug you are going to upgrade and try turning it on. If there is no power, you can proceed.
The next step is to simply unscrew the screw that holds the old faceplate in place. Then you take the SnapPower Guidelight and put it in place and screw it back in. Then turn the power back on to that plug either at the circuit breaker or at the GFCI level.
What the SnapPower Guidelight does
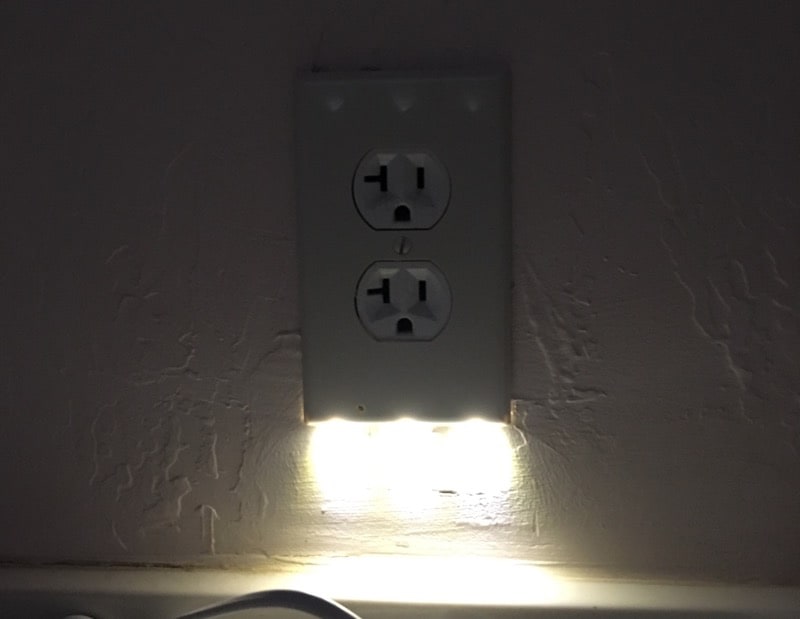
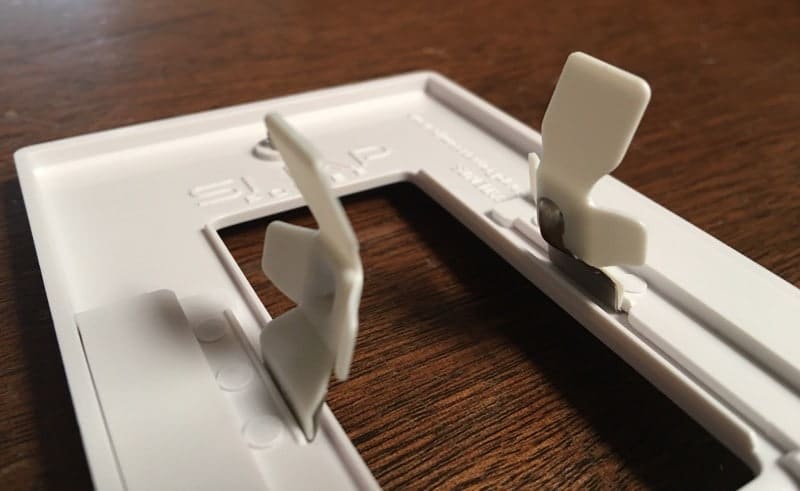
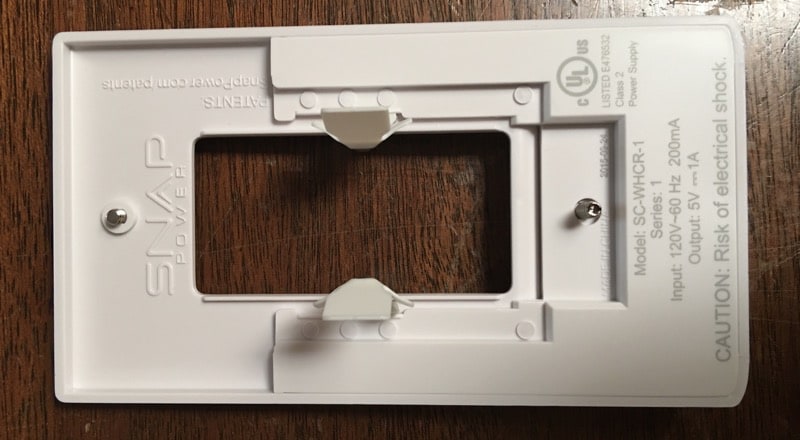
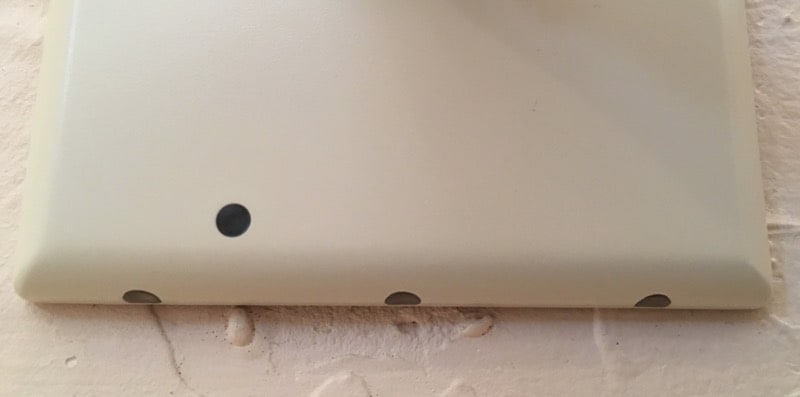
The design of the SnapPower cover plate is where the magic is. There are two prongs that connect to the power (which you can see in the picture below). These prongs complete a circuit and power the 3 LED lights of the Guidelight.
There is a tiny photocell sensor that detects the amount of light in the room or hallway. When it gets darker, the lights go on. These LED lights will supposedly last over 25 years before they start “wearing out.” The lights put out about 3 lumens which is equivalent to most plug-in nightlights.
And the energy expense to run the SnapPower Guidelight is pretty much negligible. For a year’s worth of use, it costs about 10 cents (depending on the price of your power).
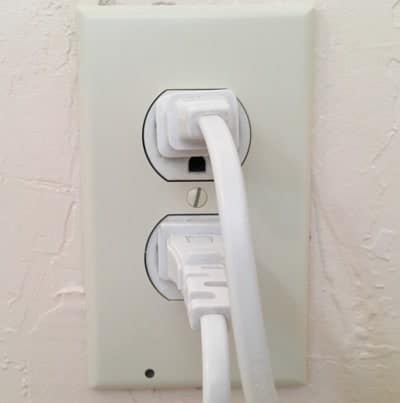
The other nice thing, which was important for me, was that it doesn’t take up any of the valuable plugs in my home. I still have access to the two electrical sockets of the wall.
USB Charging SnapPower Faceplate
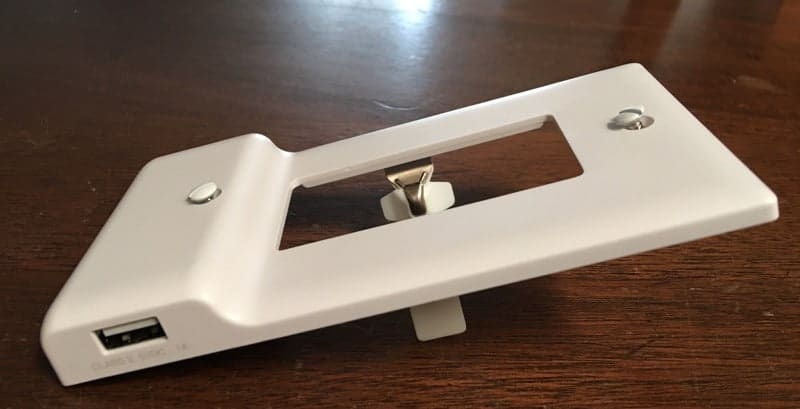
There is another product that SnapPower has that is designed the same way the Guidelight is and with the same easy install method. The SnapPower Chargers also just replaces a cover plate and has the same two prongs that complete the circuit.
At the bottom of this faceplate is a USB charger on the side. It also doesn’t use up any of the plugs (and trust me, in my family, having charging solutions is quite important).
The USB charging plug is only 1 amp, so it is better for smaller smartphones. It can charge tablets but will take a bit longer than using a 2.1 amp charger. The charger does have built-in surge protection for the charging. There are no LED lights as part of this product though.
The SnapPower Charger retails for $20 per cover plate. And the SnapPower Guidelight retails for $15. Given how easy it is to install these…it’s a SNAP…(sorry), it’s hard not to upgrade at least one plug in your home. These are great for hallways or bathrooms. Basically, you install it and just forget it. Definitely a nice upgrade!
Disclosure Text : I have a material connection because I received a gift or sample of a product for consideration in preparing to write this content. I was/am not expected to return this item or gift after my review period. All opinions within this article are my own. Also, some of the links in the post above are “affiliate links.” This means if you click on the link and purchase the item, I will receive a small affiliate commission. More information can be found in my About page.
HTD says: This is the easiest and quickest way to add a permanent, automatic, cost-efficient nightlight or USB charger to just about any outlet in your home, without taking up a plug!
