I love webcams, not only for security reasons but also they connect me to your home so that I always know what is going on and what I am missing. My home is probably one of the most web camera-enabled ones in the neighborhood. I have installed some that use PowerLine technology where Internet-connectivity is passed through your electrical infrastructure and others that I use inside the house that are pretty much plug and play. I even have a couple tied into my security system. The new NETGEAR Arlo smart home security camera takes the installation and usage to a whole new level of easy of use.
First, a tiny bit of history. Back in May 2012, I reviewed a product called VueZone. It turns out, NETGEAR purchased them and over the past few years, has refined and improved the technology tremendously.

Disclaimer: I am a NETGEAR Ambassador and I received this product in exchange for my honest, unbiased opinion and review. |
Sure, there are many choices of Internet-connected security cameras available. If this is something that is new to you, you probably are overwhelmed by the choices. Some things that you might want to consider:
- Is it easy to set up?
- Is it easy to use?
- Do you need to run wires or is it wireless?
- Can you move cameras around?
- Does it use a lot of your precious bandwidth?
- Are the cameras big and bulky or small?
- Can you access it via a smartphone app or a web browser?
- Can you fine-tune your camera, rules and preferences?
- Can you save videos and view recordings in the past?
In my opinion, the NETGEAR Arlo handles a lot of these items quite well. New products often have oddities and strange behavior that takes some getting used to. The NETGEAR Arlo is no different. However, once I got through configuration and start using the NETGEAR Arlo for a while, I found it extremely useful for my family.
This review is pretty heavy on screenshots. I always find that a picture explains things a bit better. Whenever I look at a product, I often want to see images of the product setup screens and usage and management screens. It helps me to see if this is something that I could use and easily understand. In this review, I show the Setup and iOS app Management screens, as well as provide some thoughts on the features and functions.
Let’s start with unboxing and setup.
Setting up the NETGEAR Arlo
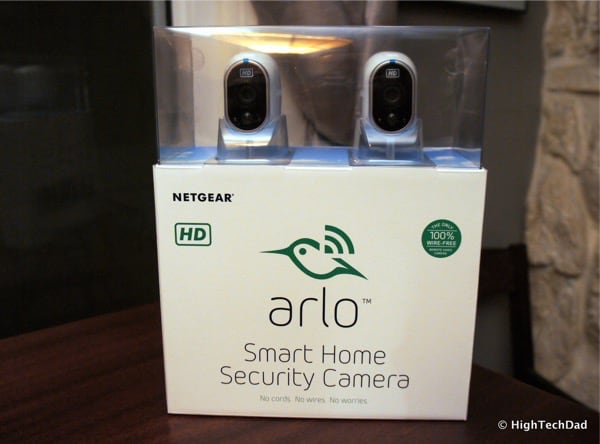
The NETGEAR Arlo security camera is available in a variety of packages. These may have a single camera or multiple. While you can easily start with just one camera (~$200), I’d recommend getting at least two (~$350). Yes, the price jump is significant so you could start with just one and later purchase an individual camera for about $160. (As of this writing, Amazon has 1-camera, 2-camera, and 3-camera systems listed for about the same price.)
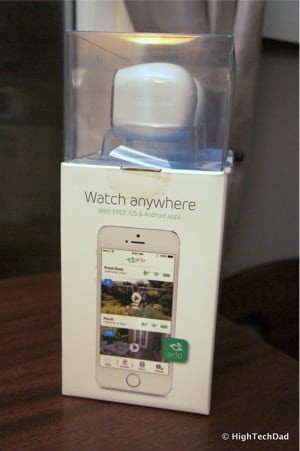
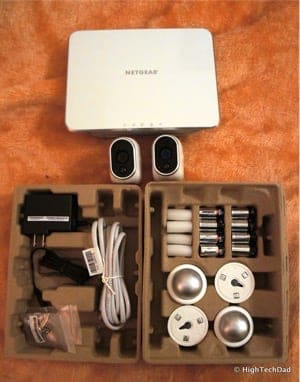
As a NETGEAR Ambassador, I received the 2-camera kit. The kit contained a transmitter (which needs to be plugged in physically to your network), 2 Arlo cameras, 2 sets of four long-lasting batteries (supposed to last a year), 2 sets of two half-sphere magnetic camera mounts, screws, manual and even a sticker for your window.
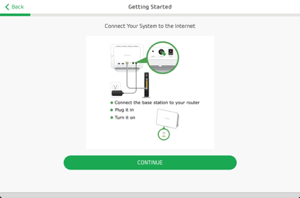
The first step after you unpack everything is to connect the transmitter to your network. You use the supplied Ethernet cable to do that. Be sure to find a good location for it, somewhere in the middle of where you will put your cameras (if you have multiple). I placed mine higher up but hidden away. The transmitter’s range is actually quite good as I have cameras at different areas of my property. (Once you sync the cameras to the base station, you can see the strength of the signal that the camera has to the base station.)
Power the transmitter/base station on. Let it connect to the Internet. There are indicator lights on the front that show power, Internet connectivity and camera connectivity. There is also a power button in the back.
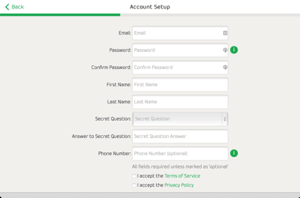
Then you need to set up a NETGEAR Arlo account. The images below are from the web-based registration or setup. You can also do this through the mobile app but I found it a bit easier to do via the website.
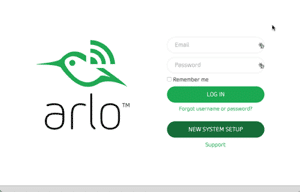
First step is go to the NETGEAR Arlo login page.
From there, you are prompted to set up the base station (as I mentioned above). The steps are quite simple.
Some other questions like Time Zone and registration information are then needed.
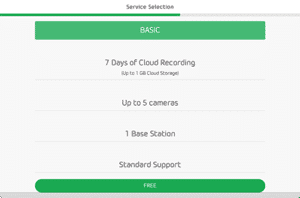
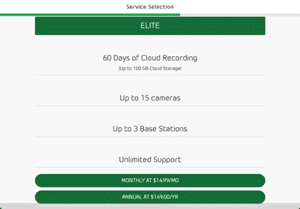
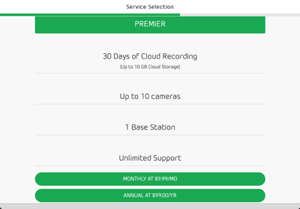
Next you need to choose a plan. There are 3 available: Basic (Free), Premier ($9.99/mo or $99/year) and Elite ($14.99/mo or $149.99/year). You can see the plan details above and below.
The Premier plan is above.
The Elite plan is the most robust. One thing to keep in mind is that the NETGEAR Arlo does NOT constantly stream and record video. Instead, based on your configuration and rules, it detects motion and then starts recording the video based on your recording parameters. You can choose to have shorter videos, lower or higher quality videos and only be triggered after a certain amount of activity. Based on these settings, you could either use up a tiny bit of storage or a lot.
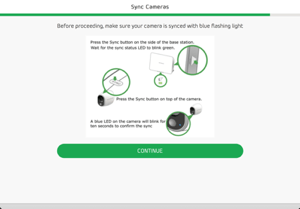
The final step is to synchronize your camera(s). An important thing that I learned is, do one camera at a time. If you try to do multiple at once, one of the cameras will time out and you will need to re-sync and re-do the setup for the next camera. To sync, you simply need to make sure the batteries are in, the camera is powered (you will see lights go on the camera when you put in the batteries) and then you press the sync button on the base station (it’s on the side – press and hold for one second or so and the camera light will begin to flash), then press the sync button on the camera.
Once the camera is synced with the base station, you can configure it through the web or mobile app. This is where the fun and fine-tuning begins.
Placement & Fine-Tuning the NETGEAR Arlo Cameras
Now that you have your cameras connected to the base station, it’s time to place the cameras. I would first go to the proposed location and see how the signal strength is there. You can do this through the smartphone app.
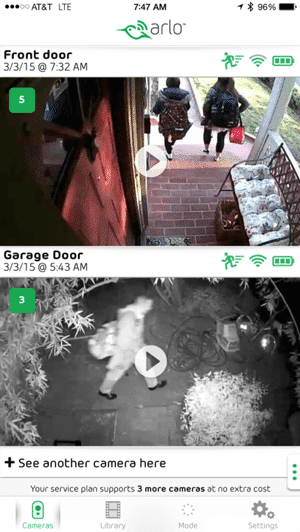
The image above shows my two cameras and a snapshot of what was last captured. You can see the green running person icon which signifies that movement is enabled. Also, you can see the wireless strength indicator. Green means that it is connected and the number of bars shows how strong the signal is.
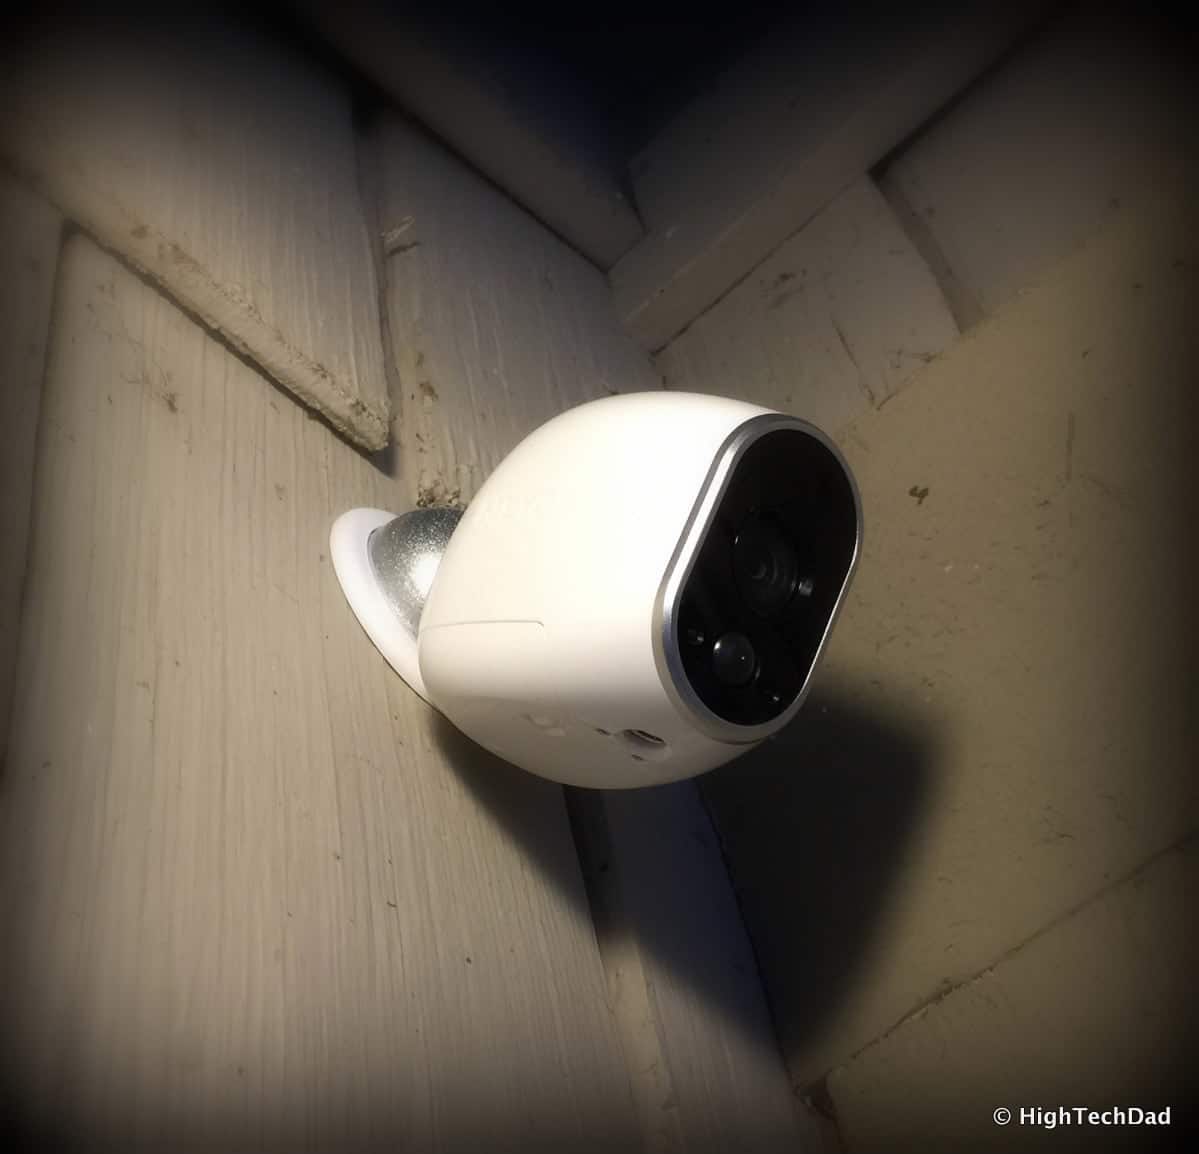
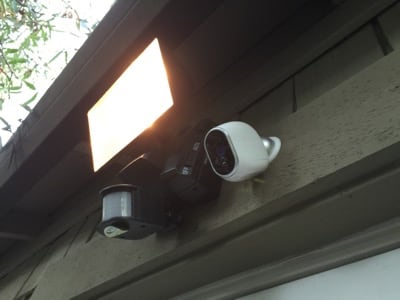
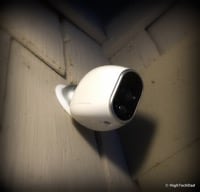
Once you find a location that has a good signal, you can mount the camera. The mounting process is extremely easy. There is an extremely strong magnet within the camera itself that connects to the half-sphere mount. This makes the placement and tweaking of the camera angle extremely easy.
The Arlo camera and mount are weather-proof which is fantastic. But there is something to keep in mind when mounting the camera. If you place the NETGEAR Arlo in a location that can be reached by someone, they could conceivably remove the camera easily (note, if set up properly, you will get a recording of them doing so, hopefully). So either place the camera looking down from a high location, or you can purchase an optional mount. You can also purchase other camera mounts online or in-store from other vendors. Using the screw-on type of mount makes it a bit more difficult to remove the camera.
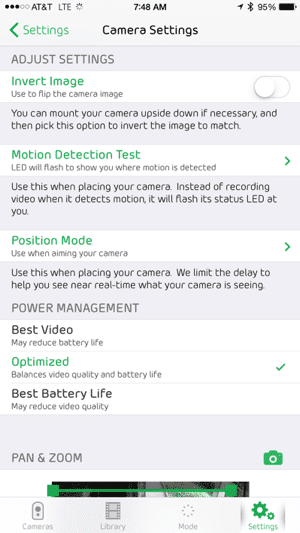
Within the mobile app (or the website), you can easily tweak the settings of the camera. You can Invert the image, test out the motion sensitivity (which will show on the camera lights itself as it detects movement), and definitely test out the Position Mode to get the best angle with your camera.
Once you have your cameras hung up, you can start configuring the modes and rules.
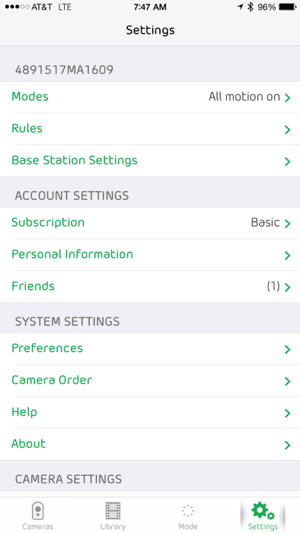
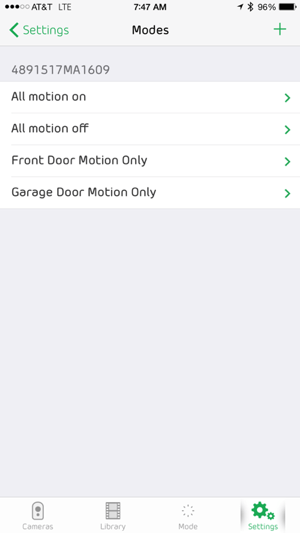
You can access all of the preferences for everything in the system via Settings. Here you have access to the base station which includes Modes (you can configure these manually or turn all motion on or off), Rules (as just mentioned, these Rules affect the Modes), and also have the ability to restart the base station remotely, among other things.
Within the Account Settings, you can change your Subscription, update your Personal Information and add Friends (people who have access to your Arlo account – set as viewer or administrator and what they have access to).
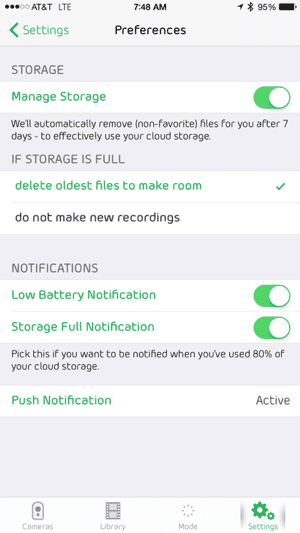
You can set System Preferences which allows you to manage your storage (like automatically deleting video files) as well as get notifications on low battery or storage being full. You can also set up Push Notifications to notify you on your phone. Just a side note, I love the Push Notifications because I’m instantly notified of motion or movement by any of the cameras. You can set the camera order for display here as well.
Lastly, you can access the settings for every camera connected to your system.
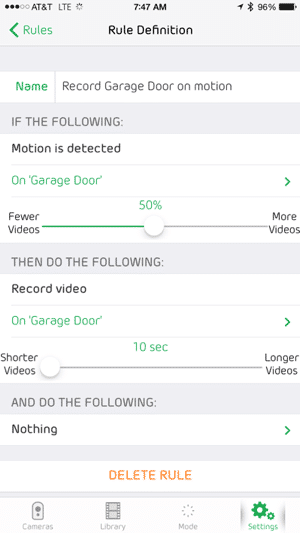
Another section within the mobile app is the Mode section. In this section, you can set a Schedule or do your recording/motion detection manually. With the Schedule, you can set up the days and times you want a particular Rule to be active or not. You may, for example, only want to record things when you are at work and leave the recording off when you are at home. I like having it all manual. One thing about the Schedule though, if you have multiple Rules, the schedule can only be tied to one Rule. So while I set up individual Rules for individual Cameras, you may have to create other Rules to be sure that you actually record what you want. (Example: you want to only record outdoor cameras at night but all cameras during the day, you would have to set up specific Rules to include specific multiple cameras and then tie those to a schedule.)
Bottom line, it’s easy to get lost in all of the settings. But the nice thing is, there ARE a lot of settings which means LOTS of customizability.
Using the NETGEAR Arlo System
Now that we have walked through the setup and placement, let’s see how it performs. First of all, these are HD cameras which means that assuming you have a good signal to the base station, you get some really good quality videos. This also depends if you selected good quality videos in your settings. The worse the wireless signal, the worse the quality of the video.
Also, the NETGEAR Arlo cameras can “see” in complete darkness using infrared. The quality isn’t quite as good as well-light, daytime video but it is good enough. A thing to note, don’t put the camera too close to a light source where the light is picked up. While I positioned mine near lights, I had to tweak them a bit at night to be sure they weren’t washed out.
Once you have everything to your liking, just let the NETGEAR Arlo do its magic. It will notify you (if you have it configured) when motion is detected and recording the video. On the Camera screen you will have a snapshot of the latest recorded video (as I mentioned) and a green box in the upper left that shows the number of clips that have been recorded. If you click on the green box, you go straight to the list of clips, filtered just for that camera.
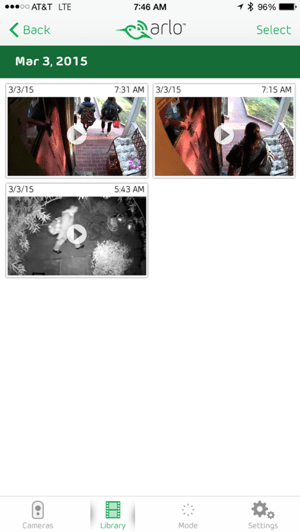
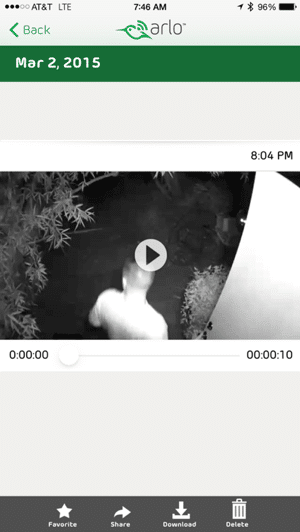
You can also go into the Library and see all of the video clips for a particular day. You can individually or bulk select clips (to save, favorite, download or delete) or just click on a clip to play it.
Ok, if you made it this far, you are probably looking for my bottom-line opinion of the NETGEAR Arlo. One word: easy. It’s easy to create an account, easy to set up and configure and easy to use. A couple minor issues that I did encounter however:
- I received a low-battery notification even though the batteries were new. This was, supposedly, a “bug” due to cold weather and was supposedly addressed in a firmware update. To correct, I simply removed the batteries on the camera and re-inserted them to reset it. The notification went away.
- Sometimes I recorded “nothing.” This is no fault of the system actually. If the camera detects motion, it starts recording a second or two after for the duration you specify. If the moving object is off-frame, the camera will still record…nothing.
Quickly on the plus side though:
- No wires!!!
- Small cameras
- Easy setup
- Good interface
- A “free” plan
- Doesn’t eat up your bandwidth
- Solid feeling construction of the cameras
After about a month’s use, the NETGEAR Arlo seems to be working great!
Disclosure Text : I have a material connection because I received a gift or sample of a product for consideration in preparing to write this content. I was/am not expected to return this item or gift after my review period. All opinions within this article are my own. More information can be found in my About page.
HTD says: With the NETGEAR Arlo security camera system, setting up “eyes” in and around your home is super easy, and without wires!


5 comments
AuldGuy
Can I store video out locally or do I have to use Netgear’s cloud server?
-Dg
hightechdad
All video is stored in their cloud. They have different pricing tiers for storage. See their site for details.
Mike Racca
The Arlo Pro has 2 usb ports on the back of the hub for external HD recoding locally. You can choose this setup in the firmware.
Marcia
I’m getting a message from Microsoft Soft Screen stating the website Arlo.netgear.com has been reported as unsafe….what should I do? I have a newly installed Arlo.
hightechdad
That is a false positive most likely. Be sure that you access the site using HTTPS to ensure that it is a secure connection. Or you can use a mobile app for access. The site would be https://arlo.netgear.com.