I have been in search of a really good way to wrap up my MagSafe power adapter for both my MacBook Air and MacBook Pro. The reason being, if you simply wrap them up the “conventional” way, you run the risk of fraying the connections which increases the risks of electrical shocks or shorting out your power adapters. And to replace the power supplies, be prepared to pay around $80 (and I do recommend getting authentic Apple products if you DO have to replace them).
I watched a few videos of people working with the “shortened” version of the power supply, where you utilize the flip out prongs that are built into the brick. Personally, I found these to just be an “OK” solution but not really good for those people, like me, who use the full cord that includes the 3-pronged plug and the heavy cable.
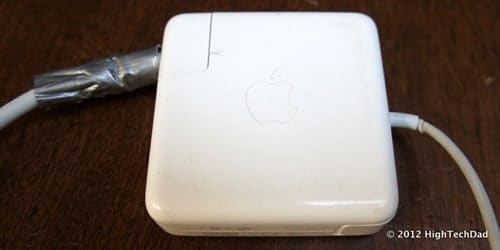
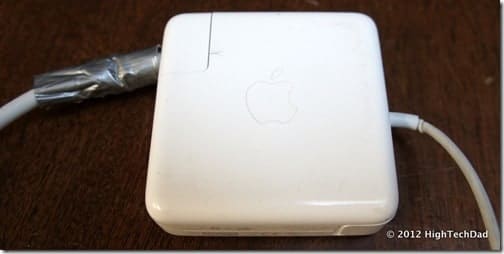
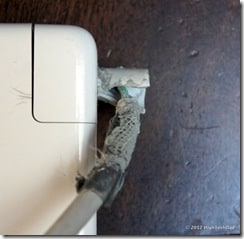
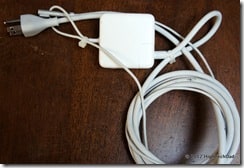
So, I came up with an extremely inexpensive solution and process that allows you to have some pretty good cord management while also preventing those dangerous fraying of your power cords. Before I dive into my solution, below is a picture of my old, Band-Aid solution, which in the end, actually didn’t work because my power supply shorted out and wouldn’t work any more.
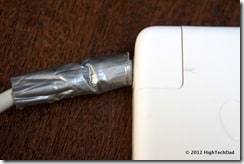
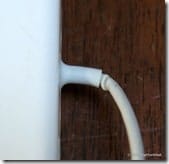
Does that picture look familiar? Here’s what is under the duct tape:
Ugly (and dangerous) isn’t it! You would think that Apple might be able to design an elegant solution that would prevent this from happening. Obviously they focused on making the devices connected to these power supplies elegant and functional.
The “Low Tech” HighTechDad Solution
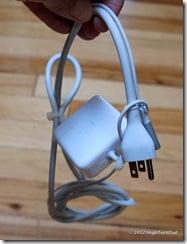
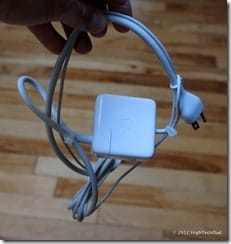
So, here is my “patent pending” (kidding) solution that involves a combination of using zip-ties and cord management that will both prevent (or extend the prevention) of having frayed power supplies while also creating a more compact and tangle-free power supply good for transporting your cords.
Before I go into the process for creating the solution, take a look at the video below (also available on YouTube directly) to see how it all works when you are finished:
[iframe_loader width=”560″ height=”315″ src=”http://www.youtube.com/embed/FWRcszmX_p0?rel=0″ frameborder=”0″ allowfullscreen]
I’m sure that just by watching the video, you can probably figure out how to do this, but in case you need more directions, here is the step by step process for setting up your cords and then how I personally wrap them. I’m open to suggestions on how to improve this or other ways to wrap the cords but I have been using this process now for a couple of months without issue. (I did have to replace one zip-tie as it became a bit loose).
How to Prepare the Cords
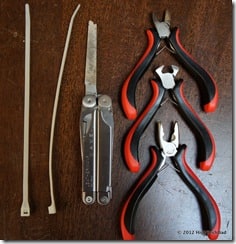
Materials:
- 2 small zip ties
- Pliers
- Wire cutter (to trim zip ties)
- File
Here are the steps to prepare your Power Adapter.
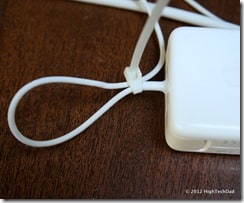
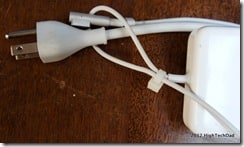
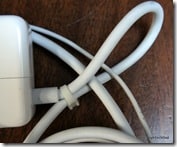
1) Select 2 smaller sized zip ties about 5 inches in length
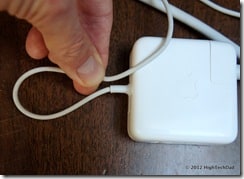
2) Loop one of the power cords (it doesn’t matter which one) but make the loop about 2.5″ in diameter.
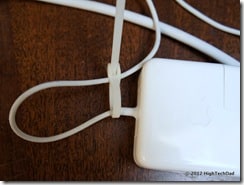
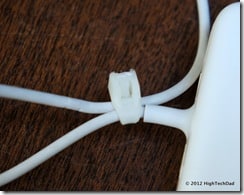
3) Tighten the zip tie very close to where the cord goes into the power supply “brick”. This will prevent the cord from twisting, torquing and hopefully fraying. You want to use both cords together to provide more rigidity to stop them from bending.
4) Use the pliers to pull the zip tie pretty tight. DON’T over tighten because you don’t want it to cut into the cord. But it should be tight enough to prevent the zip tie from slipping.
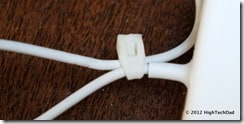
5) Once it is tightened, use the wire cutters to trim the zip tie as close as possible.
6) Use a file to smooth down the area that you just trimmed to prevent you from cutting or poking your hands later.
That’s it in terms of preparation. Now on to how your wrap your cord.
How to Wrap the Cords
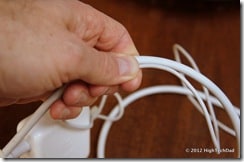
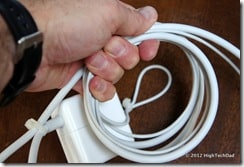
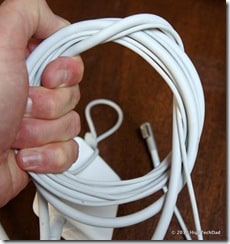
1) Hold the thin and thick power cords in your hand together.
2) Wrap 2 or 3 loops of cords (this will depend on how big you want the loop to be as well as how much “extra” cord you need for the next steps.
3) Loop the extra cords now through the loops that you did in step #2.
4) Take the ends of the power cord and then pass it through the zip tie loops. Start with the larger cord loop and then end with the smaller cord loop. This step is optional but I find that I usually do it.
Then you are left with a compact and organized power supply and cords. You can almost use the cord between the loops as a handle.
There you have it! This is the first time that I have publicly shared this process so I’m hoping to get feedback and possible other ways to do this. Test it out and leave me a comment on how it works!
If you do use this and share it, it would be great if you could call it the “HighTechDad method” or “HTD method” or something like that…but honestly, just me knowing that it works would make me happy!
HTD says: Sometimes there are really simple solutions for commonplace problems.
[amazonproduct=B003H05UXM]
[amazonproduct=B0012UCO88]


1 comment
kirk
I think this works wonders for the fraying problem. http://www.thefrayfix.com